It’s a problem every sewist can relate to! We’ve all been there, but how do you know what’s causing your threads to break? Here are 5 tips to quickly help identify and resolve this common sewing issue!
Tip #1: Needle size and type
As a general rule it is always an important routine to check your machine needles. Oftentimes a thread break problem occurs when you have the incorrect needle. Before you sew, make sure your needle is the correct size for the thread you’re sewing with in the project. In both American and European sizes, the smaller the number shown on the package, the smaller the needle. The same goes for larger numbers. Smaller needles are good for finer threads, such as 80wt, and larger needles are designed for heavier threads such as 12wt. For reference, medium thread like 40wt or 50wt will often use an 80/12 size needle.
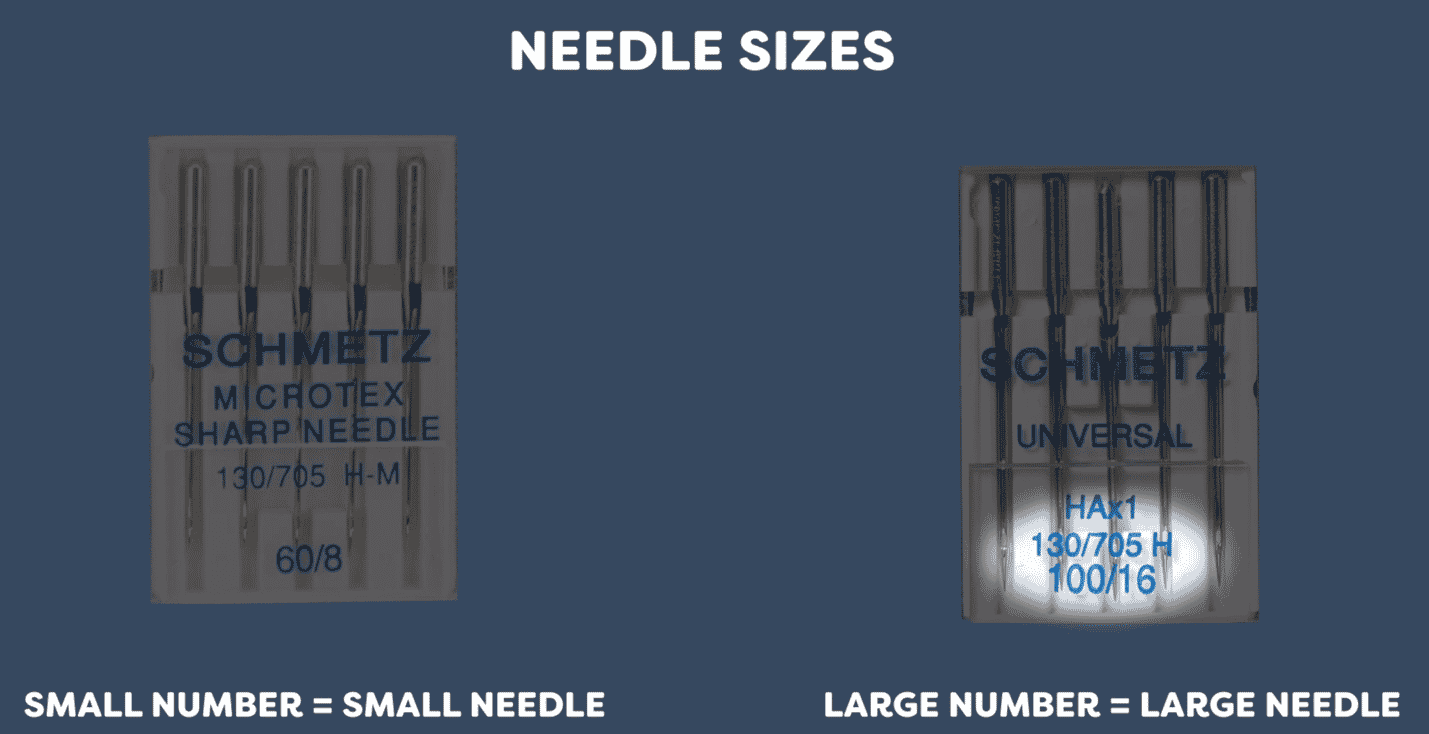
You should also make sure you have the correct needle type for the fabric you are sewing. For instance, you would use a denim needle when sewing heavy denim fabric. Or a ball point needle with jersey fabric. All needle types serve a purpose, so be sure to research what you need to achieve optimal results!

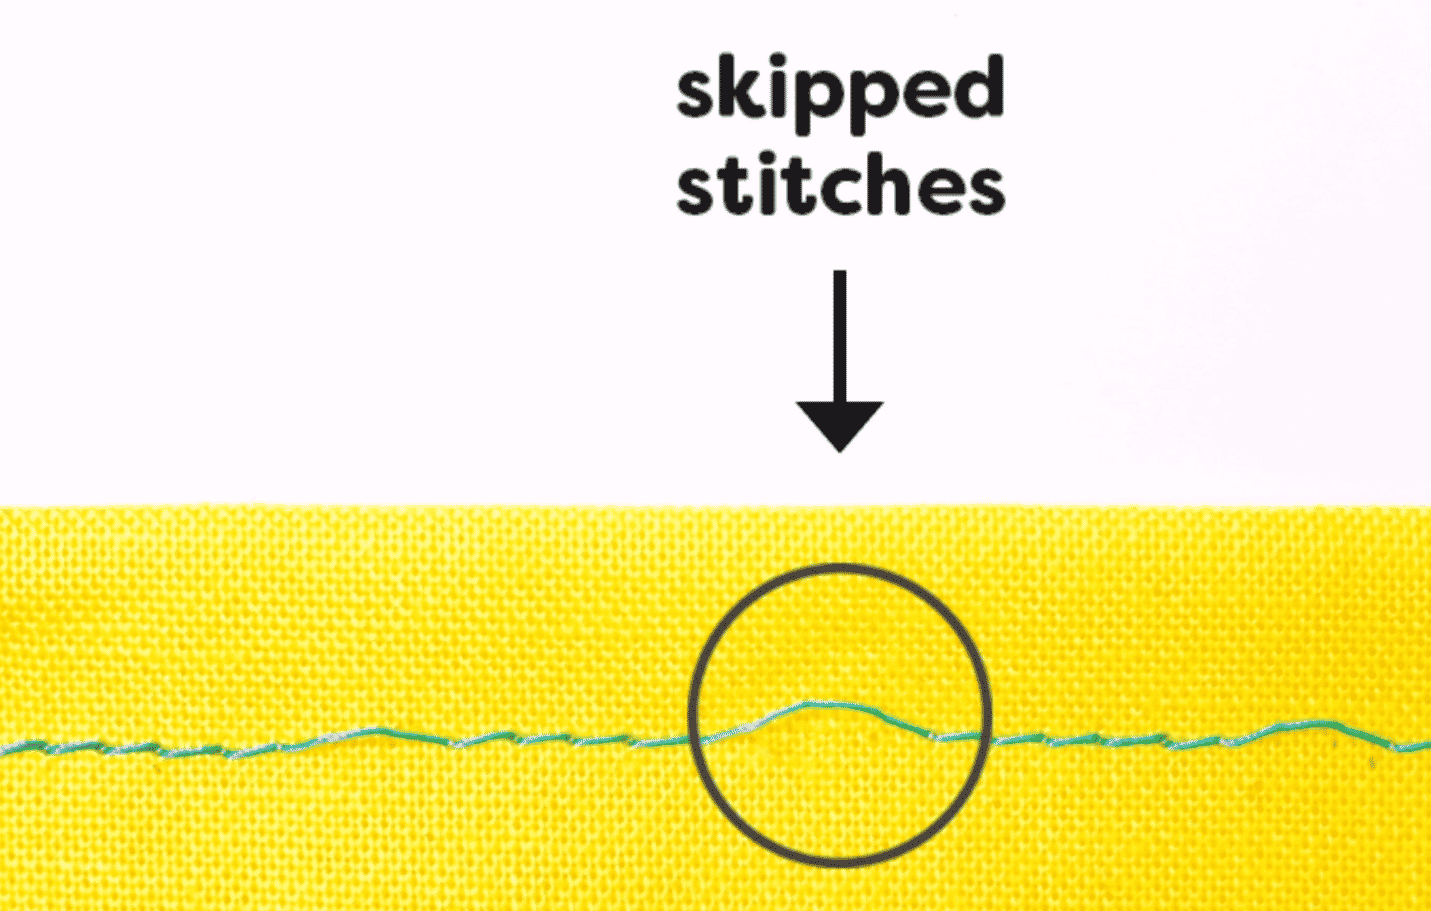
It is good to note the importance of the proper needle as the size and type will have a huge impact on the success of your project. Using an incorrect needle could be the cause of skipped stitches and tension issues that will also result in thread breaks.
Tip #2: Bobbin thread
Another cause of thread breakage could be your bobbin thread. Some bobbin thread of a lesser quality will either leave lint, fluff, or have adhesive residue which can interfere with the machine’s functionality. You should check out the bobbin’s casing and surroundings as the thread could be caught, tangled or running improperly as a result of it. As a result, we always highly recommend using a bobbin that doesn’t have any glue or residue applied to it. Threads that have residues applied will feel slightly tacky to the touch. For example, side-less bobbins are held together by glue to keep them together.

If you wound the bobbin yourself, be careful not to overwind the bobbin. This can happen easily with finer bobbin threads as the machine’s self-stopping mechanism doesn’t always detect the finer thread right away. If you wind your own bobbin, we recommend stopping slightly before the edge of the bobbin to avoid this.
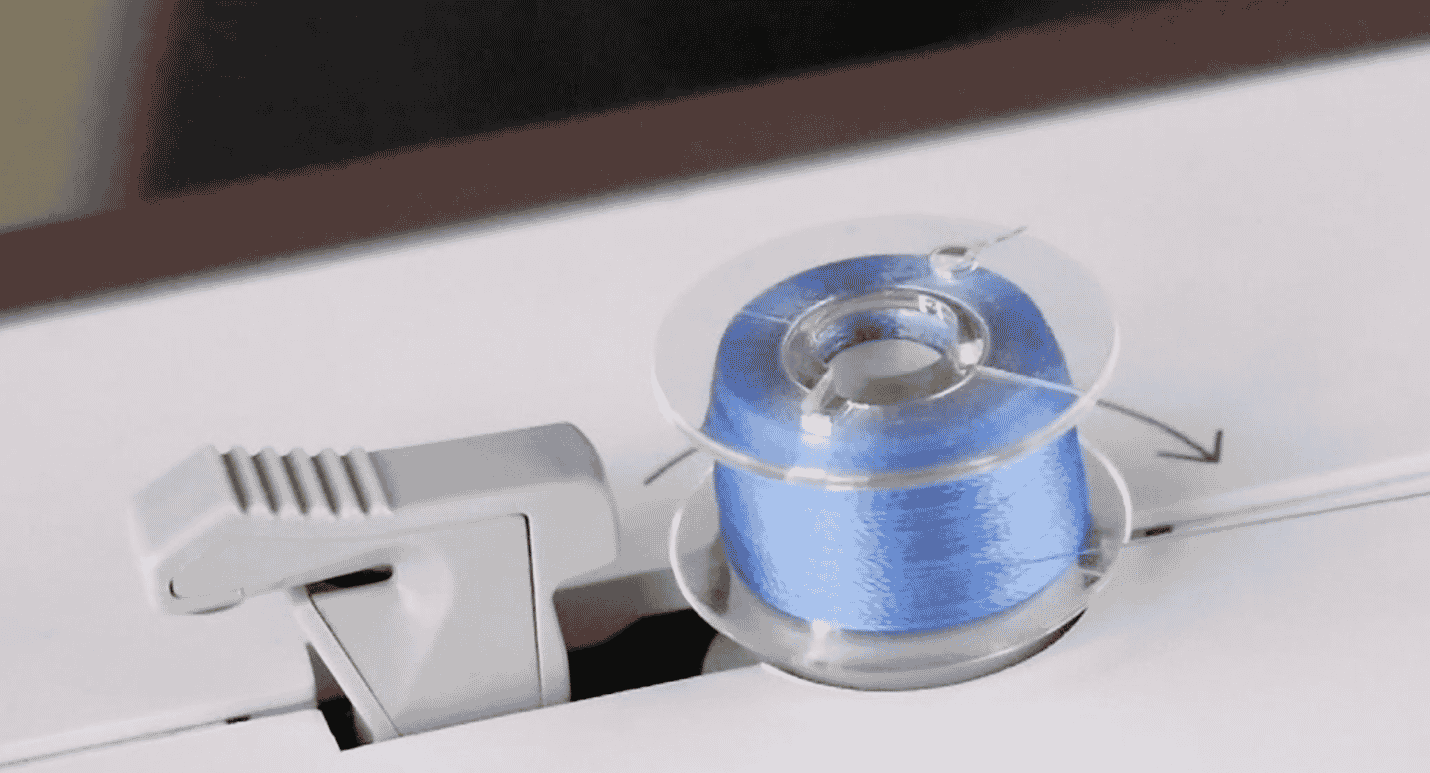
We always recommend using a finer bobbin thread, such as DecoBob 80wt, to achieve better tension results. Because the bottom thread is smaller, it will reduce the bulk in the fabric and also always give way to the top thread, meaning your threads won’t be fighting for tension in the machine.
Tip #3: Tension
This is always an important factor to consider when sewing. Thread breaks can happen if the tension is too tight on either the top or the bottom. We always recommend sewing a test strip on a scrap fabric to check the quality of your tension before starting your project. If you see the bobbin thread pulling through to the top, it means the top tension is too tight and should be loosened.
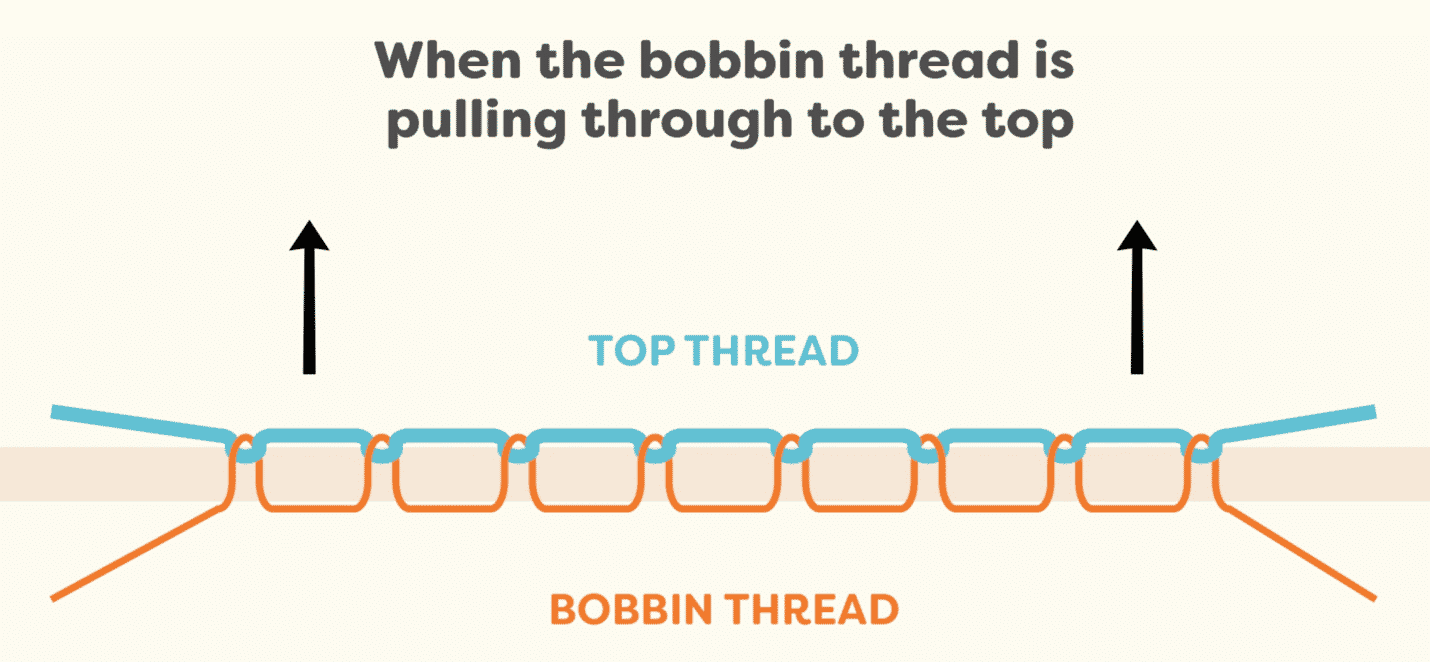
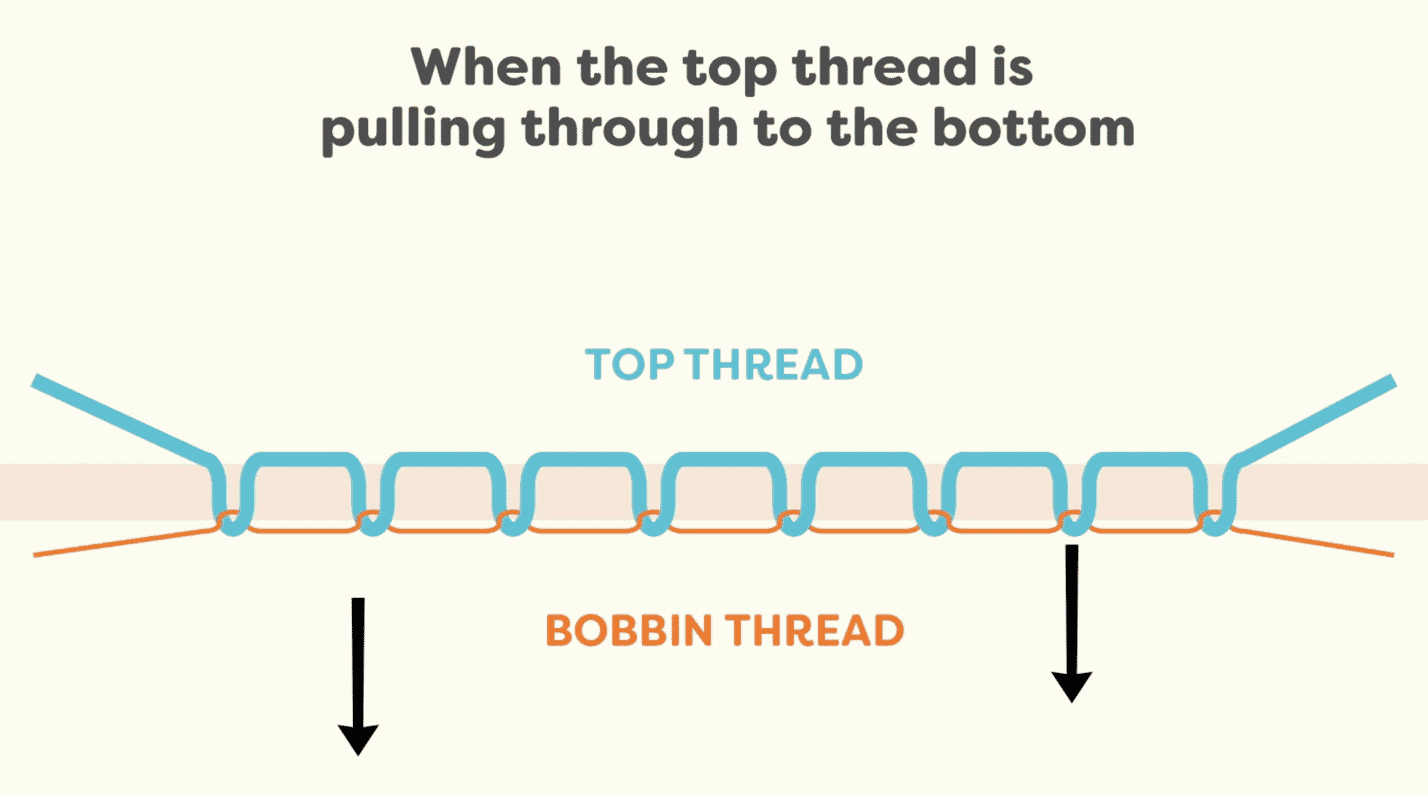
If you see the top thread pulling through to the bottom, it means the bobbin tension is too tight and the bobbin tension should be loosened. Every machine is different, as are factors such as the type and weight of thread you’re using, the fabric you’re using, the batting and stabilizer. With so many different considerations at play, it’s best to always sew a test piece and adjust your tension as needed.
Tip #4: Cross Wound or Stack Wound Thread
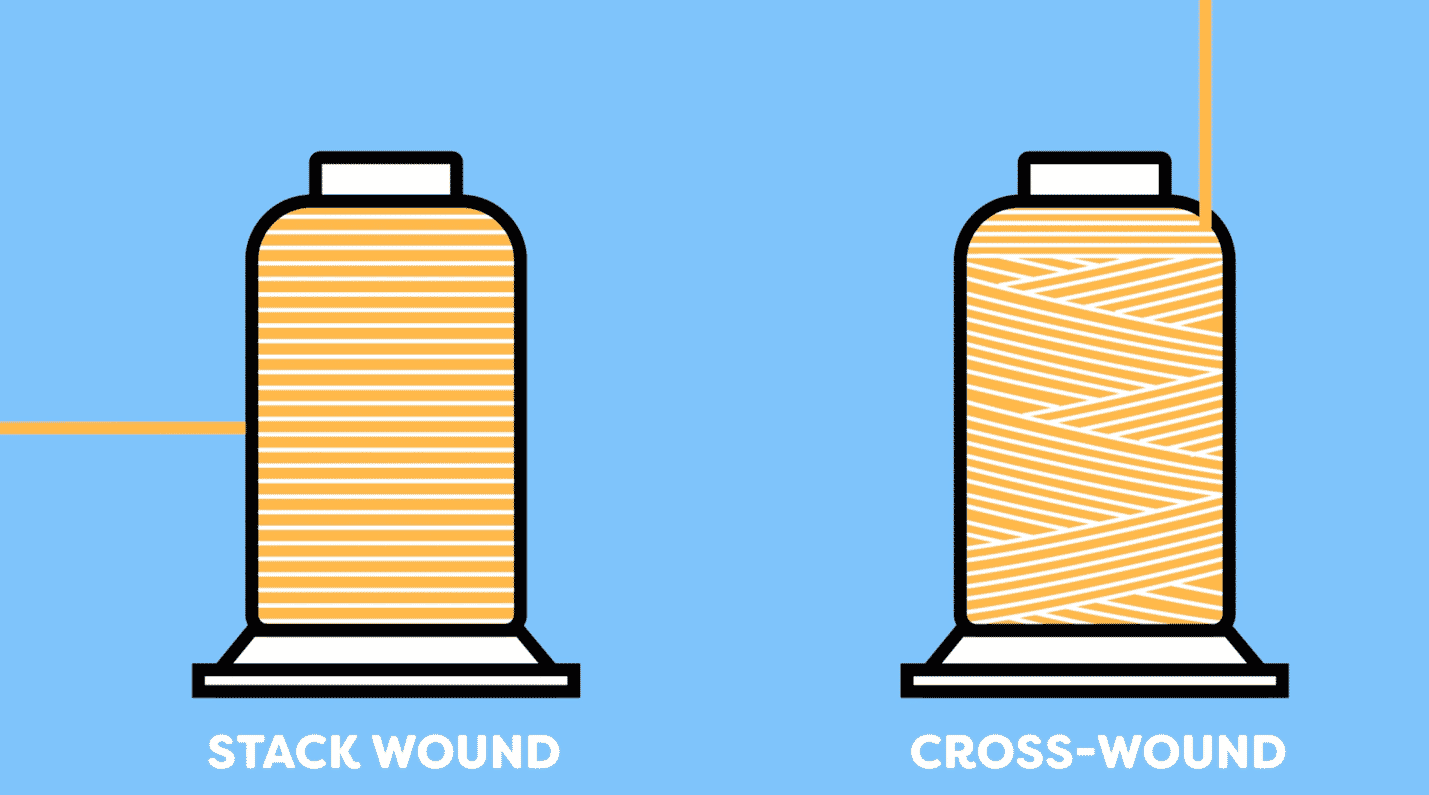
If you’ve ever taken a close look at your thread spools, you may have noticed there are two different ways the thread is wound onto the spool. Stack wound thread is when the thread is wound on the spool in a straight and even pattern. Cross wound thread is the more common of the two and will be wound in an angled pattern. If you are sewing with a stack wound spool, your thread will need to draw off the side of the spool. This is easily done by placing it on the vertical spool pin of your sewing machine. If you are sewing with a cross wound spool, then you will need to draw the thread from the top of the spool. You can do this by placing it on the horizontal spool pin of the machine. Placing the spool on the wrong pin will cause the thread to drag across the spool, which will cause tension problems and can result in thread breaks.
Tip #5: Accessories
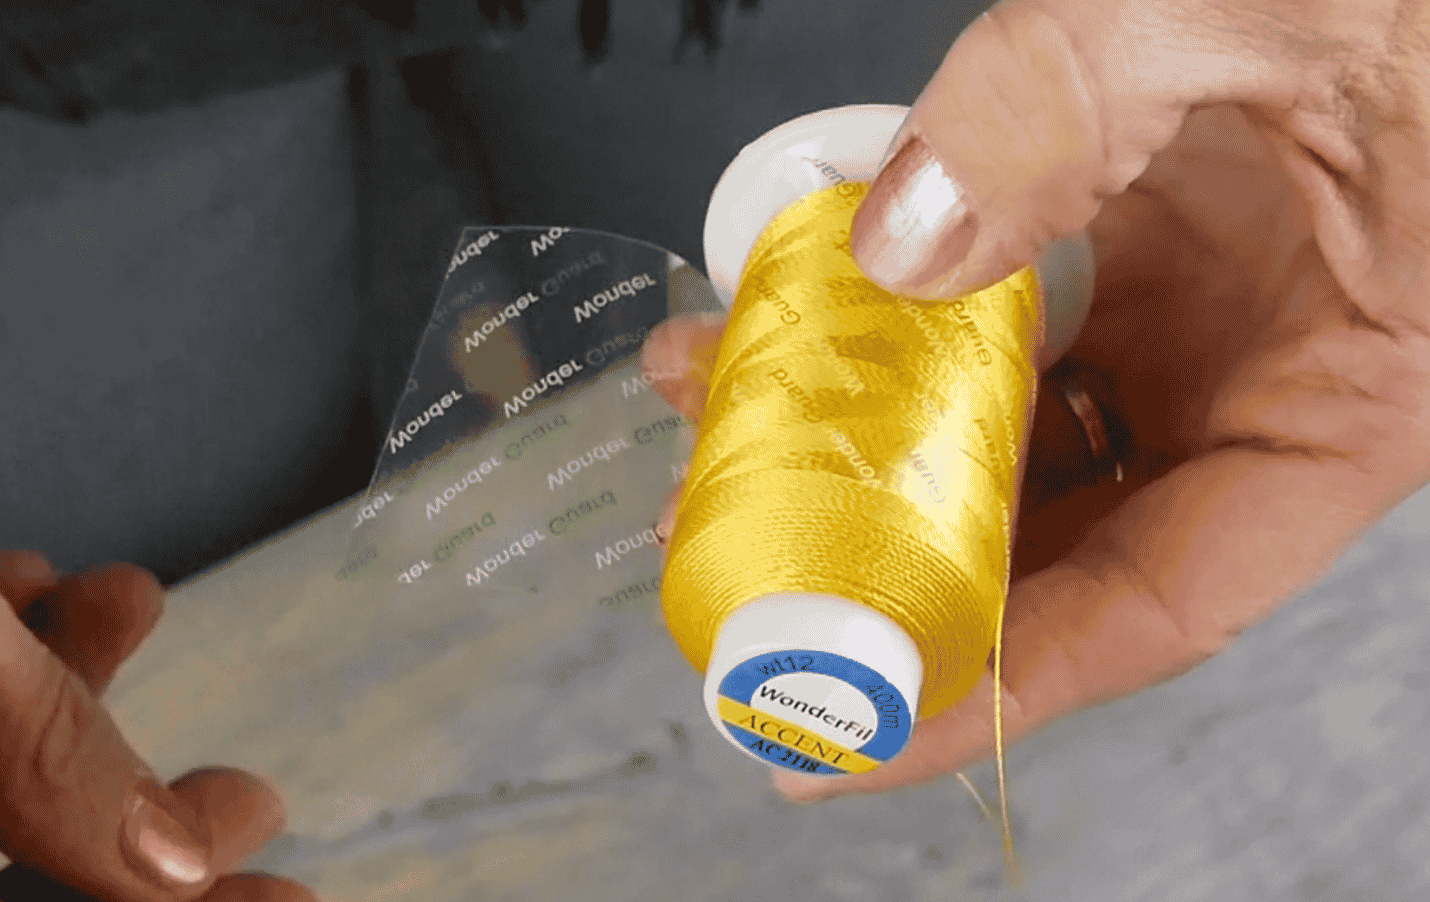
If you’re sewing with a specialty thread, it’s best to consider how some sewing accessories can enhance your sewing experience. If you have a slippery thread that tends to pool around the base of your spool, we highly recommend using a Wonder Guard™. Wrap this thread guard around the spool to stop the slippery thread from sliding down around the base of the cone, which can get caught, tangled, and change the tension of your thread and cause thread breaks.
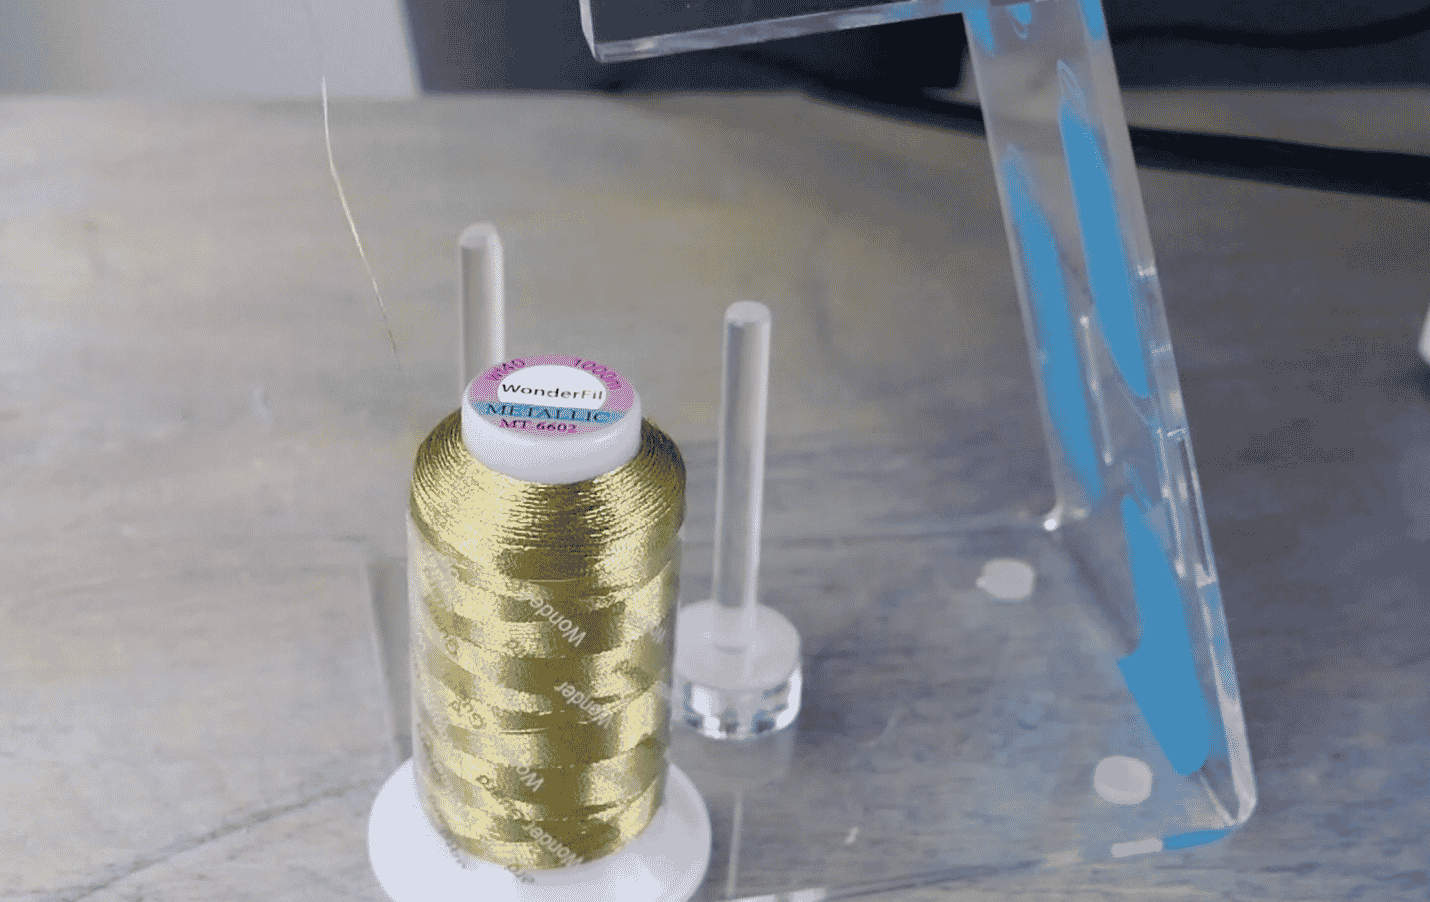
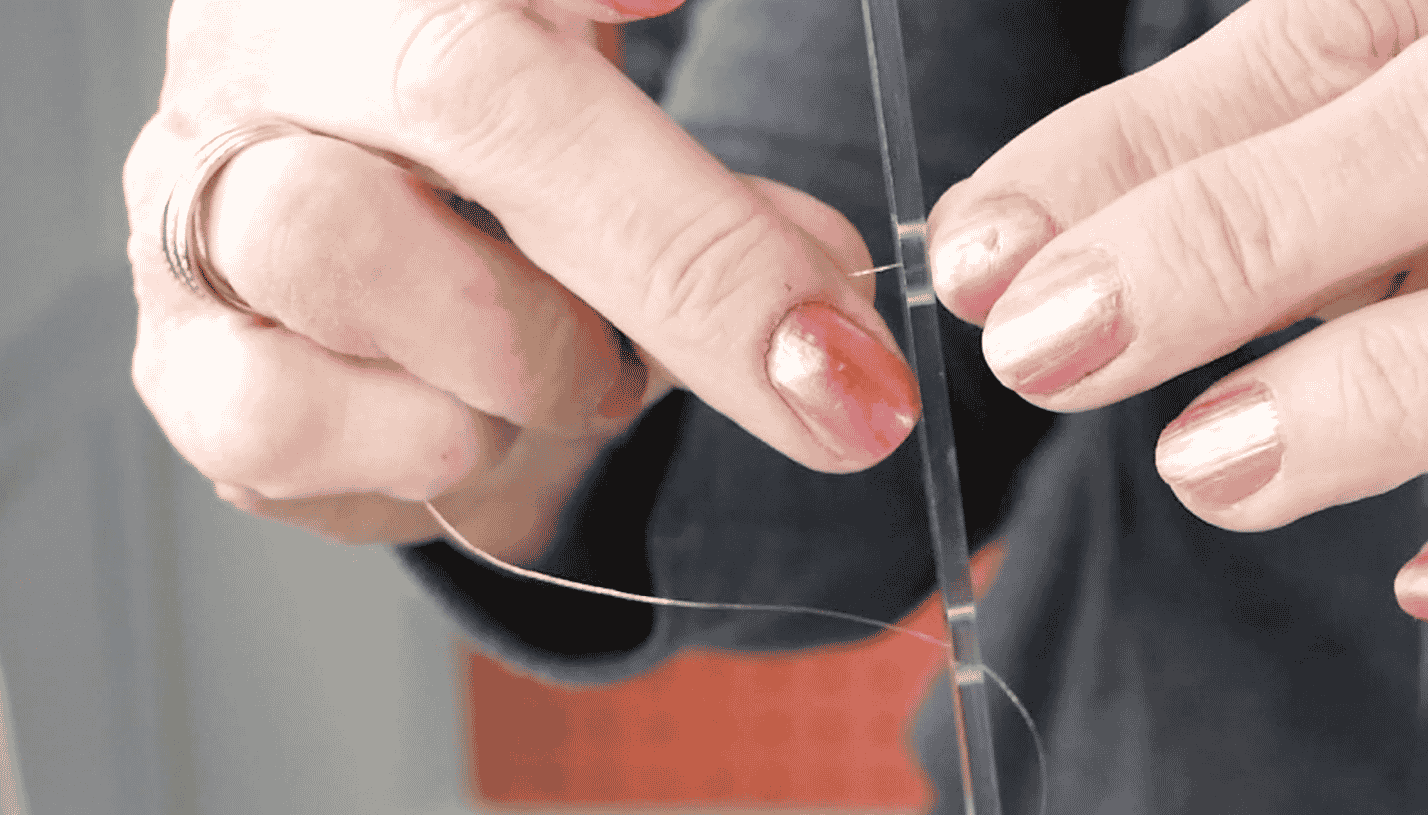
In addition to this, a Thread Tamer is also great idea for slippery threads or threads that curl, such as metallic thread. Drawing the thread through the multiple slots will help pull those curls out of a metallic thread and also give the thread a chance to relax before it enters the machine. This is a huge benefit to slippery threads and metallic threads that tend to have these problems.
We hope this helps you understand the causes of thread breaks and the ways you could prevent them!

