
We’re going to show you a very useful tool for your sewing room: iron fusible thread. You can use this either in your bobbin or as a top thread, and it’s a great way to do everything from appliqué, lining up fabric patterns, or even making the perfect quilt binding. WonderFil’s Iron ‘n Fuse thread will actually melt and glue your fabric down when exposed to the heat of an iron. But it’s not permanent, you can still pull it up and move your pieces around, then re-fuse it in place if you don’t like the placement. There’s a lot of things you can use it for, so let’s check them out.
1: Matching stripes, plaids, & patterns:
You don’t need a sewing machine for this one. Lay the thread on the right side of the fabric, along where you want the seam to be. Then take your second piece, line the pattern up to where you want it, and leave it right sides facing together. Give your fabric a quick press and the fusible thread will keep everything in place without pins!

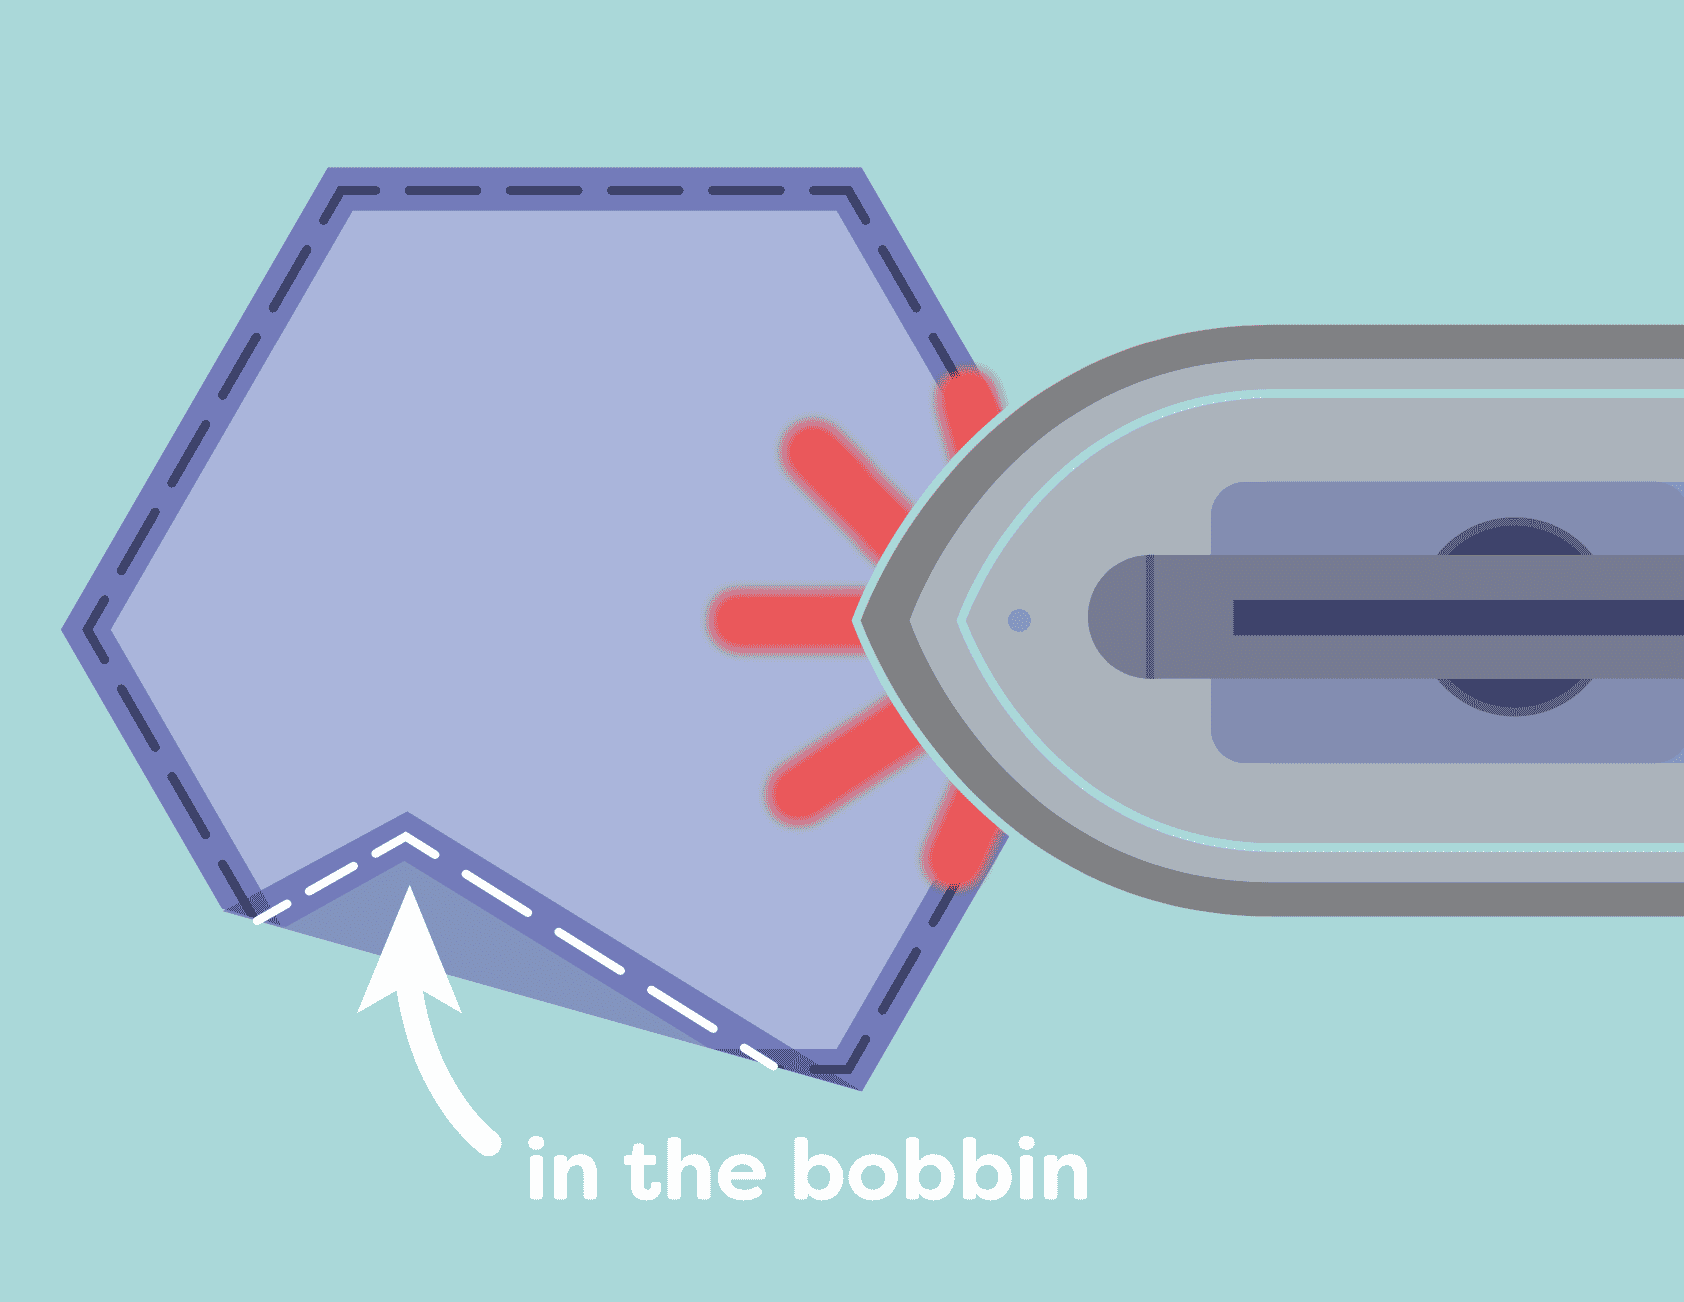
2: Applique:
Wind the Iron ‘n Fuse on an empty bobbin and use a regular sewing thread on top. Stitch around the appliqué shape, press, remove the top thread, and then trim closely. Use a decorative stitch on the raw edges of the fabric to finish appliquéing it down. The result is a natural looking appliqué without the stiffness of fusible interfacing; it also helps to reduce the puckering caused by using pins. If you happen to place your appliqué incorrectly, you can peel it up, move it and re- fuse it in place.
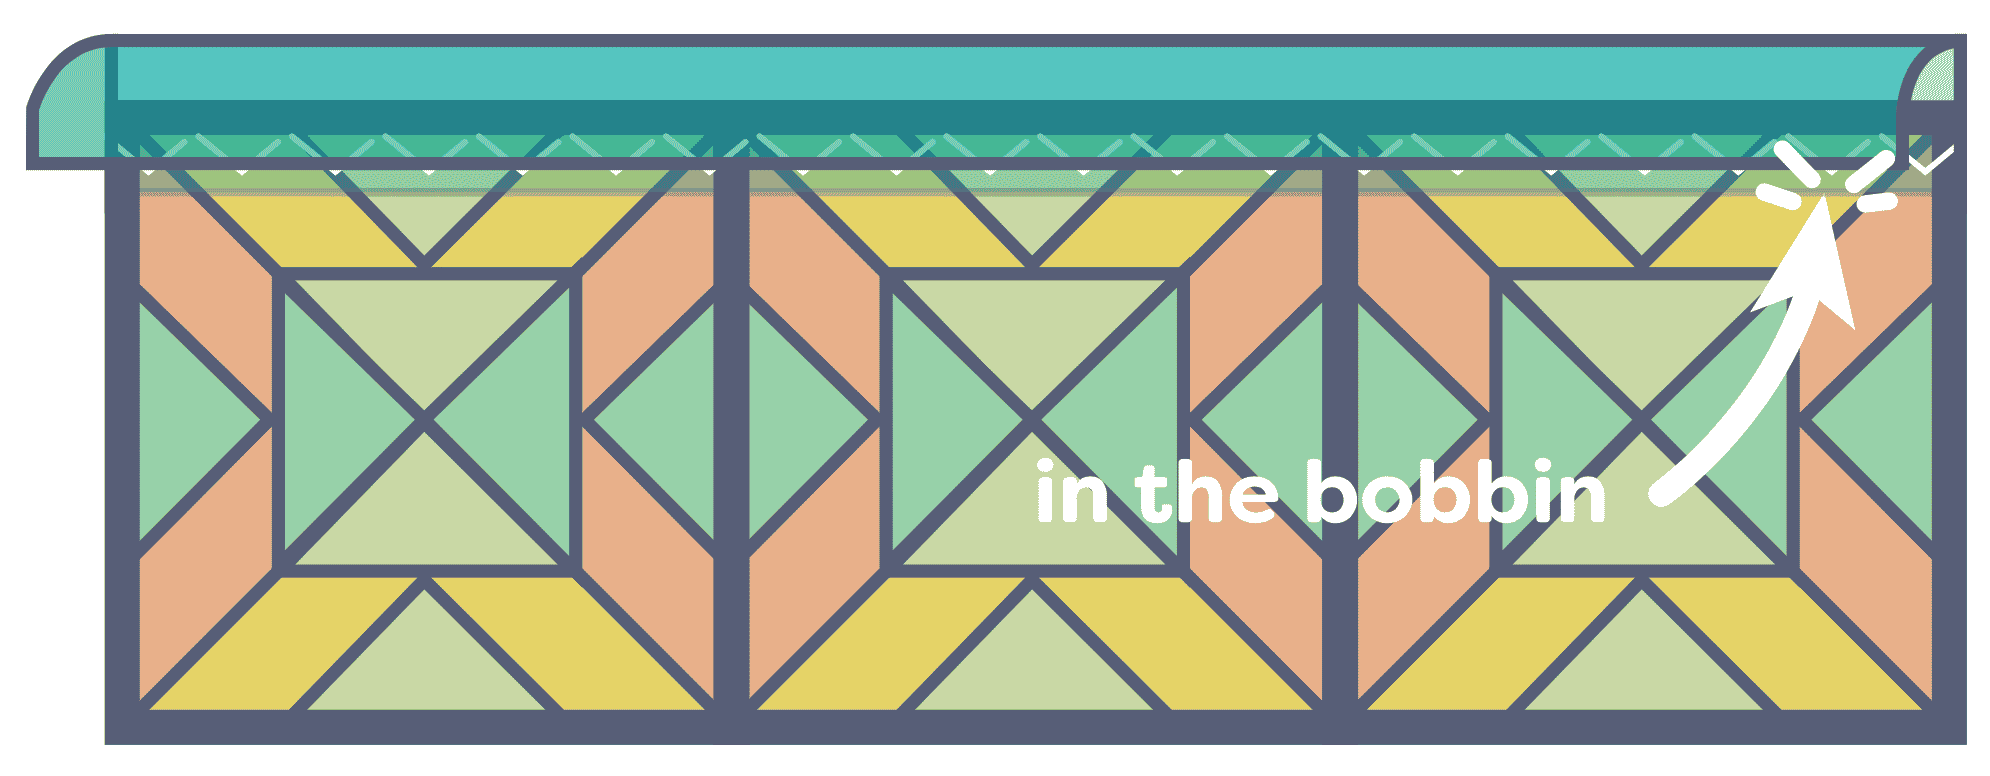
3: Binding a quilt: Place your folded binding on the wrong side of your quilt. Use a tight zig zag to attach it to the quilt, with fusible thread in your bobbin and regular thread in the top. Now turn your binding to the right side and fuse over the seam. You can now stitch your binding down, stitching close to the edge of the binding. You will be sure to catch the underside of your binding.
4: In the lower loopers of a serger: Serge around your hemline with fusible thread in the lower looper of your serger and regular thread in the needle and upper looper. Turn up hem and fuse, then turn your work to the right side and stitch for a simple turned up hem.

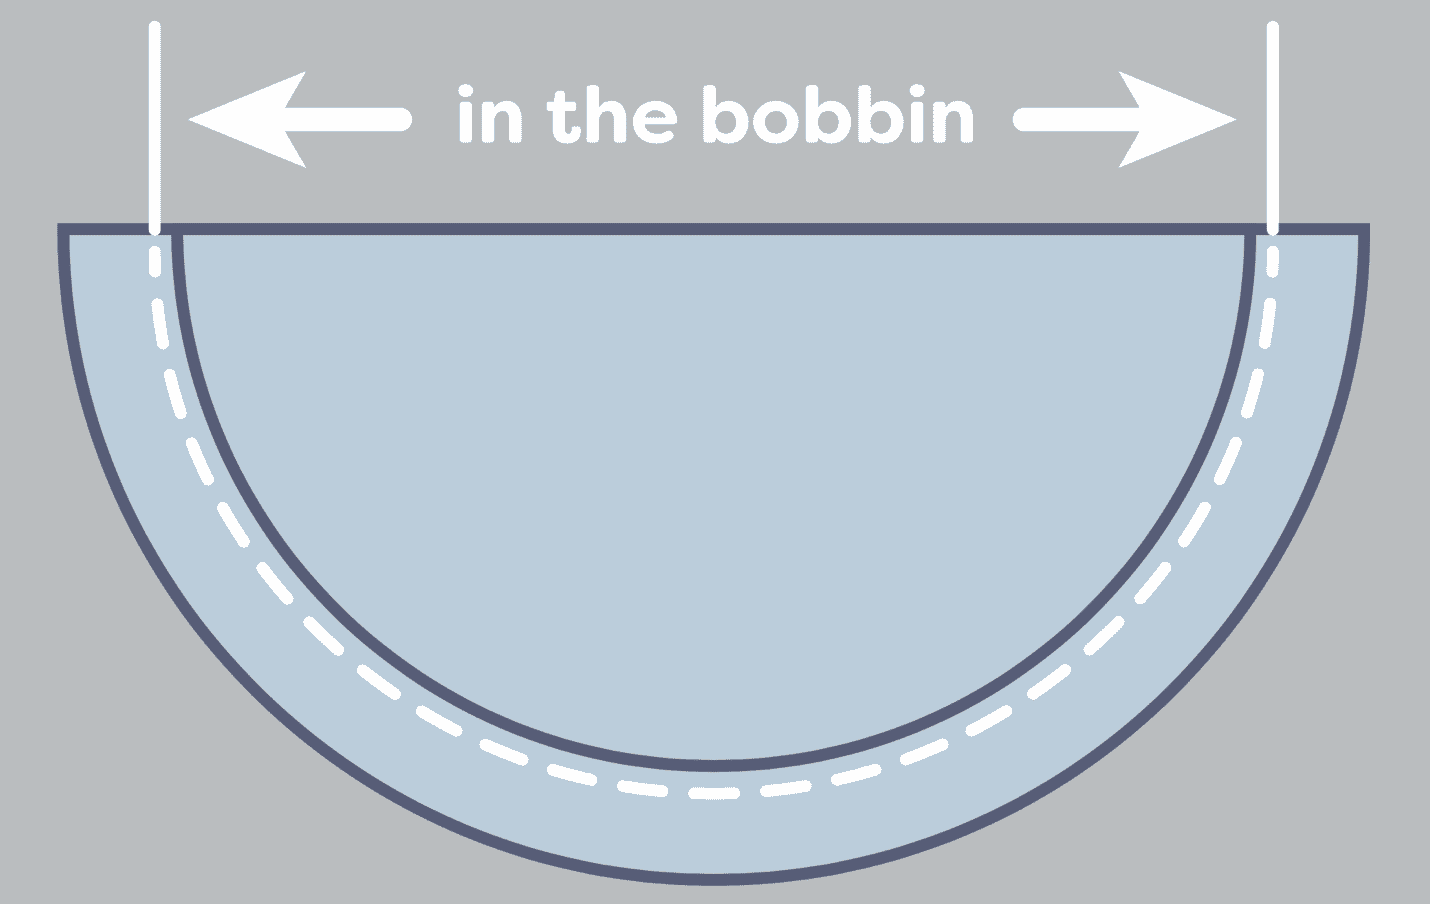
5: Curved hem: Run a row of long basting stitches along your curved hem edge, with a regular thread in the needle and the fusible thread in the bobbin. Gently pull up on your bobbin thread to ease in the shape of your curved hem, and then fuse your hem in place. This will make hand stitching your hem in place easier. You could also turn your work right side up to machine stitch your hem without worrying about the hem being distorted on the underside.
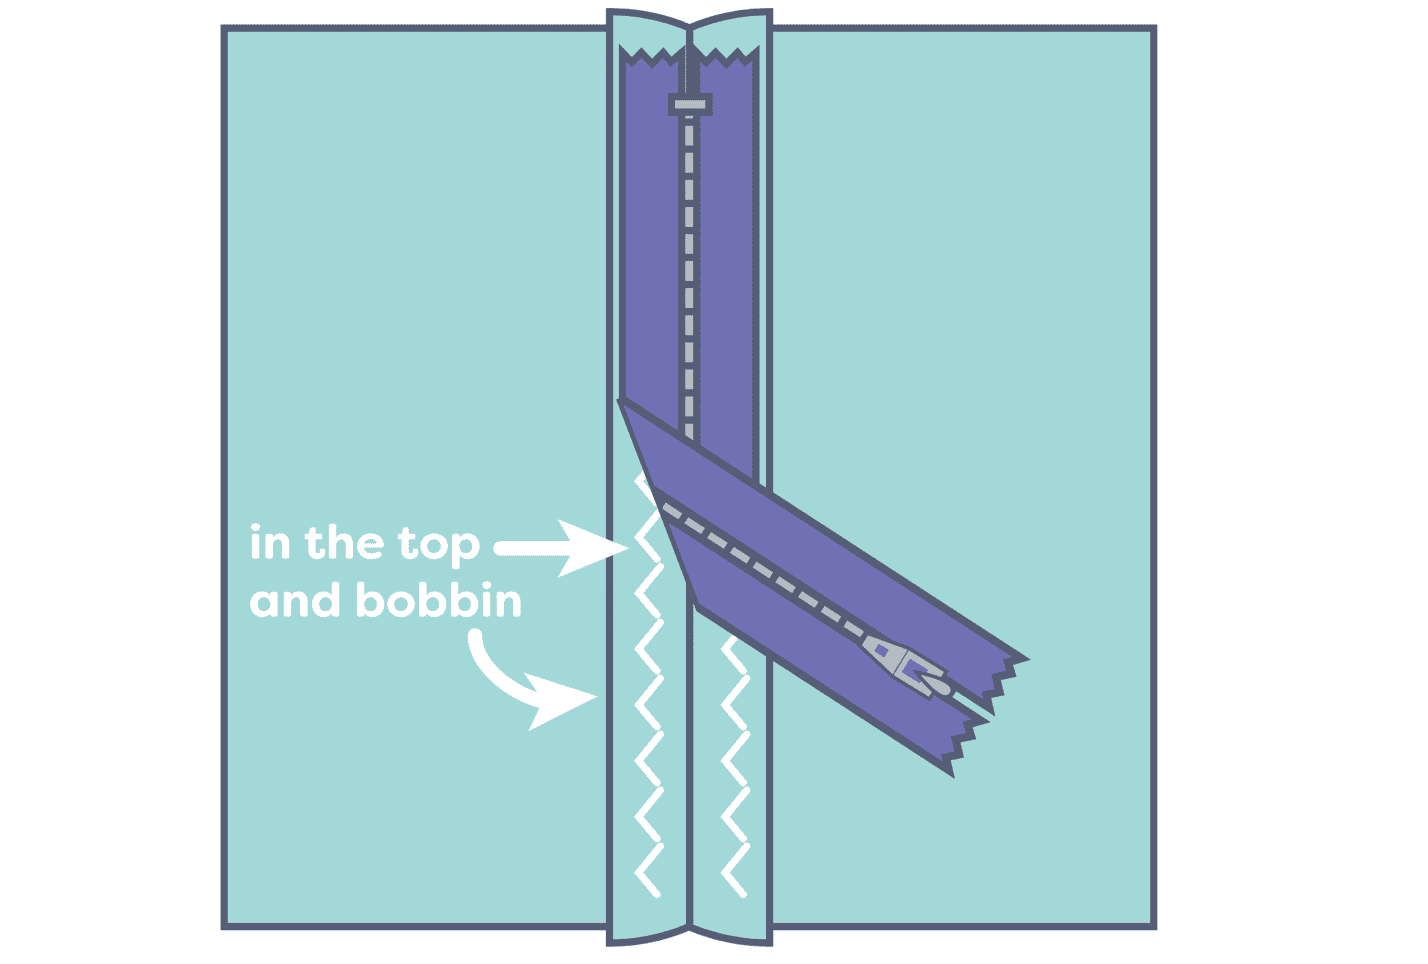
6: Placing zippers: Baste your zipper opening closed, then press the seam open. Run a row of stitching along both seam allowances, with the fusible thread in the needle and the bobbin. Center your zipper under your seam, and press both sides to fuse down the seam allowances and at the same time fuse your zipper in place. You can now stitch around your zipper without worrying about it shifting. When your stitching is complete, remove the basting thread that holds the opening closed.
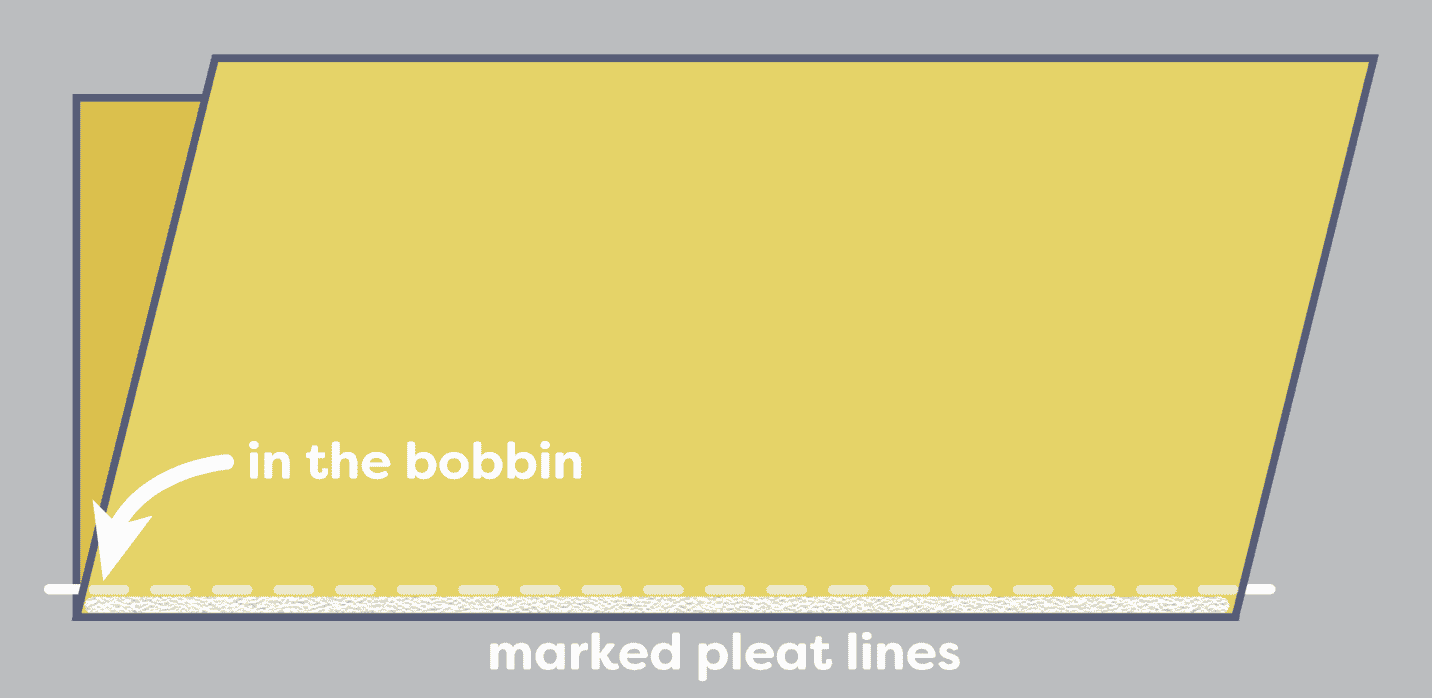
7: Making pleats crisp: Mark your pleat lines on your fabric (both inside pleats and outside pleats). Now stitch a scant 1/8” away from the marked lines, with regular thread in the top and fusible thread in the bobbin (the bobbin thread should be on the inside of the pleat). Using a press cloth, press along your marked lines. The fusible thread will help to make the pleats crisp.
Let us know how you like to use iron fusible thread in the comments, or if this blog inspired you to try something new using iron fusible thread! You can also watch these tips in action in the video below.