Do you have an old denim jacket floating around that you haven’t worn in ages? Today we’re going to show you how to refresh your wardrobe with this super cool way to upcycle your jacket using transparent mesh and simple hand embroidery stitches. This is an easy way to bring new life to old garments, and show of your personal style with a little bit of crafty flare. With just a few simple items you can find at your local fabric shop, and some WonderFil threads, and your embroidery machine you’ll have this project finished in no time.
You can watch along with our YouTube video while you make your upcycled jacket! Afterall, friends don’t let friends craft alone!
Before you start, you’ll need some nylon or polyester tulle. This material has a fine mesh pattern that you can see through and will be the base for our hand embroidery stitches. You can get creative and choose any colour you like; however, we’re going to be demonstrating this on black tulle.

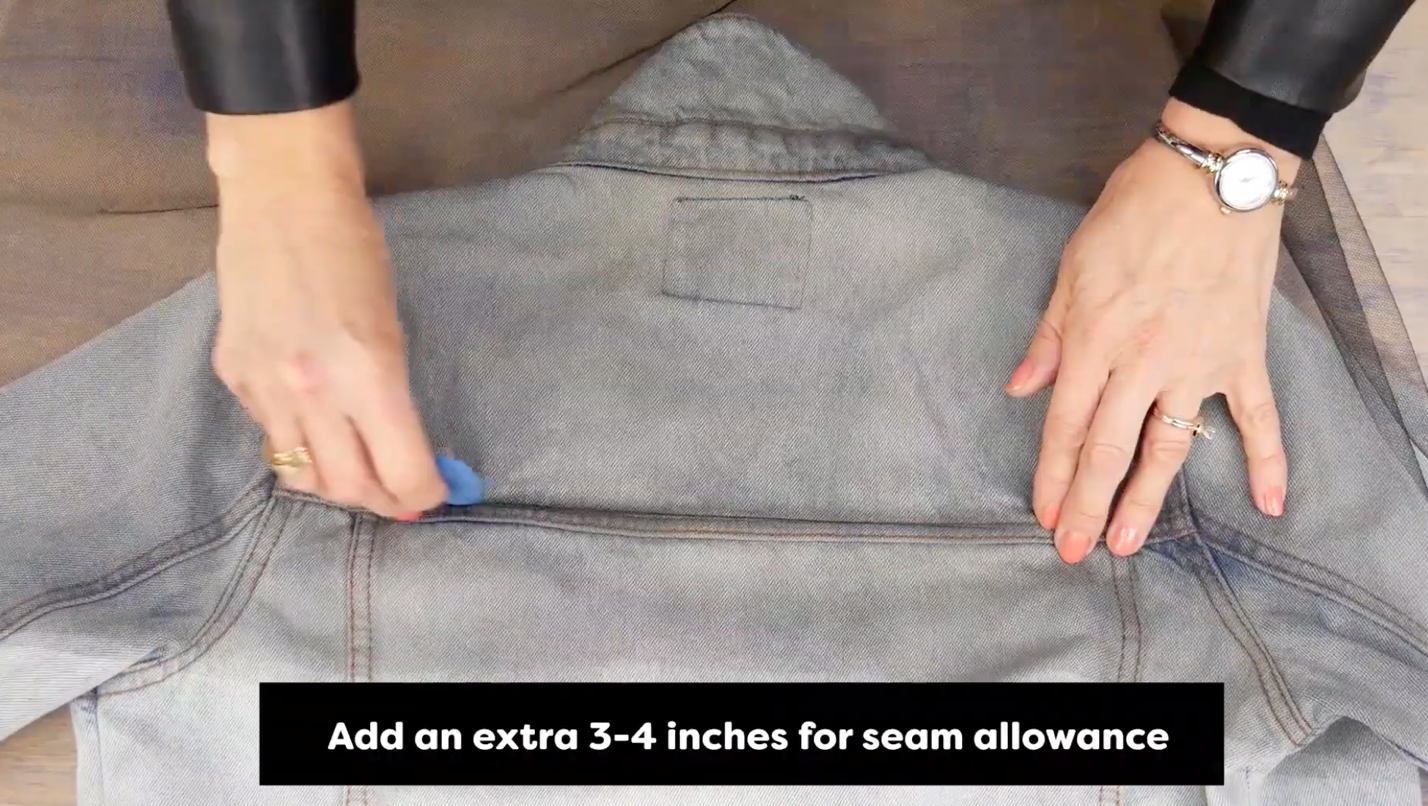
Next you’ll need to decide where you want your embroidered mesh panel to be located on the jacket. We’re going to replace the upper back portion of the jacket. Keep in mind, you can cut out multiple different sections of the jacket and replace it with beautiful hand embroidery. Consider replacing the entire backside, shoulders, or sleeves!

If necessary, trace the outline of the panel you’ll be cutting out of your jacket. Trim your tulle to the size of the section you want to replace, plus an extra 3 or 4 inches so that you have plenty of room to embroider onto the fabric and place it perfectly in your cut-out panel on your jacket.
Don’t have a denim jacket around that you’re willing to cut a panel out of? No worries, here’s a link to some affordable denim jackets you can use specifically for this project: https://oldnavy.gapcanada.ca/browse/search.do?searchText=jean%20jacket&autosuggest=true
You can find other styles here: https://www2.hm.com/en_ca/search-results.html?q=denim+jacket

Hoop a piece of sticky washaway stabilizer paper side up, cut to the same size as your panel of tulle.

Once it’s hooped trace an ‘x’ through the centre and around the edges of the hoop and peel away the paper layer to reveal the sticky side.

This will give a firm backing to the stitches of your machine embroidery. Lay a single layer of tulle onto the hoop and press it firmly onto the sticky stabilizer. There’s no need to stitch around the edges to keep it in place, as this stabilizer is sticky enough to hold this fabric down without any help. And because It’s washaway it won’t leave any sticky residue on your stitches or your fabric once it’s dry.

We’ll be using Silco™ as our thread for this project. Silco™ is a 35wt 100% lint-free cotton. Even though this thread is mostly matte, it still gives off a slight bit of shine leaving your embroidery with a professional looking quality. The slightly heavier cotton thread will give your embroidery a hand stitched look.
You can find Silco™ online or at a shop near you here

For this design, we’ve embroidered one side and then mirrored the design to embroider the other side, completing one set of florals at a time. In between each
If you’re looking for some fun florals to embroider onto your upcycled jacket, we’ve found a bunch of floral designs for you to use for free: https://embroideres.com/free-embroidery-designs/individual-free-embroidery-designs/flowers-free-machine-embroidery-collection

Once the design is finished stitching out cut away most of the stabilizer, taking care not to cut your tulle.

Gently wash away the remainder of the stabilizer with some warm water, taking care not to handle the stitching too rough so the threads all stay neat and tidy.

When you’ve completed your embroidery design, it’s now time to attach it to the jacket. Cut out the panel on your jacket, being careful not to cut through the stitching on the yoke or any seams holding the jacket together.

Layer the embroidered piece of tulle with one more layer of tulle underneath it to give it a bit of extra strength when stitching it into the jacket.

The thread I’ll be using to sew the tulle on is this 80wt cottonized polyester thread called DecoBob™. This is a very fine thread that will disappear into the fabric so it can’t be seen. Because it’s a polyester thread, it’s still strong enough to firmly hold the material in place for daily wear.
You can find DecoBob™ online or at a shop near you here

We will also be adding some top stitching to match the stitching of the original jacket with Spagetti™. Spagetti™ is a 12wt long staple double-gassed Egyptian cotton and will match beautifully with the stitches that currently exist on the jacket.

You can find Spagetti™ online or at a shop near you here

Pin the tulle in place, then stitch along the existing seams with DecoBob™, following along the line of the original stitching. When you pin this in place be sure that there are no ripples or folds in the fabric so that when it’s being stitched down it’s nice and smooth.

Next switch to Spagetti™ and stitch a single or double row of top stitching along the raw edges.

Make sure your embroidery panel is stitched firmly in place and cut away any excess tulle from the underside.

The final result? An incredibly unique, hand embellished new piece for your wardrobe! This beautiful upcycled jacket can be customized with any hand embroidery design you like, so you can personalize it to your own perfect style.

Be sure to tag us on social media using the hashtag #wonderfil so that we can see all of your lovely creations. You can also sign up for our free newsletter to receive more educational sewing tips, tutorials, and free patterns. Register by clicking here! We’ll see you again next time!

