English paper piecing is hand sewing technique where fabric is wrapped around a paper template to create a precise design. These pieces are then hand stitched together into a pattern that can be used in quilts, crafts, or decorating any sewing project you like!
It’s great for designs that don’t have long straight sides, but instead have numerous set-in corners, such as hexagons or diamonds. It’s also very portable, meaning you can work on your project while travelling, and is wonderful for meditative hand stitching.
WonderFil has come up with a popular thread that will allow paper piecers to have the tightest, flattest seams possible. You may have heard of it. It’s called InvisaFil, and this is a 100wt thread, meaning it’s incredibly fine. It disappears almost completely into your fabric, and because it’s so thin, it allows your pieces to sit snugly against each other.
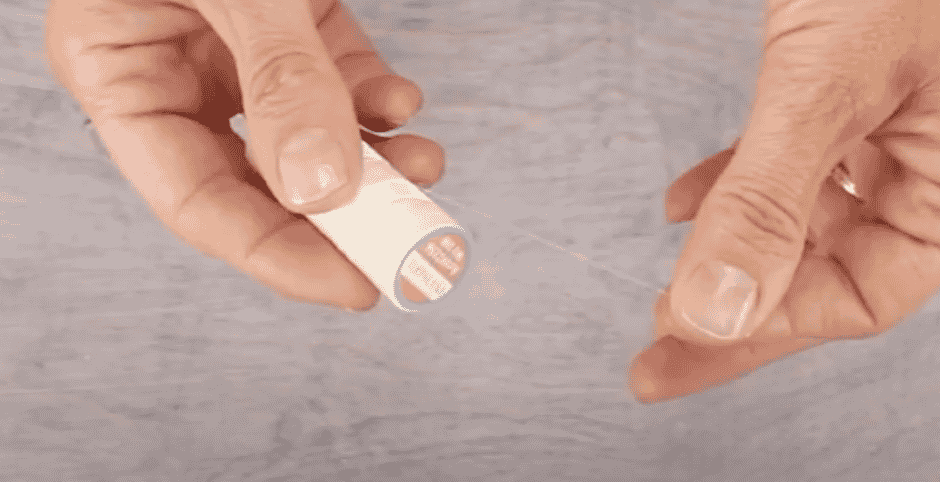
Since we’re using such a fine thread, we want to use a needle with a smaller eye. A #11 or #12 sharps needle will work well since the eye is small enough that the thread won’t slip out easily.
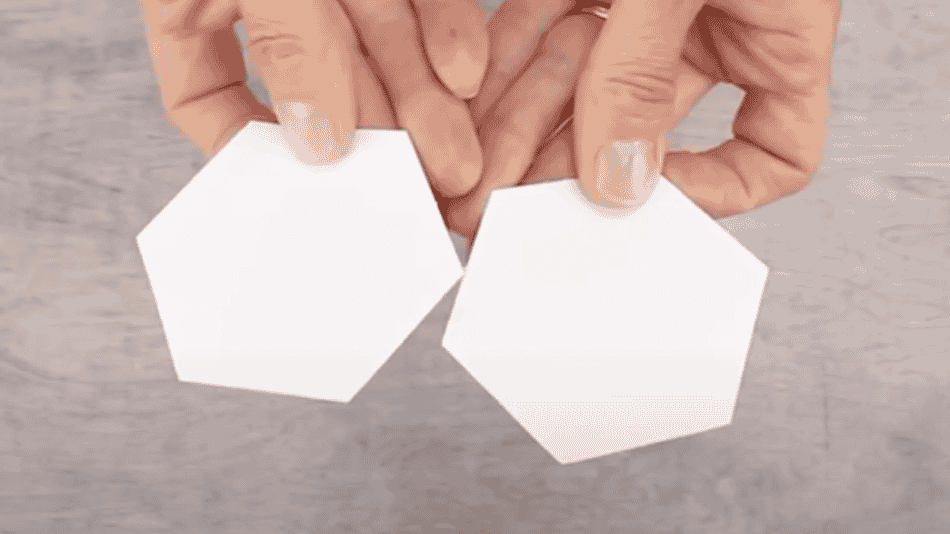
You’ll also want your paper template which can be purchased pre-cut like these, or you can print your template on cardstock and cut them out. Paper piecing templates are available in all shapes and sizes, but today we’re going to be demonstrating with the traditional hexagon.
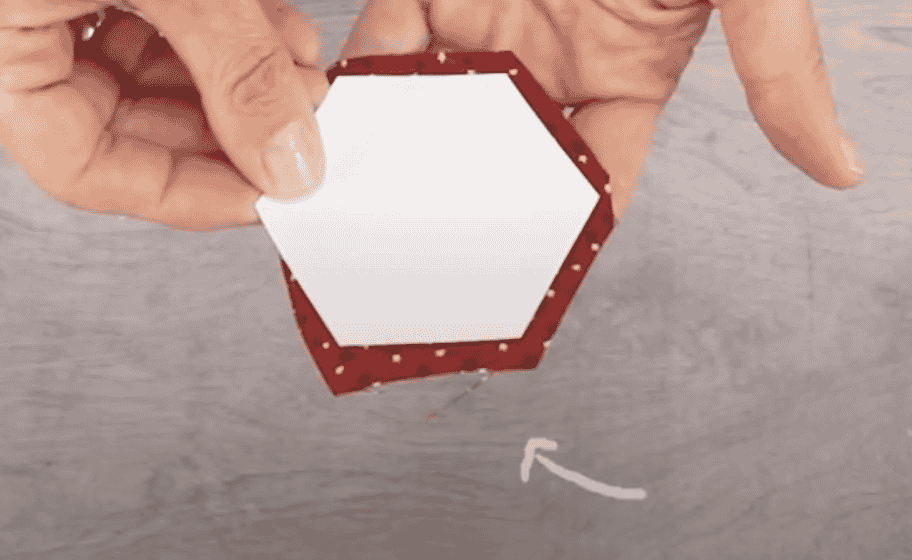
You will also need your fabric, which will need to be cut larger than the template to allow for turn over. We like to cut them with a generous quarter inch allowance on each side.
As an option, some people like to use fabric glue to shape the fabric around the template. The advantage of glue is that it is fairly easy to prepare your pieces. The disadvantage is that it is a bit harder to remove the paper backing once you’ve joined the pieces. The alternative is putting small stitches in the fabric behind the piece, so we’ll demonstrate both methods so you can choose the best one for yourself.
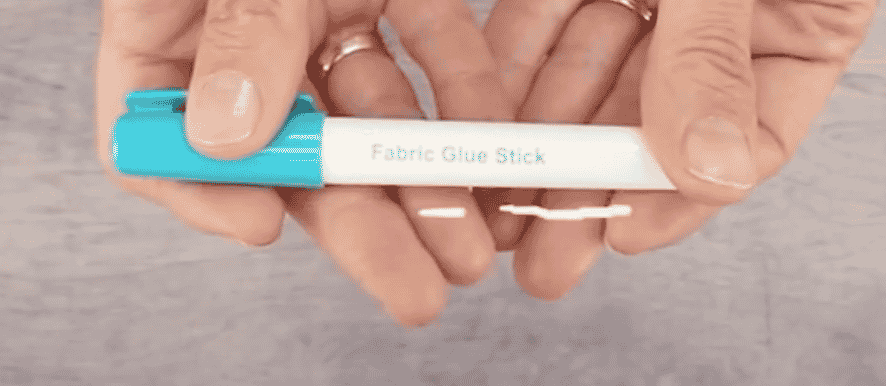
Now to begin, we’re going to prepare the hexagons. Here is our template and fabric, and you can see that we’ve cut our fabric larger than the template. First, we’re going to demonstrate using glue to attach the fabric to the paper.
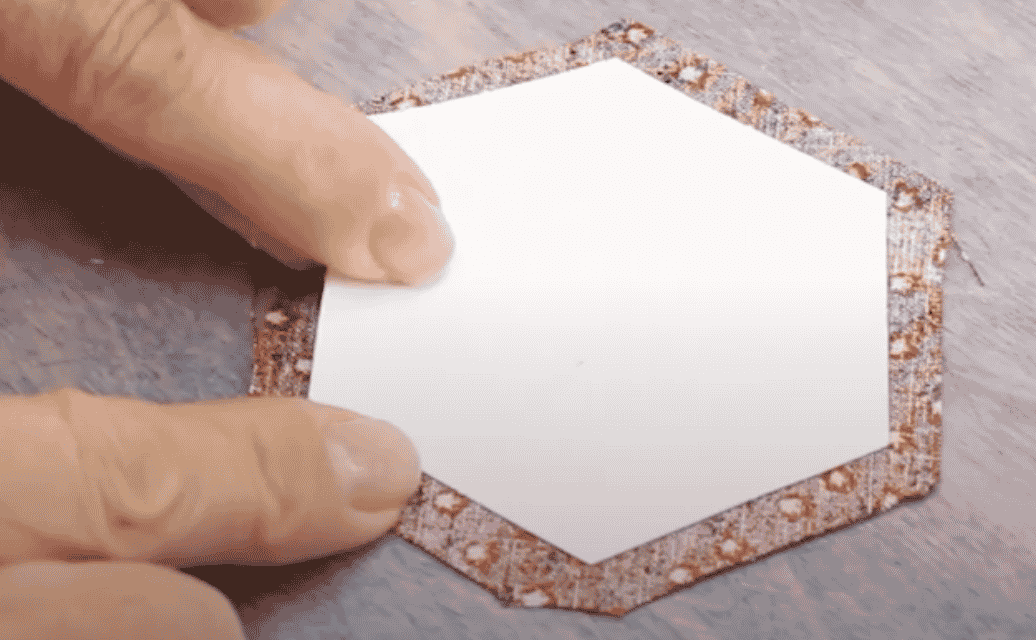
Place your fabric right side down and center the template on the fabric. Run a line of glue along one side of the template and press the fabric down, making sure to keep the template centered and the fabric wrapped tightly over the edge.
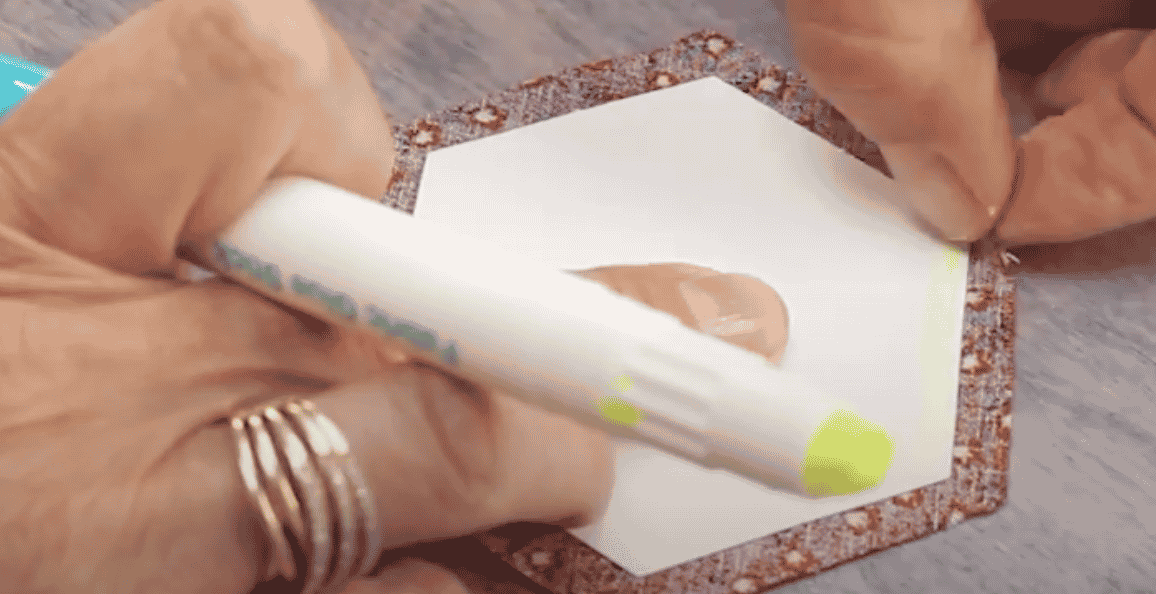
Now run another line of glue along the joining side of the hexagon, making sure to get glue on the folded fabric from the previous fold. Push the corner in as you press this row down, once again keeping your template centered and the fabric firmly folded over.
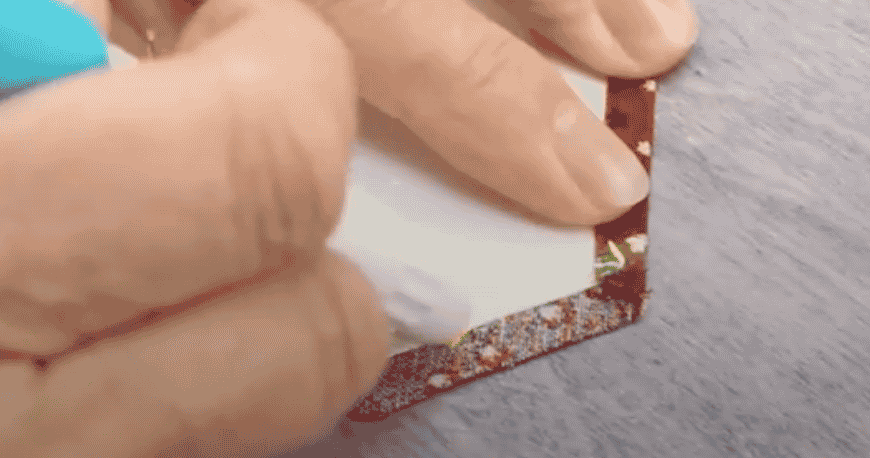
Continue along each side until all the sides have been secured down.
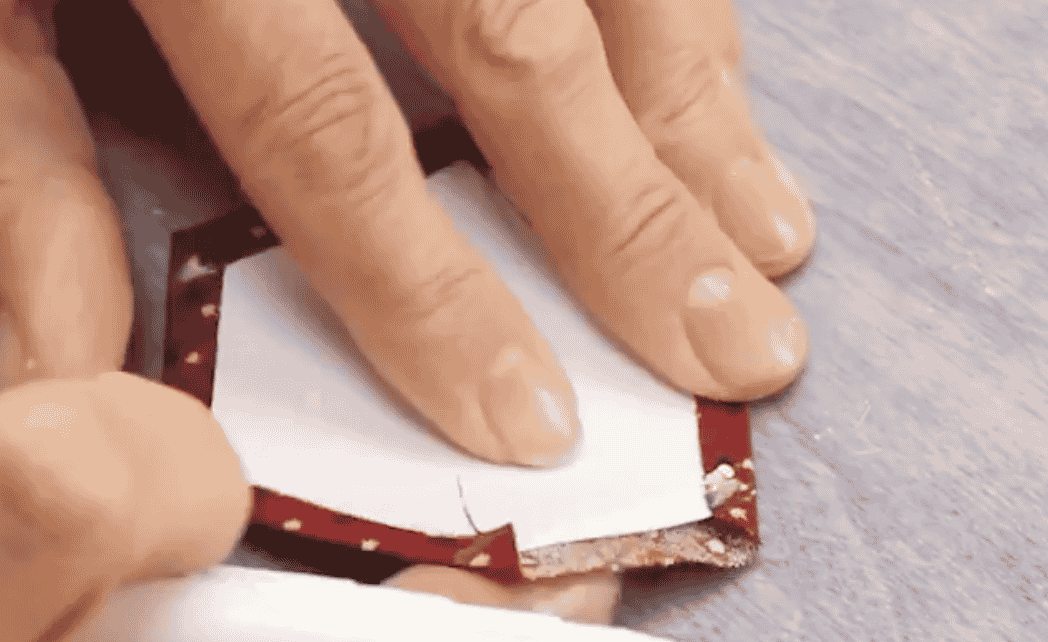
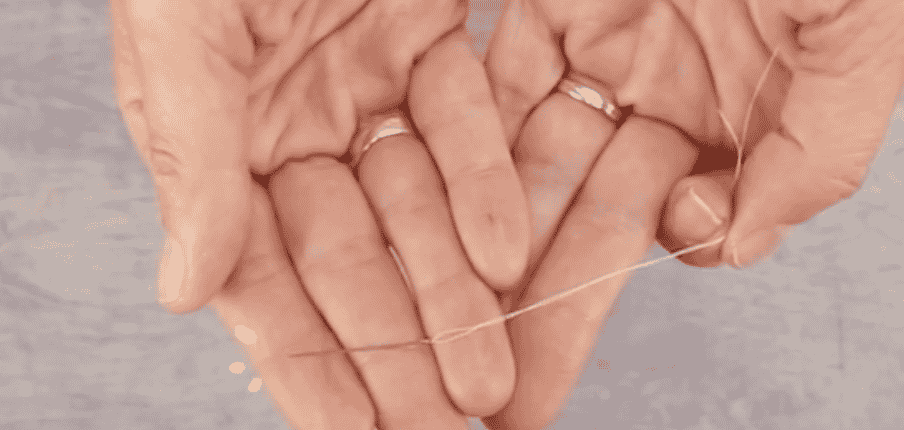
Now we’re going to show you how to hand stitch the fabric to the template. Here’s our threaded needle, and when we’re using a fine thread like InvisaFil, we like to make a small hand-over knot in the thread right behind the eye of the needle. Because the thread is so fine, this won’t impede your stitching, but will prevent your thread from slipping out of the needle.
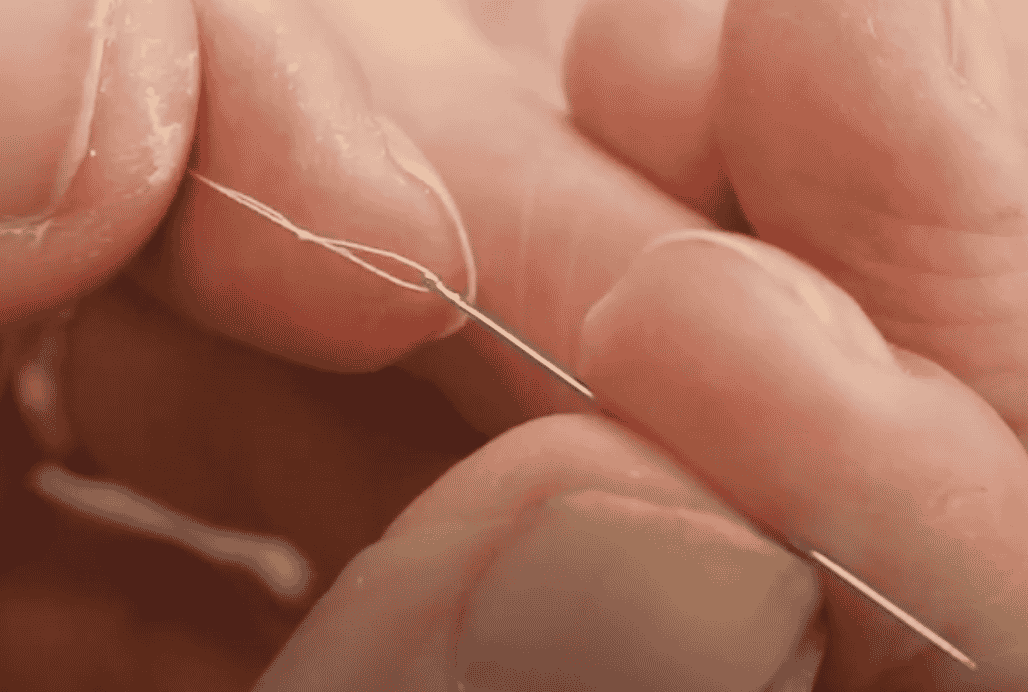
Now we’re going to knot the tail of the thread with a good knot. When you take your first stitch, take care to pull gently so as not to pull the knot through the fabric. When you take a few stitches in one spot, your thread will be secure.
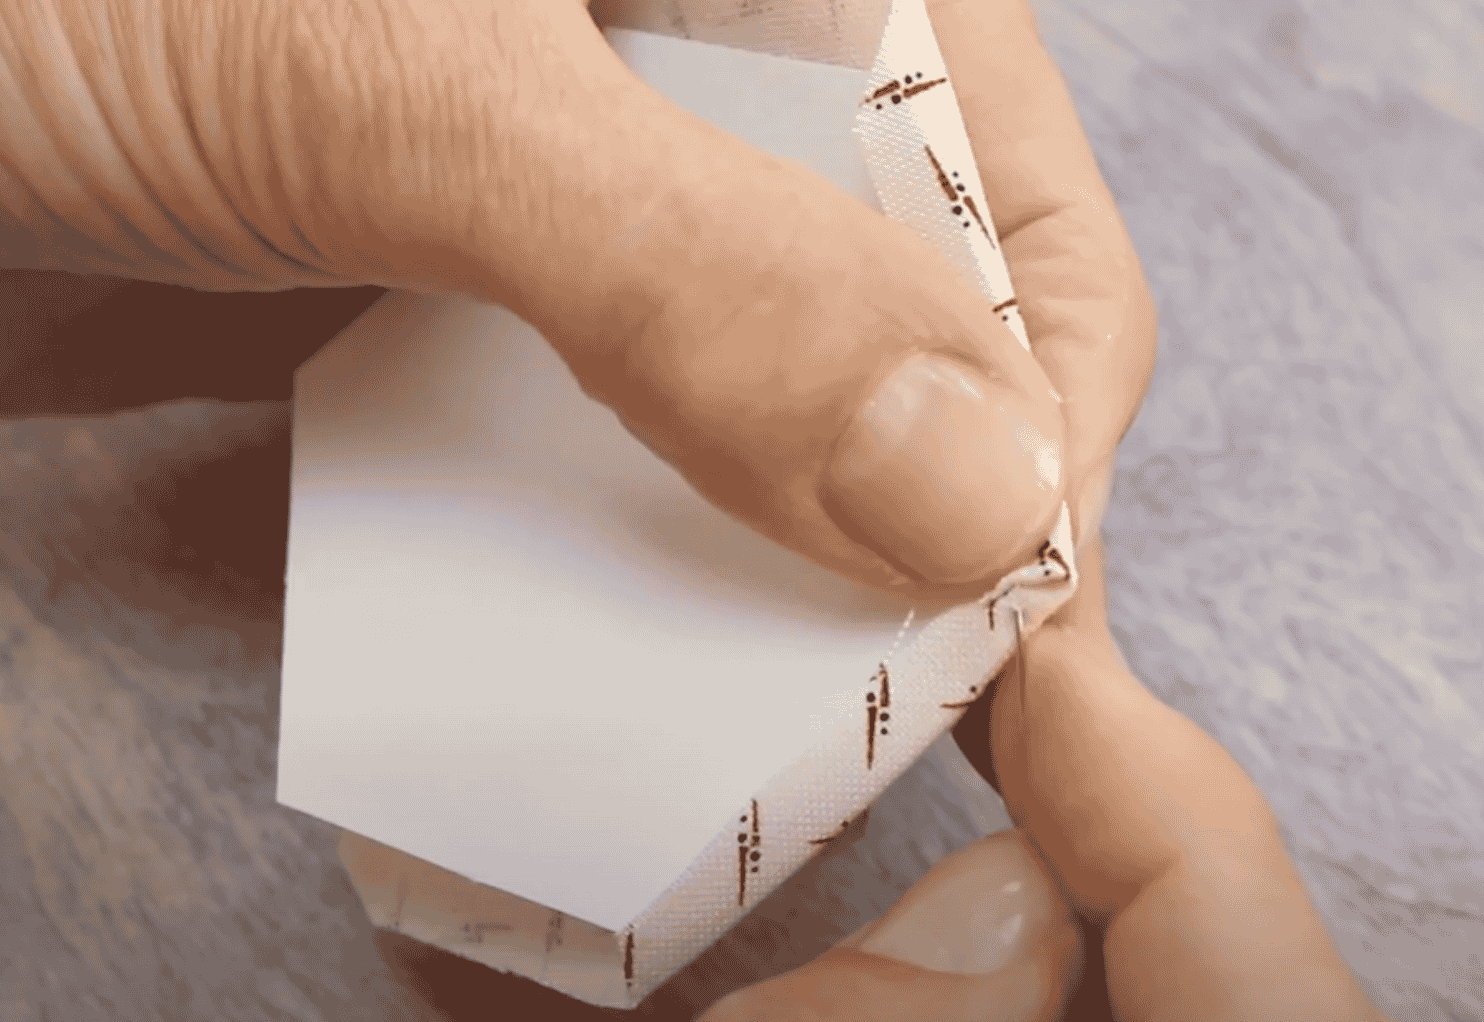
First, finger press one side down, keeping your template centered. Now use your finger to push the corner in and finger press the next side over. Holding the corner down with your finger, take a few small stitches in the corner using a simple whip stitch.
Moving to the next corner, repeat this process. The thread will run along the side of the hexagon, parallel to the edge. Pull your stitches firmly to keep your edges tight and continue to work around your piece until all six sides are secure.
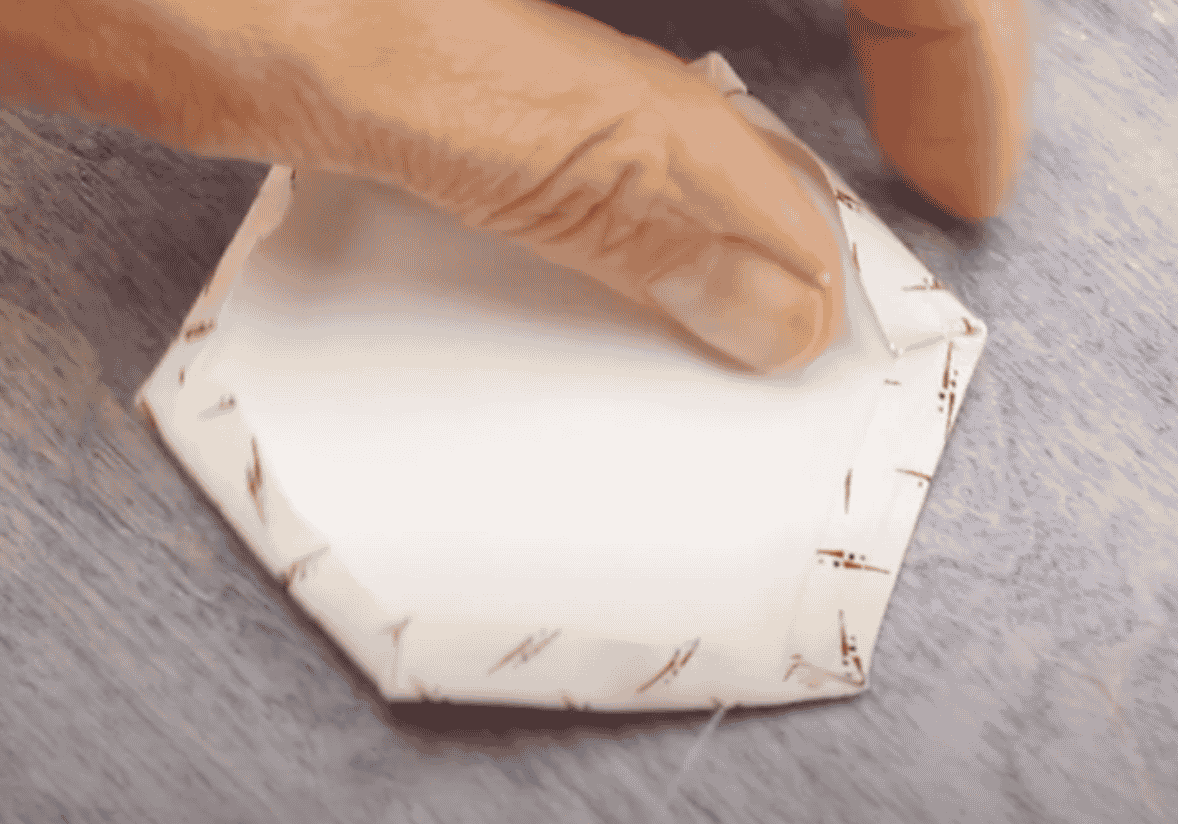
When you’re finished, take a few more small stitches in the first corner, knot the thread, and trim.
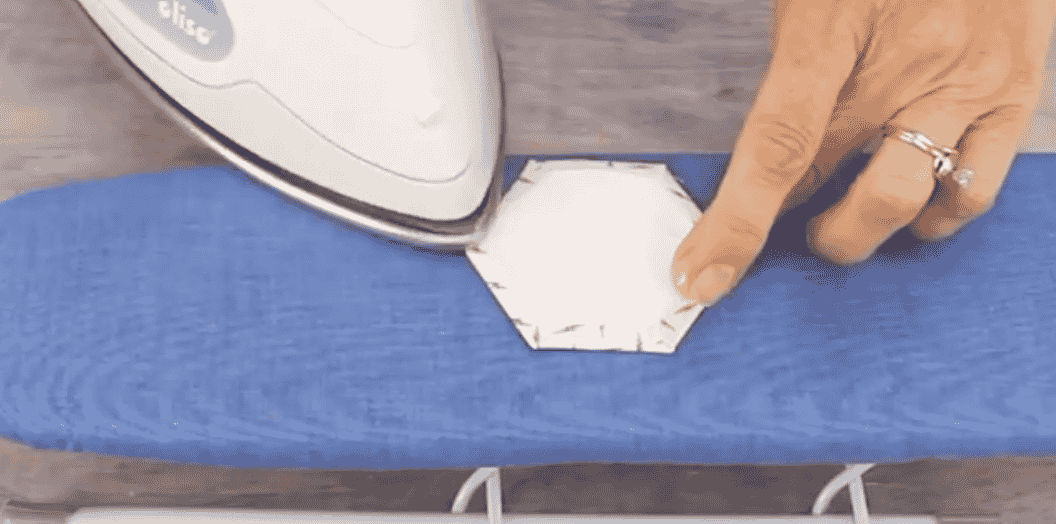
Now that we’re done our first piece, we’re going to give it a quick press with the iron to further sharpen the edges.
We’re now going to join the pieces together. First lay out your design and decide where you want to place each piece. Lay your adjoining pieces right sides together, working from the centre out. Thread and knot your needle as we showed before.
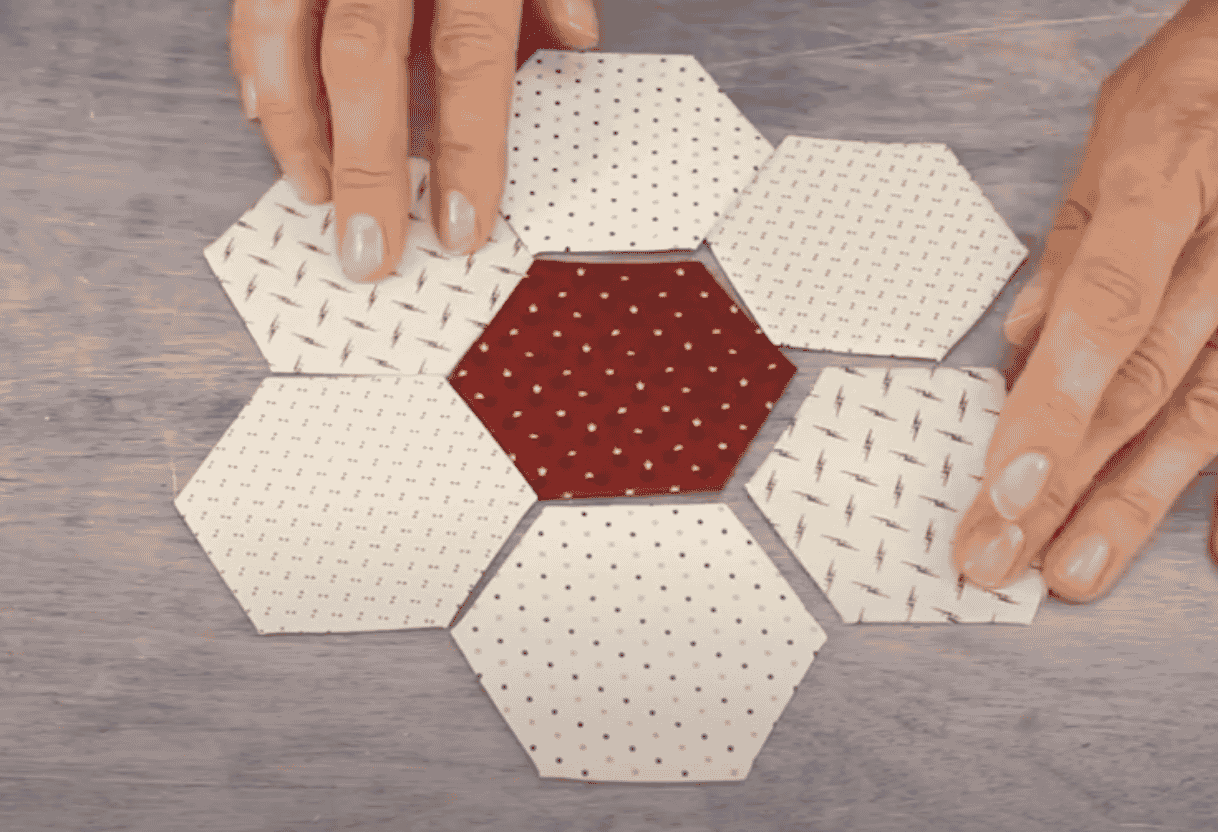
Starting exactly in the corner, take a few small whip stitches making sure to only catch a tiny amount of the fabric from both sides. Now you can begin working your way across, doing a small whipstitch and again trying to catch only a tiny amount of both fabrics with each stitch.
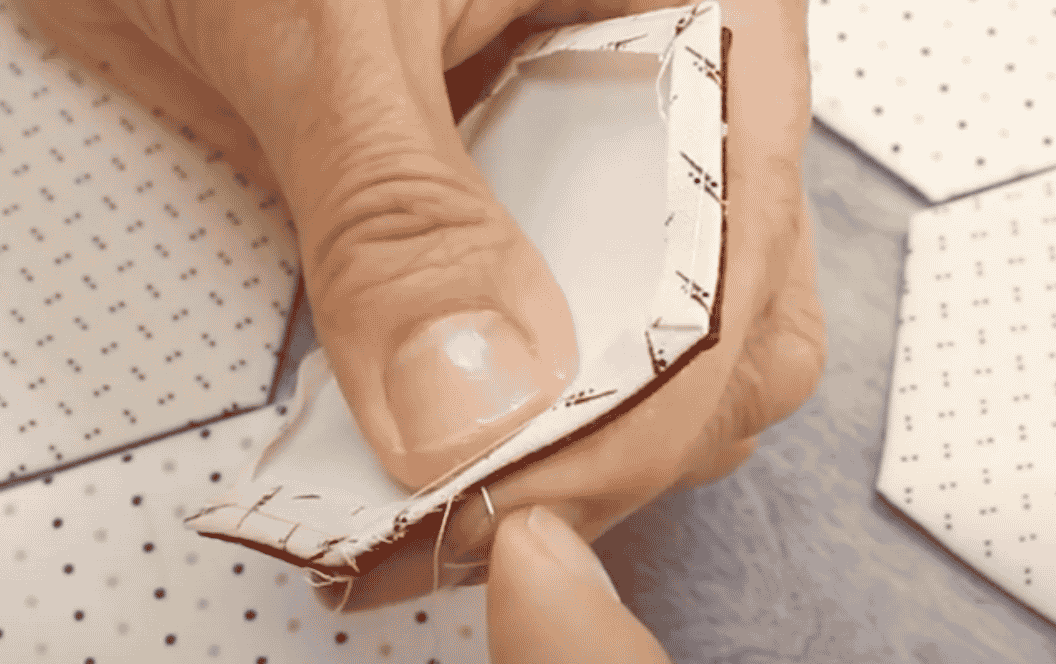
When you reach the next corner, take a few small stitches again in the exact corner of both sides. This will secure your stitching so it doesn’t come out. Your first two pieces are attached!
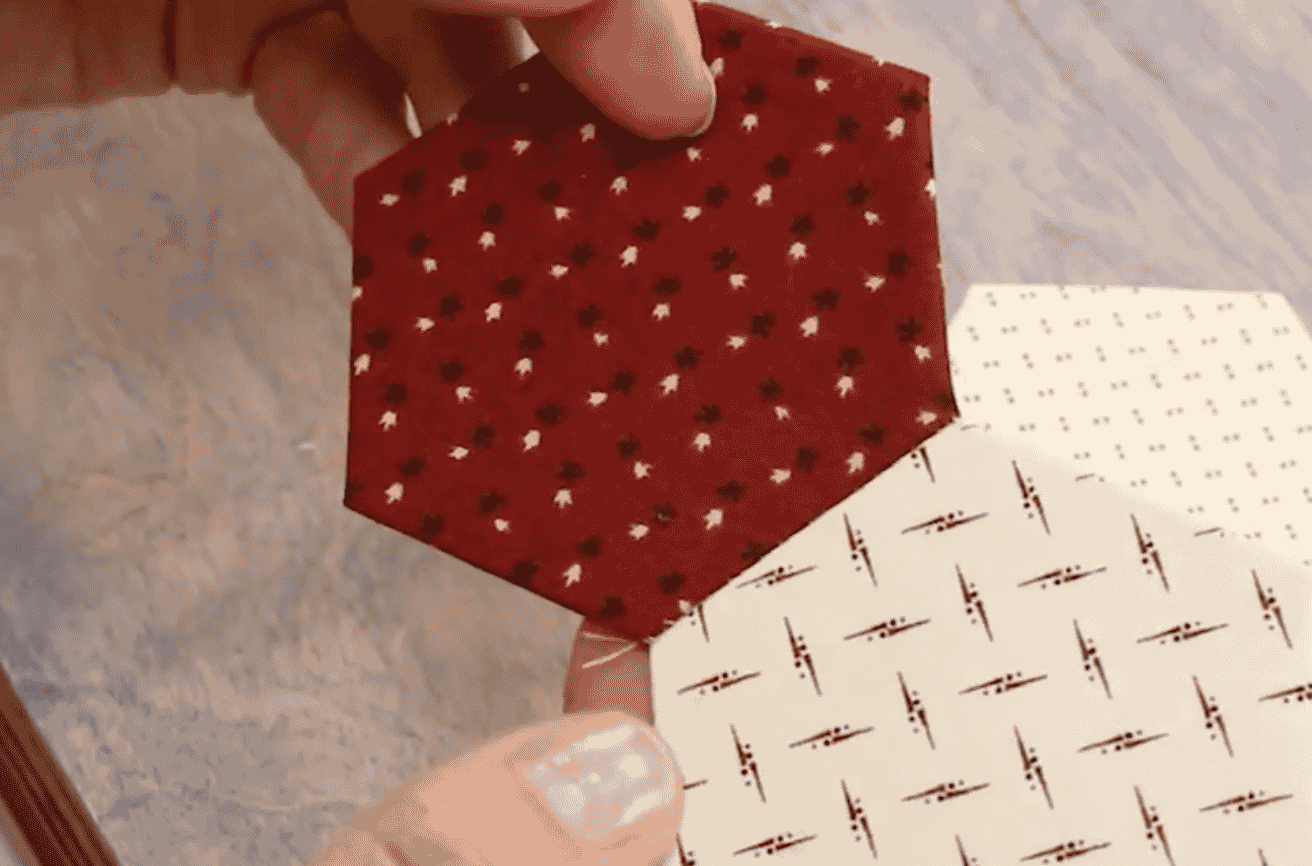
Now you can attach your next piece to the centre piece in the same manner again. Remember again to stitch in the exact corner and catch both ends of fabric. Continue until all the pieces are joined to the centre piece.
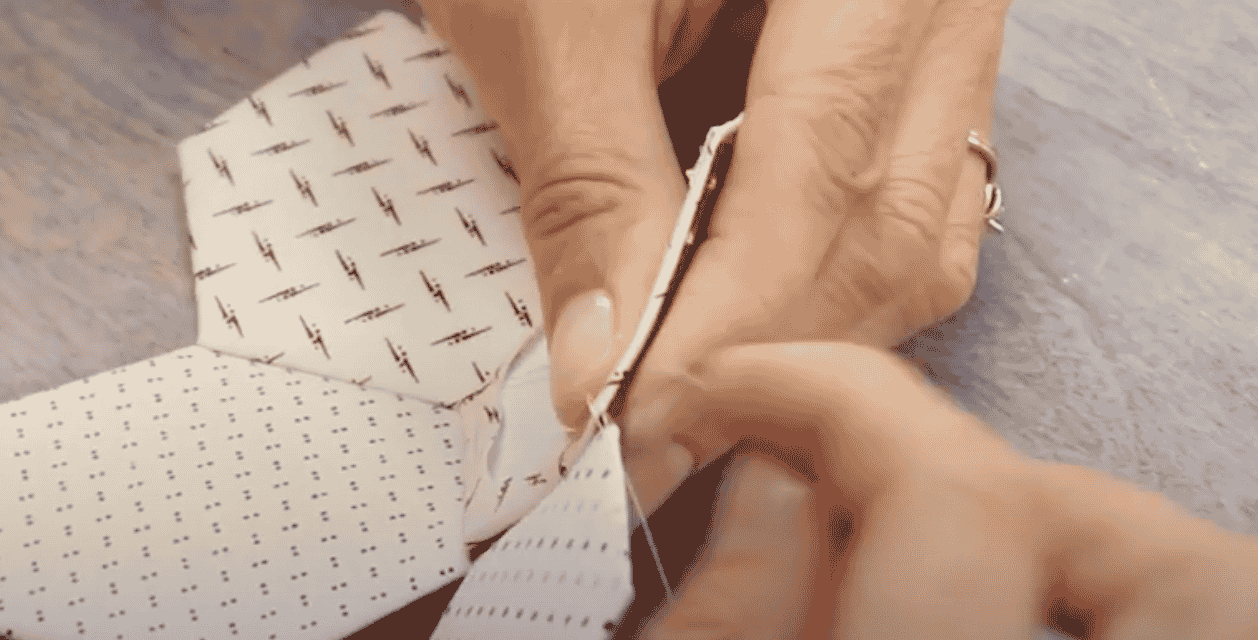
To join two of the outside pieces together, you’ll notice that we won’t be able to place this piece right sides together like before, so we’ll need to work from the underside and join them again with a whip stitch. Folding them slightly towards each other will make it easier.
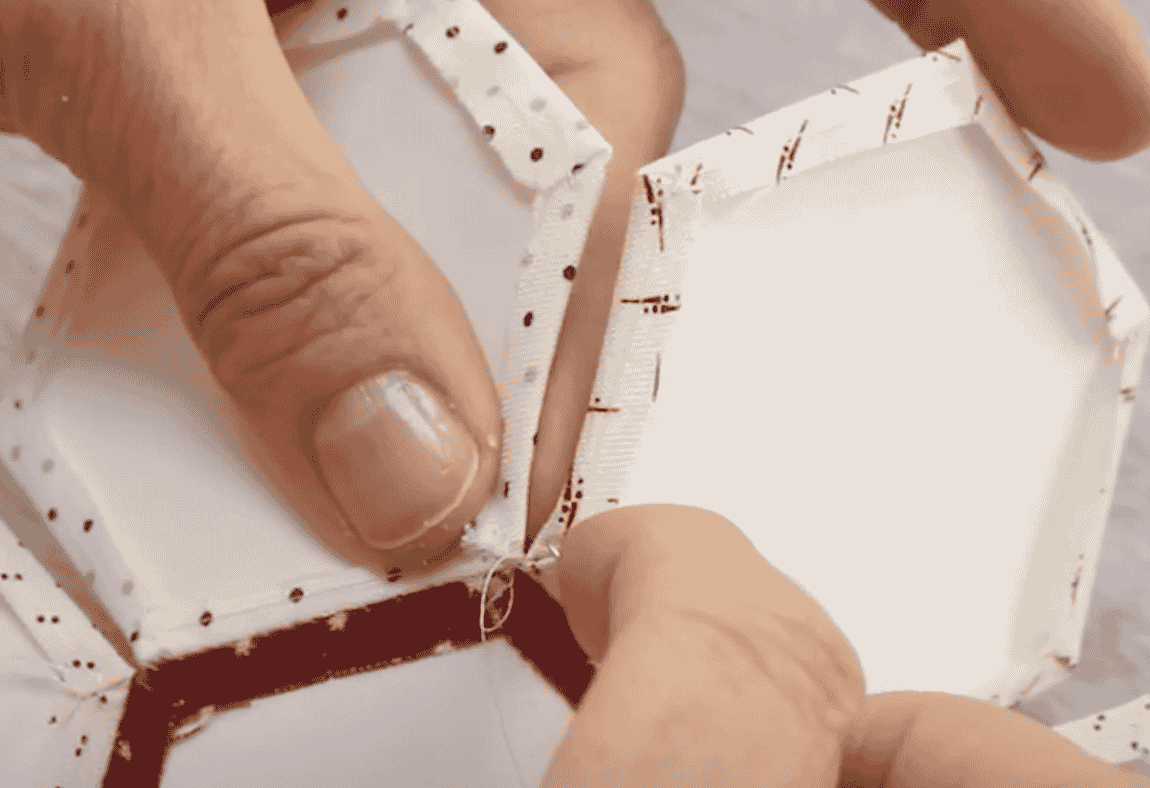
After your design is completely, you’ll want to remove the paper templates. Sticking a pin into them will help you to pop them out. If you used glue, a light spray of water can help you pull the template free.
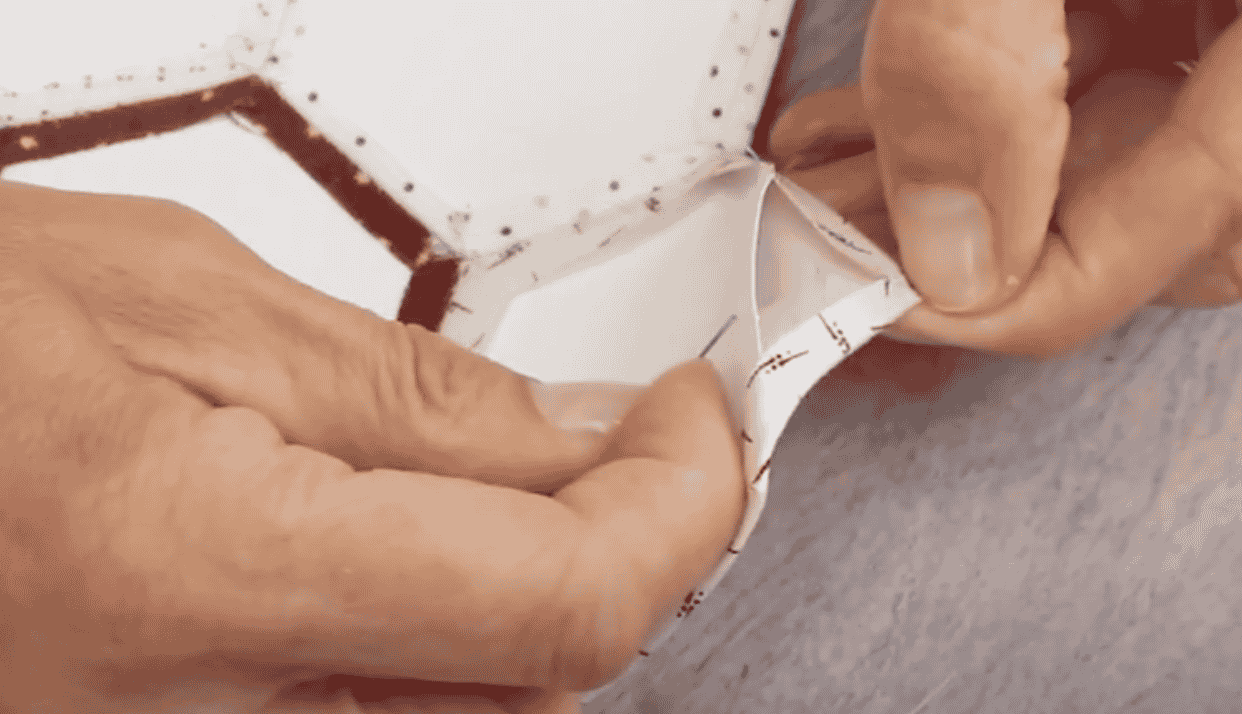
Not all designs have a circular flower, but once you master this, you’ll be able to play with your layout and paper piece any shapes in any arrangement! Leave a comment if you have any questions or something to share about your EPP experience.
You can sign up to receive weekly sewing tips, free patterns, and tutorials in our newsletter. Register by clicking here! You can unsubscribe at any time by clicking the unsubscribe button on the footer of every email you receive.

