
With everyone having a little extra time at home lately, why not try a new sewing technique? There are so many interesting ways that you can use very basic tools and achieve a really cool result.
When you think of white, you may think it is boring or basic, but today we are going to show you how it can be a lovely and subtle accent. We are going to show you how to do some White Work. White work is white embroidery stitches done on white fabric.


STEP 1
Transfer a design to your fabric. You can use our free design by following the link here: https://bit.ly/2UaxNed. Place transfer paper face down on fabric and press into the design by tracing it with a pen or rotary wheel.

STEP 2
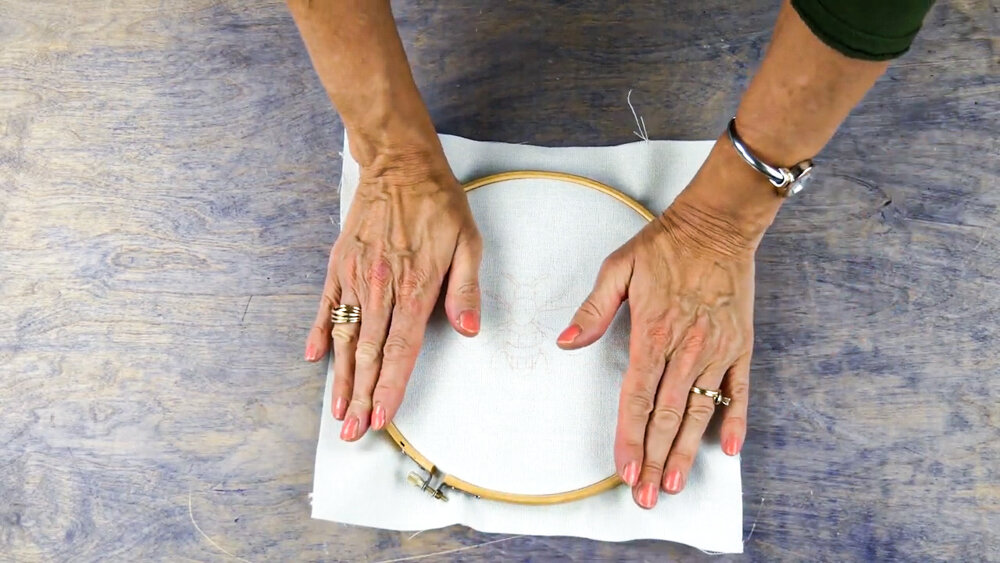
Hoop your fabric. This will make a nice tight surface to work on.
STEP 3
Outlining. We are using a basic stem stitch. In order to do the stem stitch you must secure your thread on the wrong side. Bring needle to the right side of the fabric on the outline of your design. The needle should be pointed towards the left, with the stitches being worked from left to right. This can be somewhat compared to a backstitch where you stitch back towards the last stitch you made. Pick up a few threads of fabric on the outline of your design.

When you pull it through then come back up though the fabric in the middle of the stitch you just made on the line of your design. Pull the working thread through and insert the needle again on the line of the design you are following. (stitch pictured below)

Outline areas of this design that you are not going to do open work with. (for our design, the lower part of the bee)
STEP 4:
OPEN WORK DESIGN

How to do it: Outline the area with a straight overcast stitch. This stitch could be compared to couching. You use one strand of thread and with another threaded needle hold it in place. Place a single strand of thread on the design you are outlining. Thread a needle with a new piece of thread and then the stitches will go from left to right, keep the needle in a vertical position. Secure thread through needle on wrong side of fabric and pull through below the single strand of thread and insert back through fabric right above the single stand of thread.

Now we are going to enclose these open fabrics of the thread with a tight straight overcast stitch. This can also be considered a whip-stitch. You are really just wrapping around the open lines of the fabric. First do horizontal lines of the grid and then do vertical.

Once you have stitched around everything in the grid it will look like this:

STEP 5:
filling in the shapes. We are going to be using a satin stitch to fill in the bigger parts of our design. Keeping your stitches close together, alternate between long and short stitches. Start your next stitch across from, but not next to, the end of your last stitch. Don't try to make your next stitch come up right beside the end of the last one -there won't be enough fabric in between, and you'll have a little gap of fabric peeking through each stitch, when we want them as close to side-by-side as possible.

When the shape is filled it should look something like this:

Whether you repeat the steps for the rest of the design, or like to stitch similar sections at once you can do any order you like.
In the end your design will look something like this:

Just by using these three easy stitches we were able to create this cute little bee design. If you try out this design we would love to see the results.