Have your jeans sprouted a new hole? While distressed denim might be in, you can still salvage a beautiful aesthetic using visible mending. This is a gorgeous way to repair a hole in a piece of clothing and refresh your wardrobe, turning ugly holes into something beautiful and intentional.
Materials:
- A scrap piece of denim or other heavy fabric large enough to completely cover the hole you are patching, with at least 3 inches to spare on each side.
- A thick hand embellishing thread. We will be using #8 Eleganza perle cotton thread as it stands out beautifully and is ideal for any hand embellishment.
- A hand sewing needle that will fit your thread. We recommend using a sashiko needle as it has an eye large enough for the heavier thread, and also is much longer, making it easy to make a lot of stitches at once. You can also use a long embroidery needle, such as a long darner, as another alternative.
- We also recommend using a thimble while doing this technique. Because of the number of stitches we have to make it will allow you to stitch more effectively and keep your finger from bruising.
To begin, turn the jeans inside out and find the hole you want to repair. Then you’ll want to trim the excess thread around the hole to clean it up.
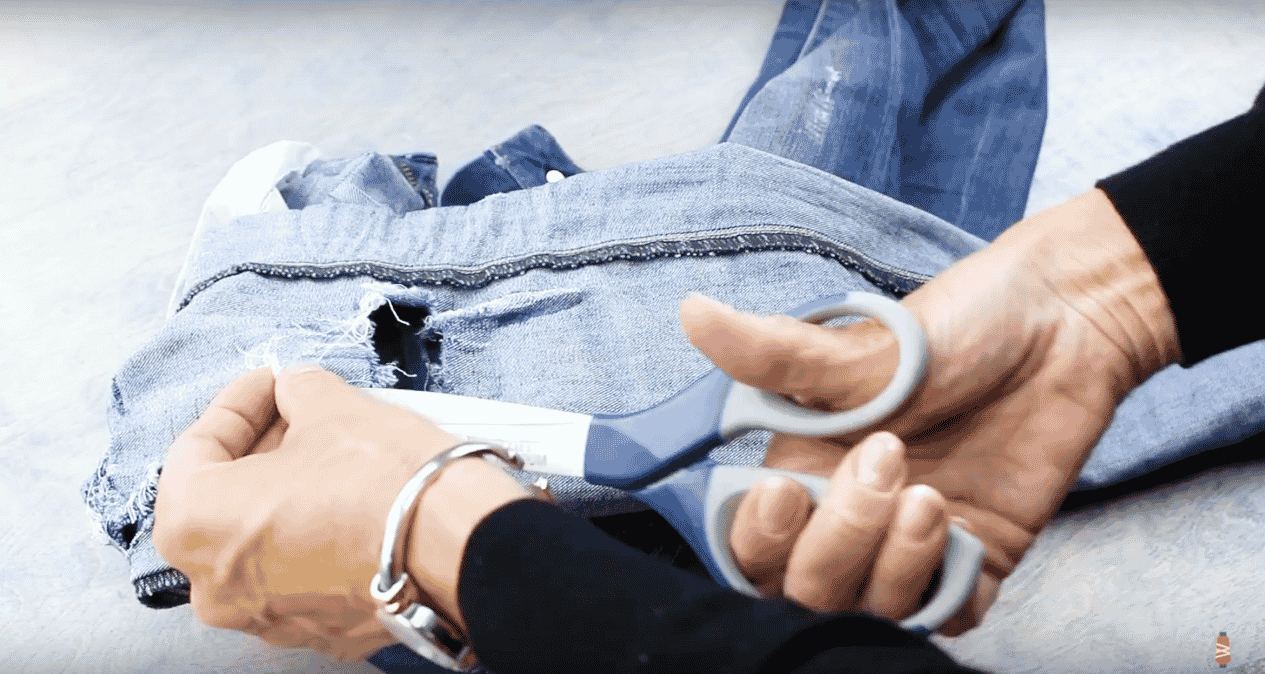
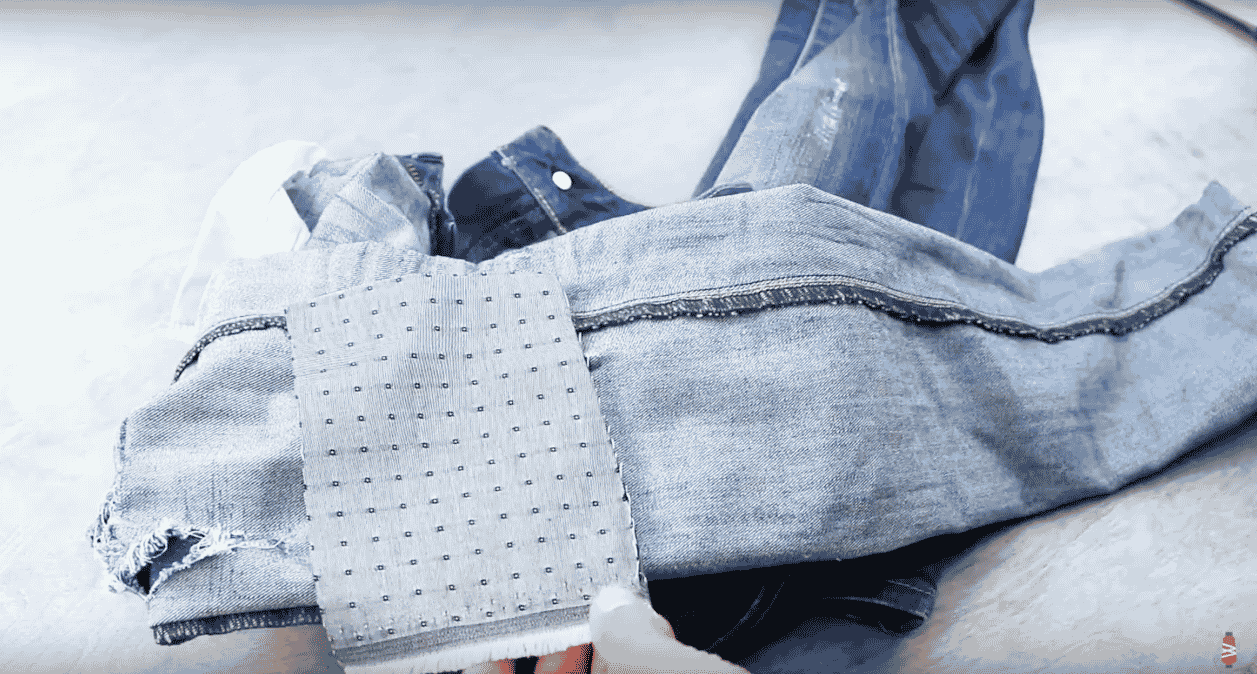
Once the edges of the hole are trimmed and straight, place your denim scrap over the hole. Ensure that you have at least 3 inches of extra fabric around each side of the hole and pin it in place
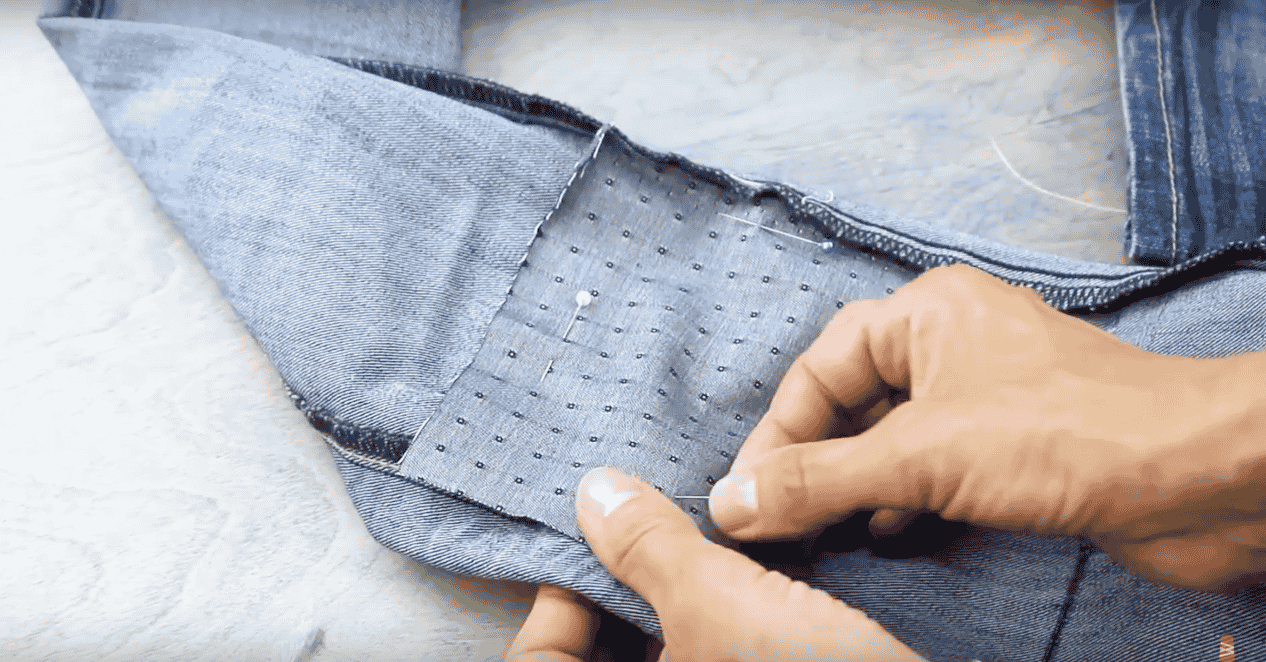
Now turn your jeans back right side out. Be careful not to get caught up on any pins. You’ll actually be able to see from the right side where you’ve placed the pins around the edge of the scrap denim, so you can use this as a guide to know where not to stitch outside of the area.
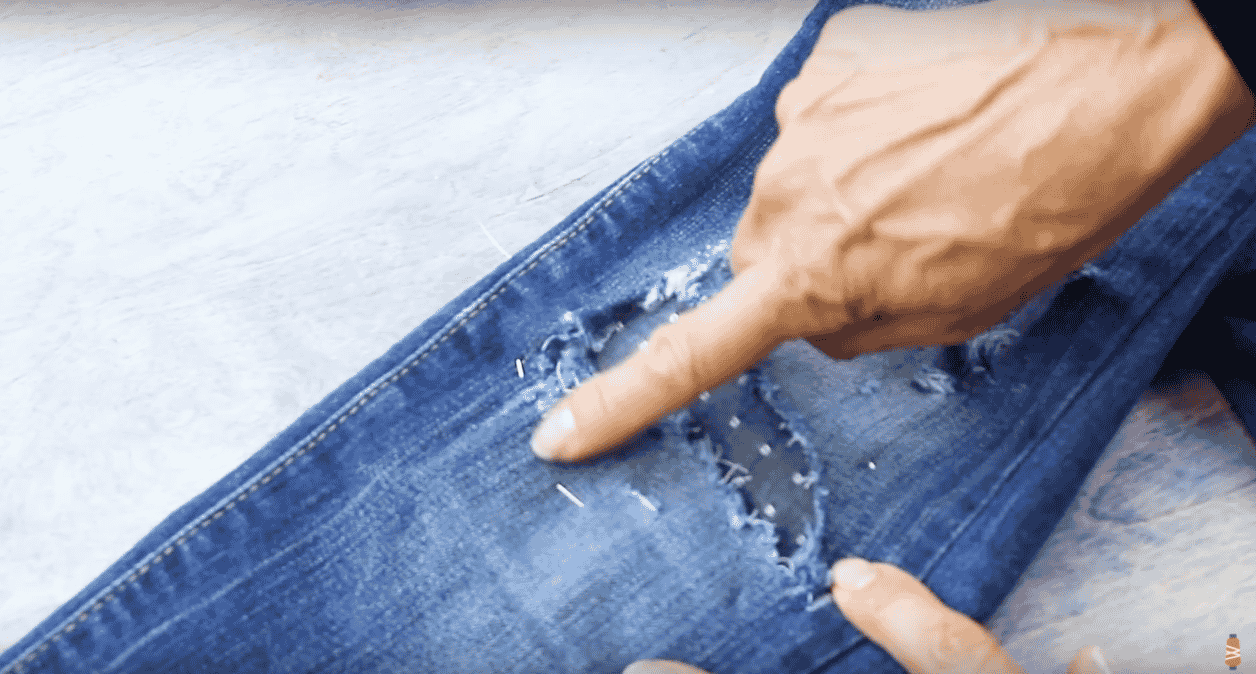
Thread your needle and tie a knot at the end of your thread. You can hide your knot by starting between the two layers of fabric.
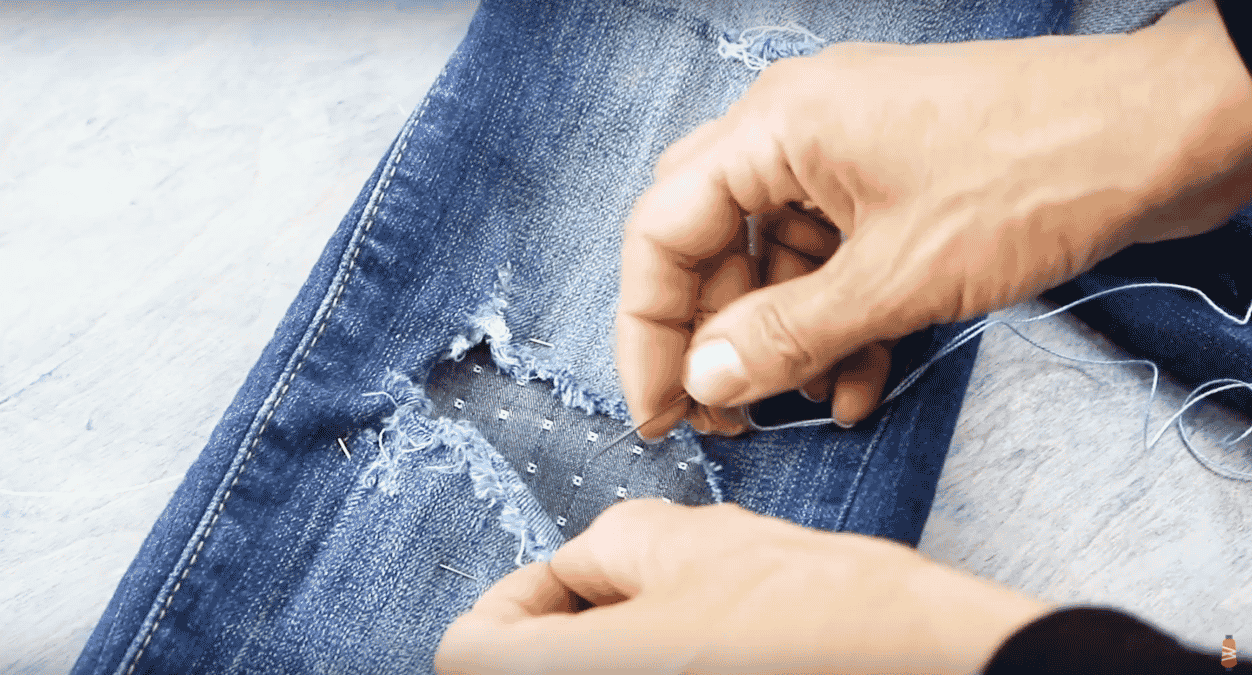
Depending on what design you may want or your sewing experience, you can just do straight lines, curved, or something else funky if desired. We are going to keep it simple and just do a simple straight running stitch.
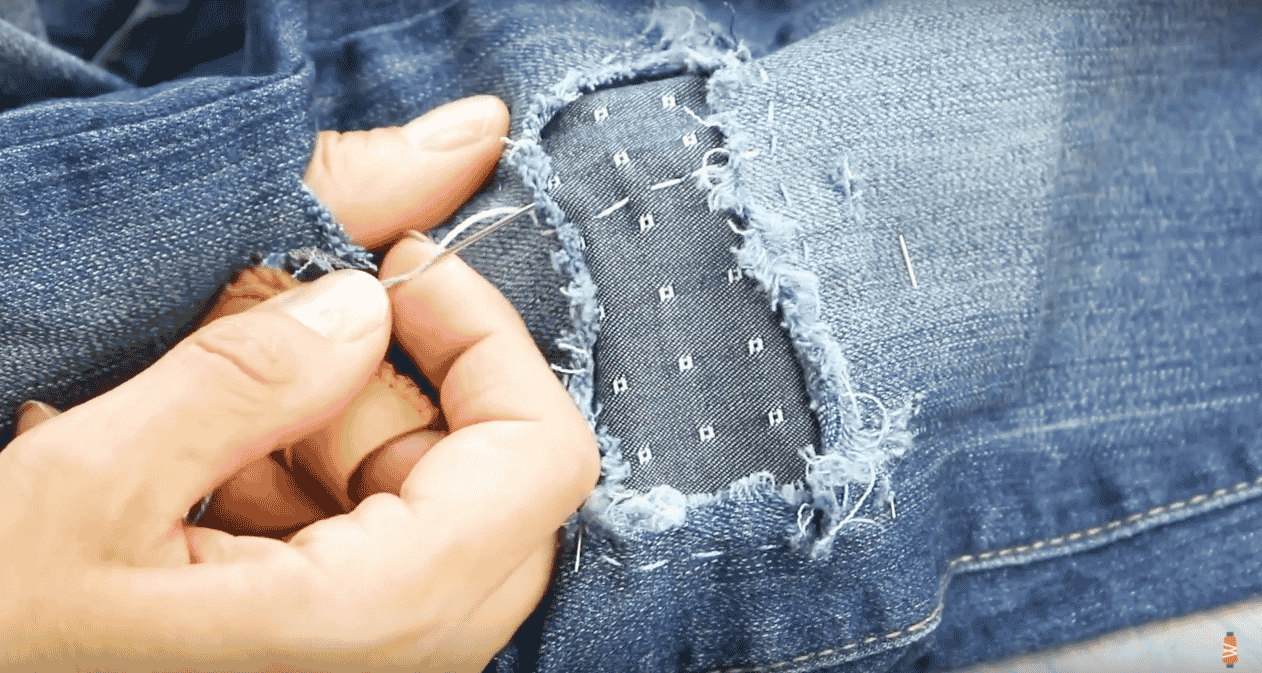
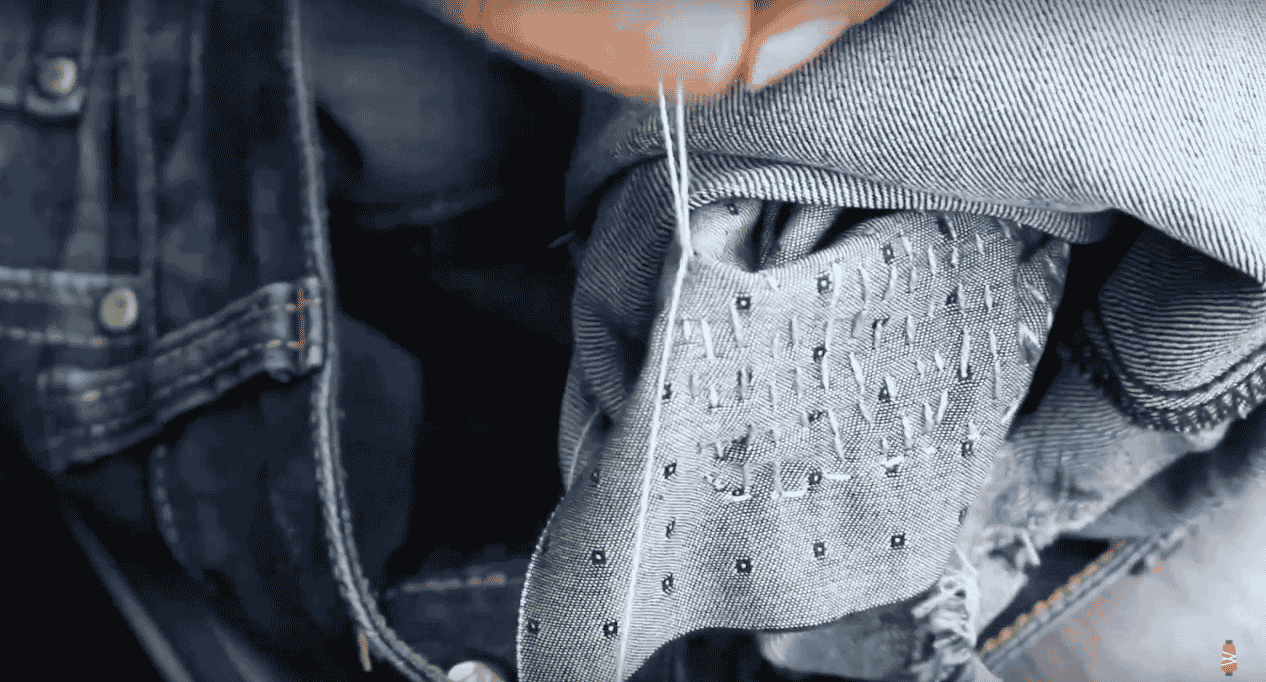
Try to keep your stitches even, but if it is not perfect that is okay because you will still achieve a hand done look. Continue doing these running stitches along the entire length of the hole, row by row. Ensure that you are stitching well past the edges of the scrap and onto the jeans themselves to ensure the scrap will be secured.
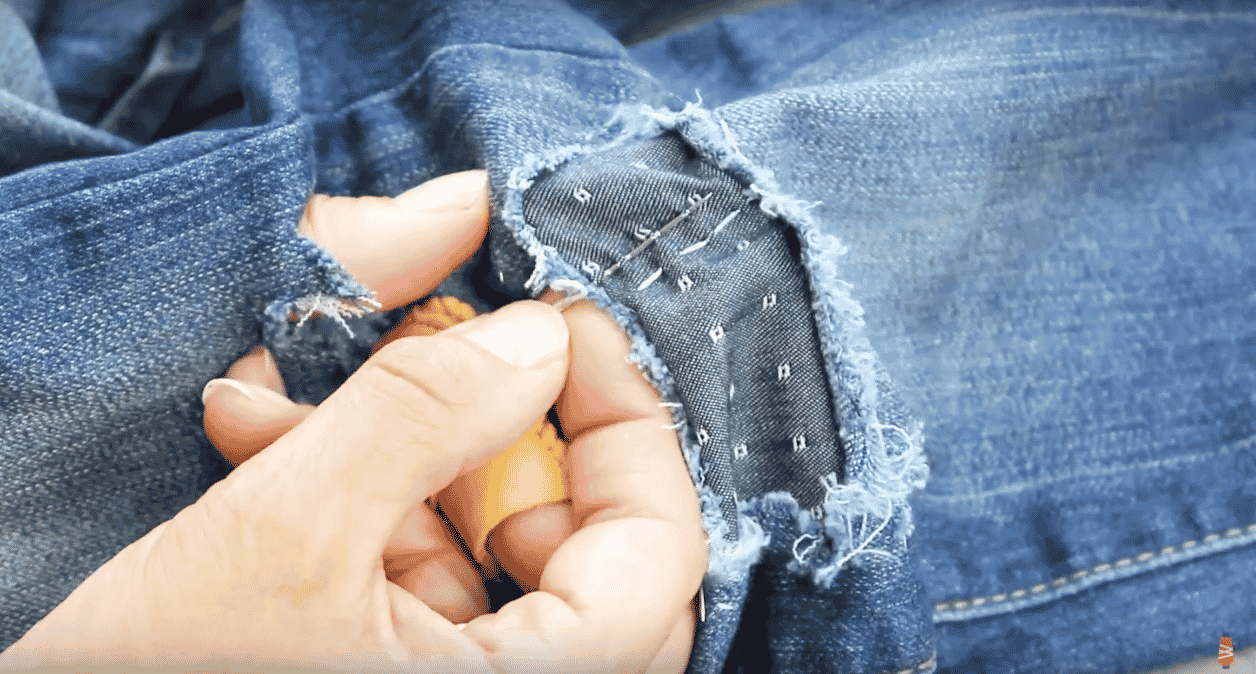
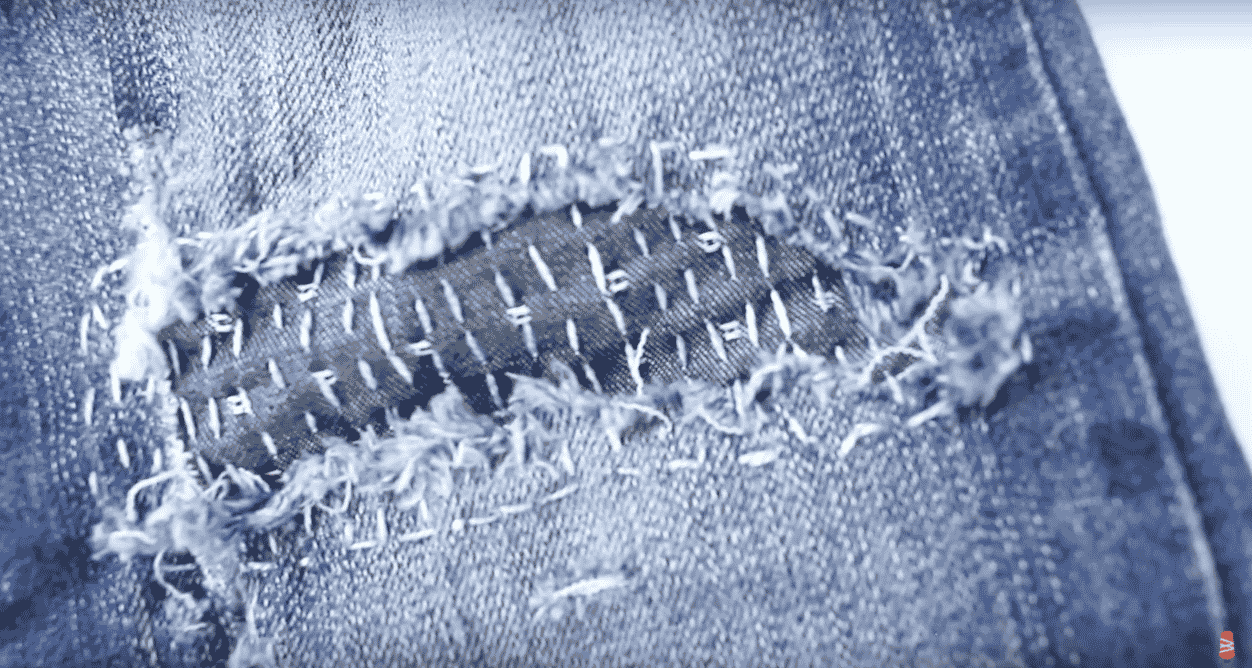
When you are done it will look something like this:
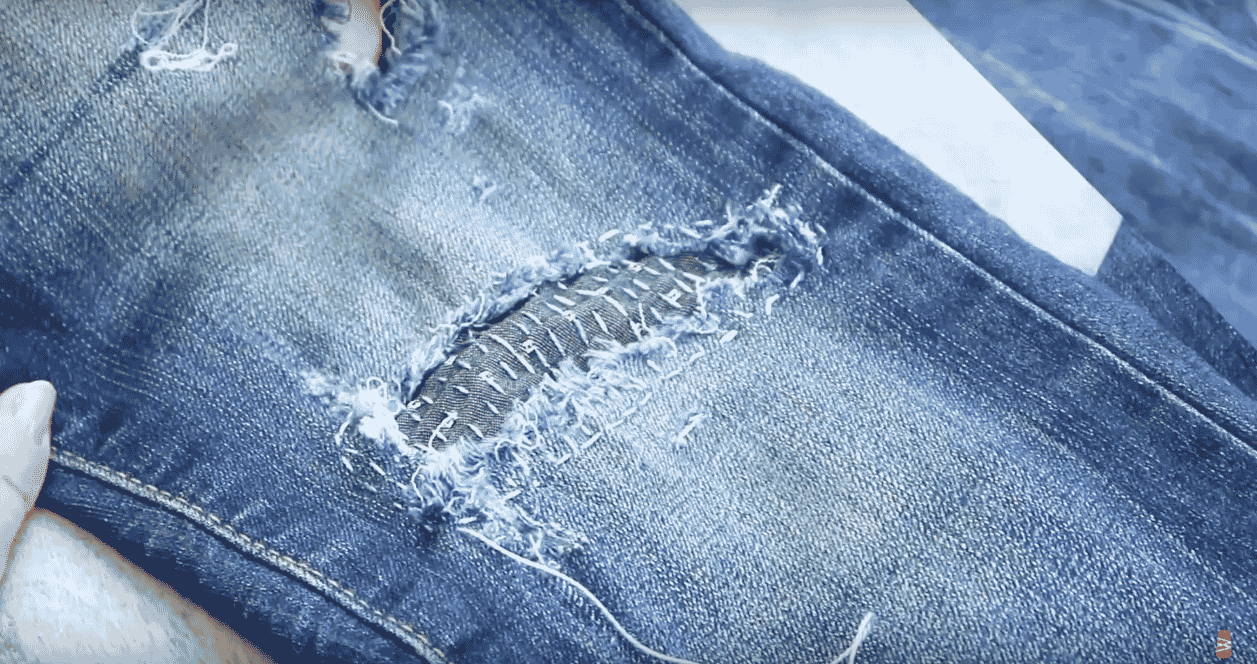
When you are finished do not forget to tie off the thread on the wrong side of the fabric.
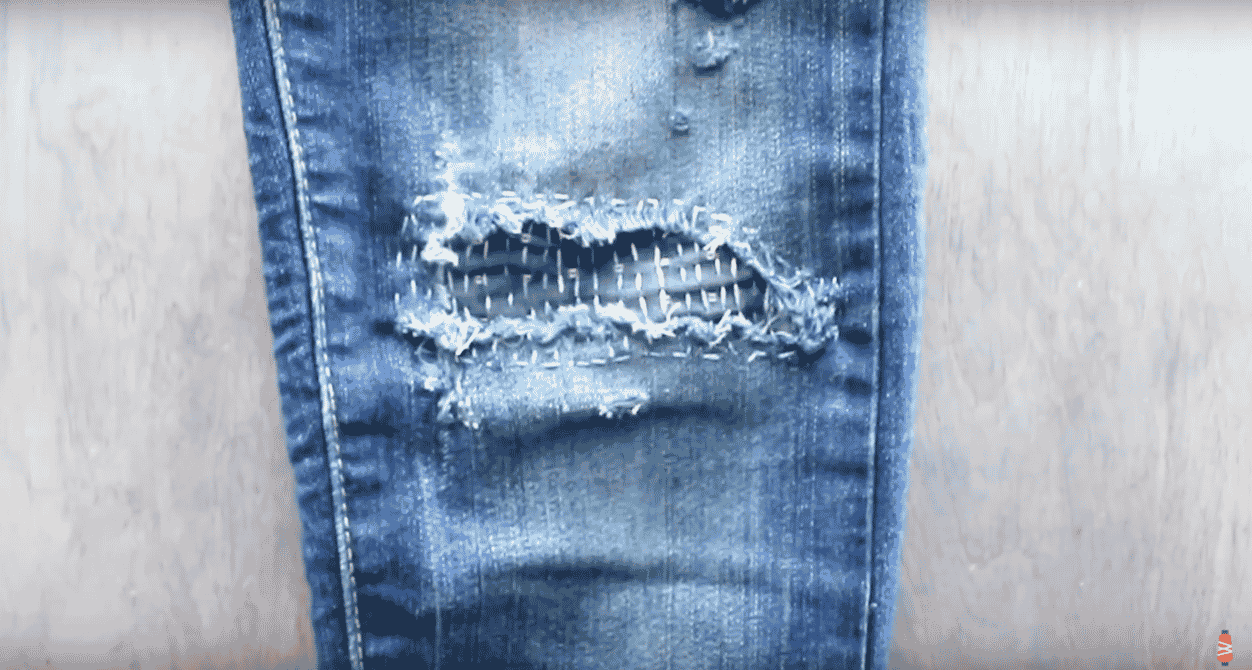 With this incredibly simple technique you can save your favorite pair of jeans. You can experiment with different materials and scrap fabrics for a totally unique look you can make your own!

