Cose de forma más inteligente, no más difícil
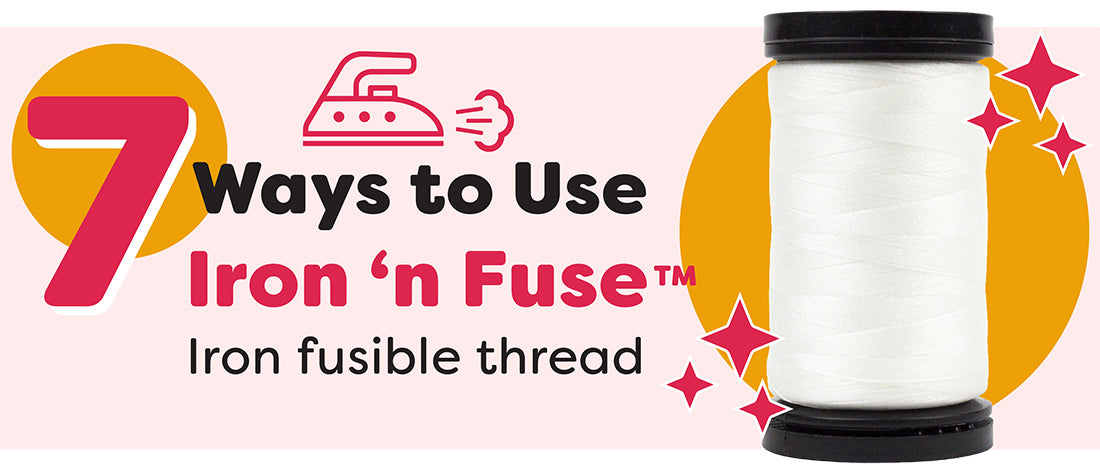
Hay muchos hilos diferentes disponibles en el mercado, pero ¿alguna vez has oído hablar del hilo termoadhesivo? Esta noción de costura única abre un mundo completamente nuevo de trucos de costura que ahorran tiempo y te harán la vida más fácil. ¡Echa un vistazo a nuestras 7 formas recomendadas de usar este hilo!
Nuestro video te muestra paso a paso cómo usar Iron 'n Fuse™ en las 7 técnicas que se enumeran a continuación.
1. Combinación de cuadros, patrones y rayas
No necesitas una máquina de coser para esto. Coloca el hilo termoadhesivo en el lado derecho de la tela, a lo largo de donde quieres que esté la costura. Luego toma tu segunda pieza, alinea el patrón donde quieras y déjala con los lados derechos enfrentados. Dale a tu tela un planchado rápido y el hilo termoadhesivo mantendrá todo en su lugar ¡sin alfileres!
2. Aplicación perfecta sin entretela
Enrolla Iron 'n Fuse en una canilla vacía y usa un hilo de coser normal en la parte superior. Cose alrededor de la forma de la aplicación, plancha, quita el hilo superior y luego recorta el exceso de tela cerca de la línea de costura. Usa una puntada decorativa en los bordes sin rematar de la tela para terminar de aplicar. El resultado es una aplicación de aspecto natural sin la rigidez de la entretela termoadhesiva; también ayuda a reducir el fruncido causado por el uso de alfileres.
3. Fácil dobladillo de edredón
Coloca tu dobladillo doblado en el lado equivocado de tu edredón.
Usa un zig zag apretado para  sujetarlo al edredón, con hilo termoadhesivo en tu canilla e hilo normal en la parte superior. Ahora gira tu dobladillo hacia el lado derecho y fúndelo sobre la costura. Ahora puedes coser tu dobladillo, cosiendo cerca del borde del dobladillo. Te asegurarás de atrapar la parte inferior de tu dobladillo perfectamente sin alfileres ni clips.
4. En los garfios inferiores de la remalladora
Surfila alrededor de tu dobladillo con hilo termoadhesivo en el garfio inferior de tu remalladora e hilo normal en la aguja y el garfio superior. Dobla el dobladillo y fúndelo, luego gira tu trabajo hacia el lado derecho y cose con hilo normal para un dobladillo simple.
5. Dobladillos curvos perfectos
Pasa una hilera de puntadas de hilvanado largas a lo largo del borde de tu dobladillo curvo, con un hilo regular en la aguja y el hilo termoadhesivo en la canilla. Tira suavemente del hilo de la canilla para ajustar la forma de tu dobladillo curvo y luego fusiona el dobladillo en su lugar. Esto hará que la costura a mano de tu dobladillo sea más fácil. También podrías girar tu trabajo hacia el lado derecho para coser a máquina el dobladillo sin preocuparte de que el dobladillo se deforme en la parte inferior.
6. Colocación de cremalleras
Hilvana el cierre de la cremallera, luego plancha la costura abierta.
sujetarlo al edredón, con hilo termoadhesivo en tu canilla e hilo normal en la parte superior. Ahora gira tu dobladillo hacia el lado derecho y fúndelo sobre la costura. Ahora puedes coser tu dobladillo, cosiendo cerca del borde del dobladillo. Te asegurarás de atrapar la parte inferior de tu dobladillo perfectamente sin alfileres ni clips.4. En los garfios inferiores de la remalladora
Surfila alrededor de tu dobladillo con hilo termoadhesivo en el garfio inferior de tu remalladora e hilo normal en la aguja y el garfio superior. Dobla el dobladillo y fúndelo, luego gira tu trabajo hacia el lado derecho y cose con hilo normal para un dobladillo simple.
5. Dobladillos curvos perfectos
Pasa una hilera de puntadas de hilvanado largas a lo largo del borde de tu dobladillo curvo, con un hilo regular
en la aguja y el hilo termoadhesivo en la canilla. Tira suavemente del hilo de la canilla para ajustar la forma de tu dobladillo curvo y luego fusiona el dobladillo en su lugar. Esto hará que la costura a mano de tu dobladillo sea más fácil. También podrías girar tu trabajo hacia el lado derecho para coser a máquina el dobladillo sin preocuparte de que el dobladillo se deforme en la parte inferior.6. Colocación de cremalleras
Hilvana el cierre de la cremallera, luego plancha la costura abierta.
Pasa una hilera de  costuras a lo largo de ambos márgenes de costura, con el hilo termoadhesivo en la aguja y en la canilla. Centra la cremallera debajo de la costura y plancha ambos lados para fusionar los márgenes de costura y, al mismo tiempo, fusionar la cremallera en su lugar. Ahora puedes coser alrededor de la cremallera sin preocuparte de que se mueva. Cuando termines de coser, retira el hilo de hilván que mantiene el cierre cerrado.
7. Pliegues impecables
Marca las líneas de los pliegues en tu tela (tanto los pliegues interiores como los exteriores).
costuras a lo largo de ambos márgenes de costura, con el hilo termoadhesivo en la aguja y en la canilla. Centra la cremallera debajo de la costura y plancha ambos lados para fusionar los márgenes de costura y, al mismo tiempo, fusionar la cremallera en su lugar. Ahora puedes coser alrededor de la cremallera sin preocuparte de que se mueva. Cuando termines de coser, retira el hilo de hilván que mantiene el cierre cerrado.7. Pliegues impecables
Marca las líneas de los pliegues en tu tela (tanto los pliegues interiores como los exteriores).
Ahora  cose a escasos 1/8” de las líneas marcadas, con hilo normal en la parte superior e hilo termoadhesivo en la canilla (el hilo de la canilla debe estar en el interior del pliegue). Usando un paño de prensa, plancha a lo largo de las líneas marcadas. El hilo termoadhesivo ayudará a que los pliegues queden impecables.
cose a escasos 1/8” de las líneas marcadas, con hilo normal en la parte superior e hilo termoadhesivo en la canilla (el hilo de la canilla debe estar en el interior del pliegue). Usando un paño de prensa, plancha a lo largo de las líneas marcadas. El hilo termoadhesivo ayudará a que los pliegues queden impecables.