Si te encanta el aspecto del encaje pero no tienes el tiempo o la paciencia para crear encaje de bolillos meticulosamente a mano, tenemos una solución rápida y hermosa que solo requiere una remalladora y tu hilo WonderFil™ favorito de peso medio-pesado.
Materiales:
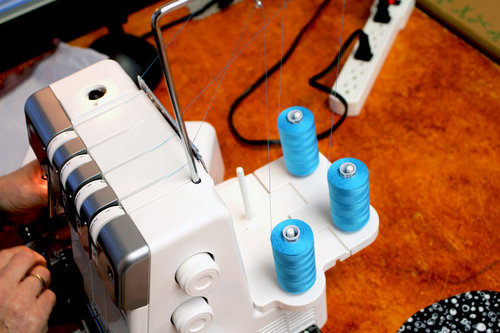
- Una remalladora de 4 hilos
- 3 bobinas de algodón Konfetti™ de 50wt o algodón Spagetti™ de 12wt (recomendamos hilos de mayor peso, ya que suelen quedar mejor).
* Estos hilos de algodón WonderFil™ son la elección ideal, ya que producen muy poca pelusa, lo que significa que tu remalladora se mantendrá mucho más limpia.
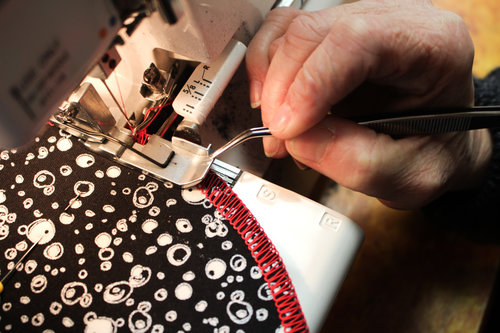
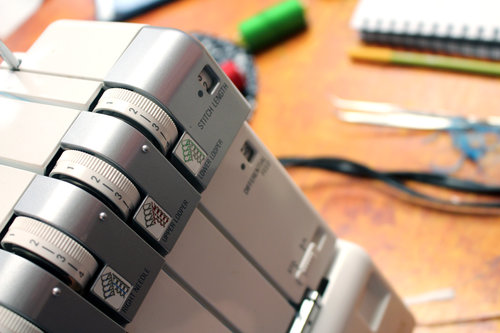
Imagen 1 Imagen 2
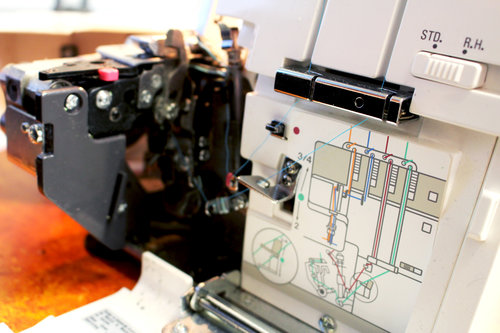
1. Enhebra la remalladora. Es muy importante con las remalladoras colocar los hilos en el orden correcto. Utiliza la guía de instrucciones de la máquina o ten a mano tu manual de instrucciones, ya que no todas las remalladoras se enhebran de la misma manera.
2. Configura la remalladora para una puntada de sobrehilado ancho de 3 hilos. Vamos a usar la aguja izquierda y ambos bucles. Haz el ancho de corte lo más amplio posible.
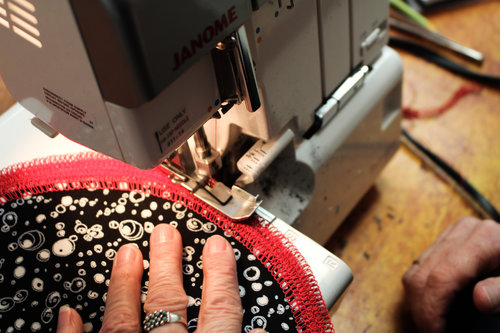
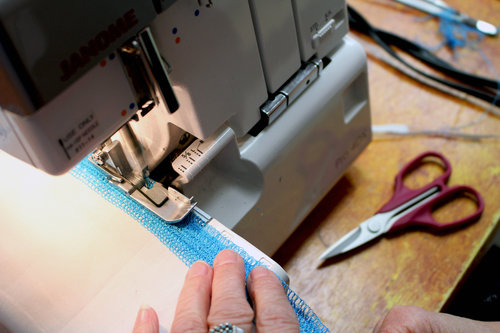
Imagen 3
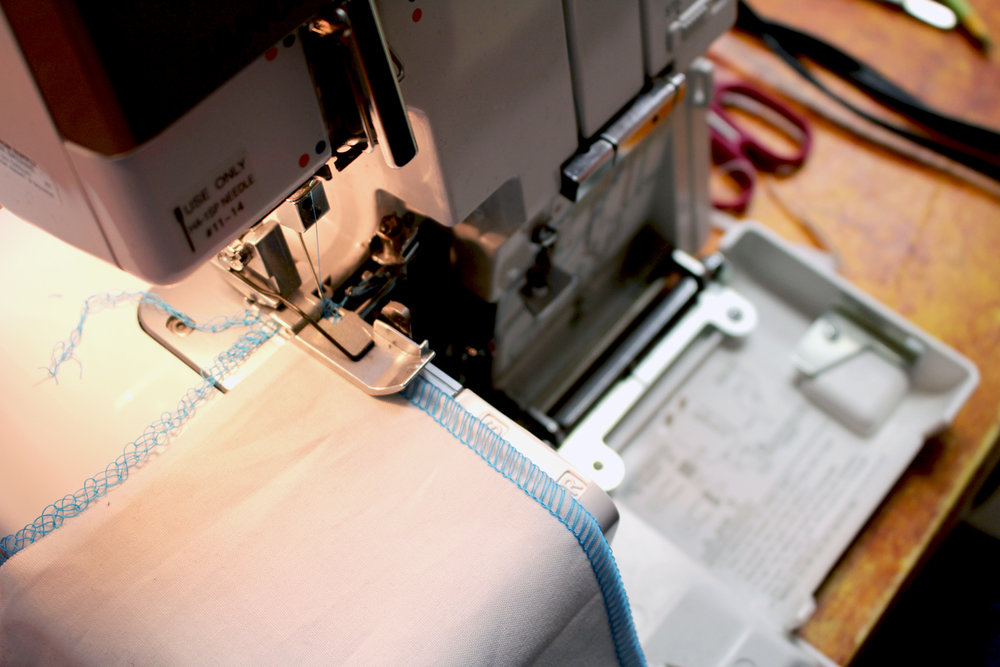
3. Gira el volante unas cuantas puntadas para formar una cadena. Al empezar, una cosa que debes decidir es si quieres coser a lo largo del borde sin rematar o si quieres doblar la tela y hacer tu primera fila de remallado de esta manera. Esta es la primera fila (imagen 3).
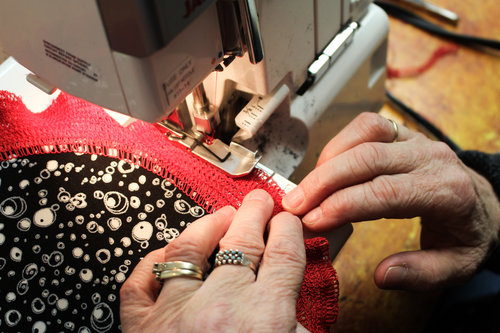
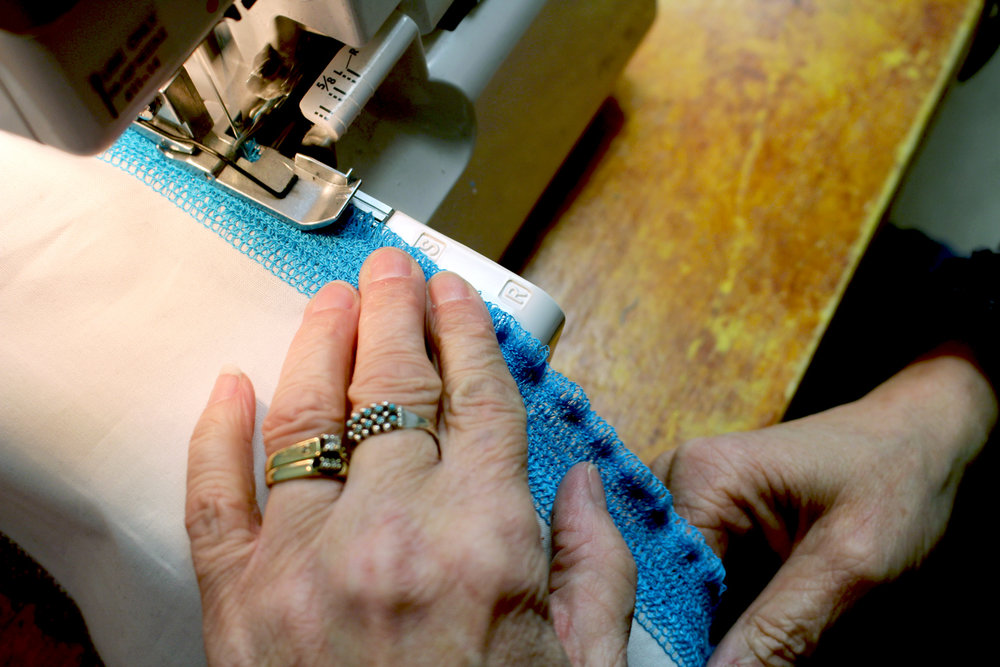
Imagen 4
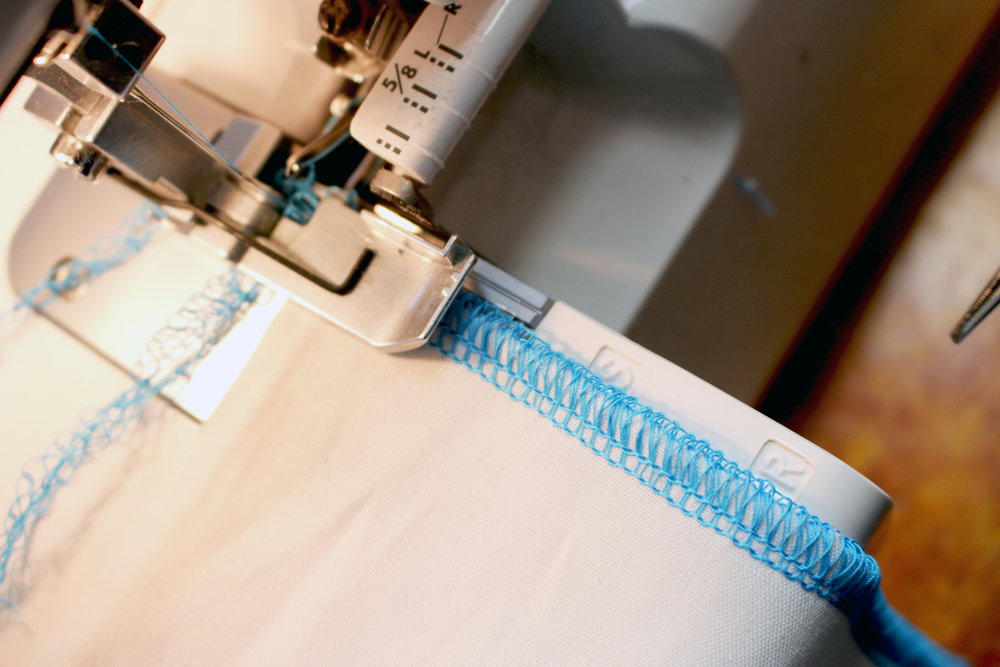
4. Para la segunda fila, a algunas personas les gusta bajar la cuchilla superior de su remalladora para hacer encaje, pero nosotros preferimos no hacerlo (aunque es una decisión que puede tomar cada costurera). En el prensatelas hay dos marcas: una marca para la posición de la aguja izquierda y otra para la posición de la aguja derecha. Guía el borde de la tela a lo largo del borde de la posición de la aguja derecha y esa es la marca que vamos a usar. Cose todo el borde en la nueva posición para obtener otra fila de remallado (imagen 4).
Imagen 5
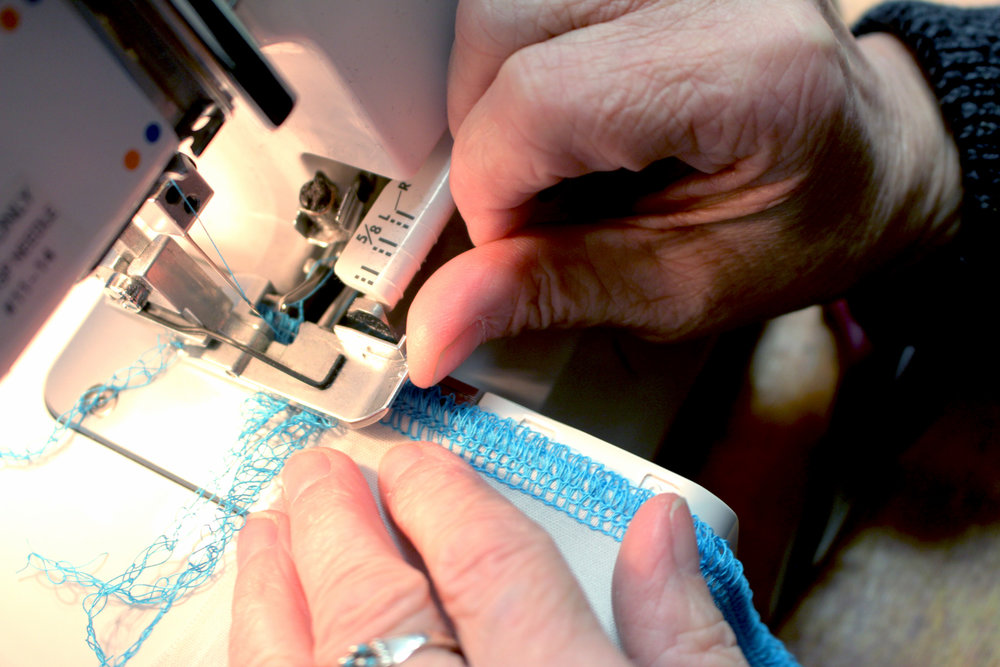
5. Cuando hayas completado la segunda fila de puntadas, repetirás el paso 4 unas 5 veces más, creando nuevas filas de puntadas sobre la anterior. Esta no es una técnica en la que quieras coser muy rápido, porque quieres asegurarte de que estás cogiendo la fila anterior de tu puntada (de lo contrario, acabarás con agujeros en tu encaje). Si ves que se sale de posición, simplemente levanta el prensatelas y vuelve a colocar la tela.
Imagen 6 Imagen 7
6. Después de 5 filas, haz un par de filas con una longitud de puntada acortada, de longitud 3 a 2 (imágenes 6 y 7).
Imagen 8
7. Después de unas cuantas filas más, acorta la longitud de la puntada de nuevo a 2 o 1 (haciendo las puntadas aún más juntas). Crea unas cuantas filas más hasta que empieces a obtener el aspecto ondulado (imagen 8).
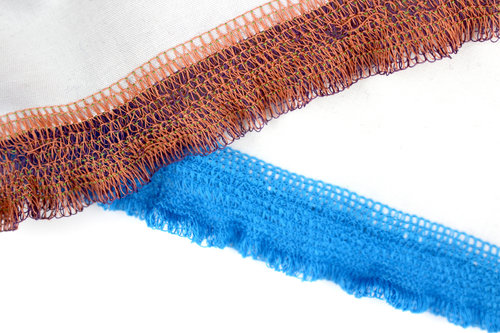
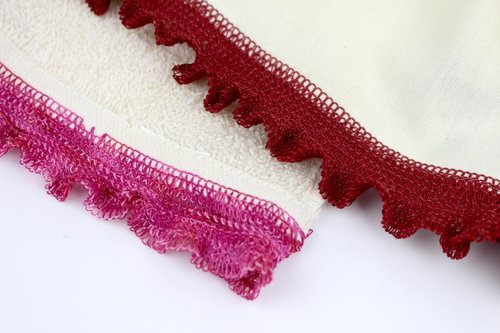
8. ¡Tu encaje hecho con remalladora ya está listo!
* Al coser encaje con remalladora en una curva o círculo, sé más delicado al girar la tela. Recomendamos que la pieza de tela sea más grande que un círculo de 8 pulgadas, porque un círculo más pequeño dificultará el trabajo de la remalladora. De lo contrario, todos los pasos serán exactamente los mismos.