La aplicación de borde crudo es una forma sencilla, rápida y fácil de unir tus piezas porque no requiere pasos adicionales. La forma más común de coser aplicaciones de borde crudo es usar estabilizador fusible, sin embargo, esto puede dejar tu aplicación con una apariencia y sensación rígidas. En este video, te mostraremos cómo coser aplicaciones de borde crudo usando hilo termofusible, así como algunos consejos y herramientas para hacerlo más fácil. ¡Se incluye un patrón gratuito para practicar o convertir en tu propio proyecto único!
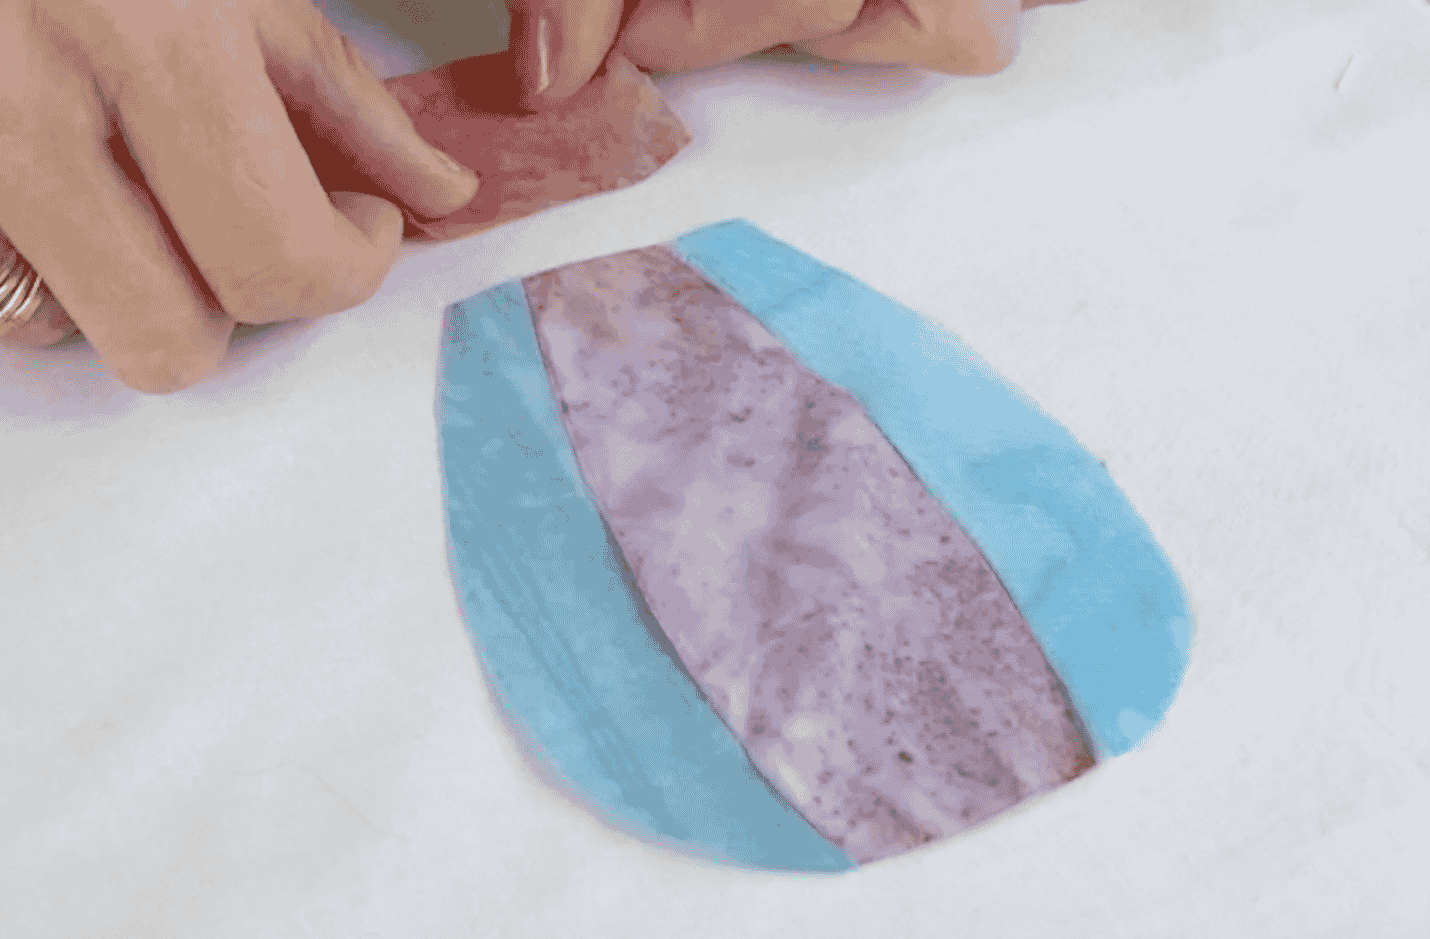
Traza las formas de tu aplicación en la tela usando un bolígrafo temporal o un trozo de tiza y córtalas. Siempre recomendamos usar tela batik para aplicaciones de borde crudo porque la tela es menos propensa a deshilacharse. Si tus formas son más complejas o tienen muchos ángulos, te sugerimos usar unas tijeras pequeñas y afiladas para cortar, ya que facilita mucho el trabajo.
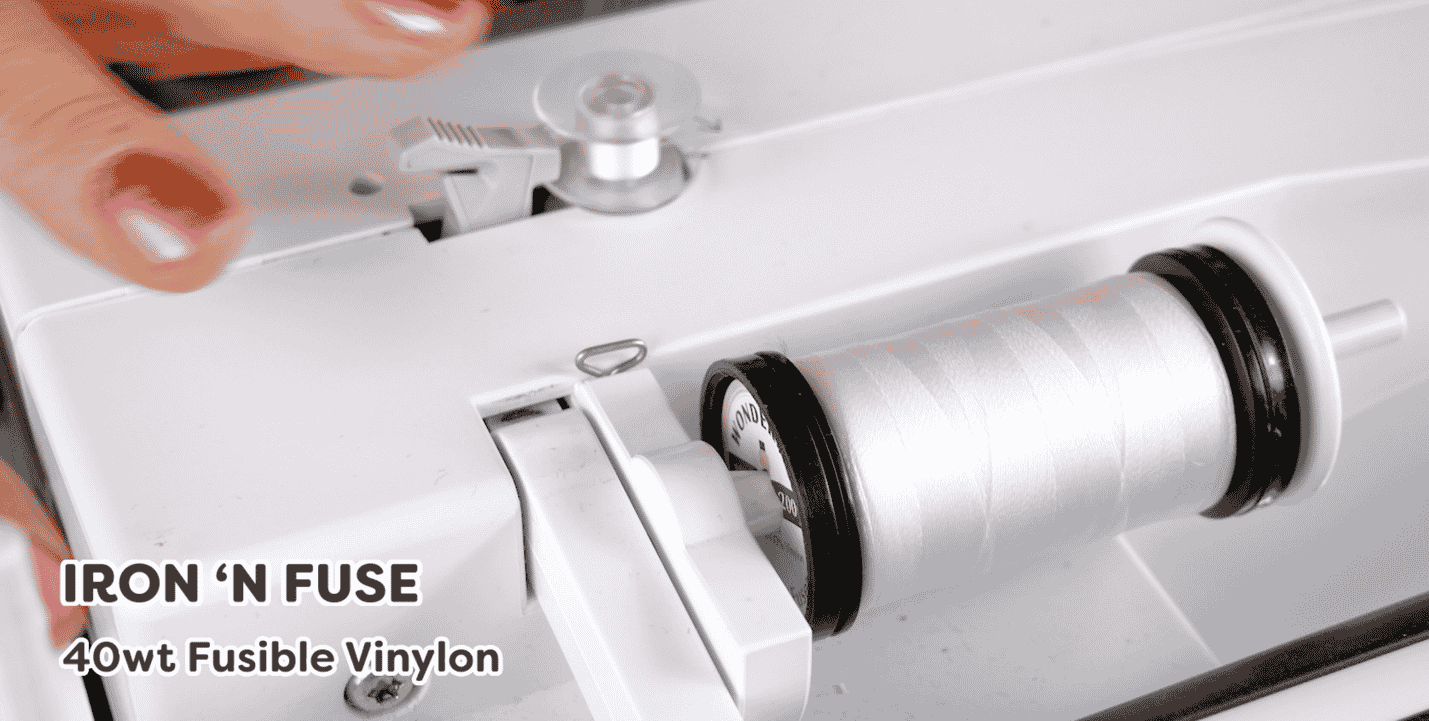
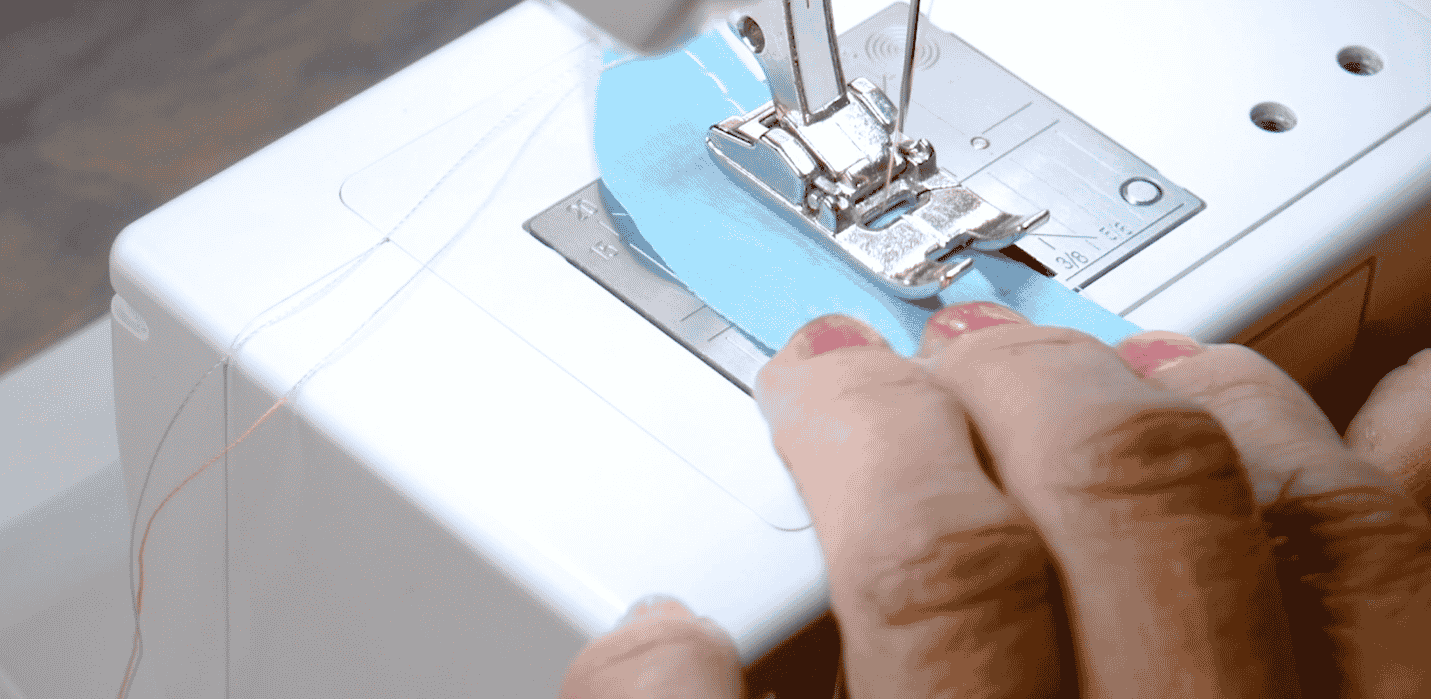
Voy a cargar mi máquina con dos hilos diferentes. En la parte superior hay un hilo de coser normal temporal que sacaré más tarde. Sin embargo, en mi canilla enrollaré este hilo llamado Iron ‘n Fuse. Este es un hilo termofusible que unirá mis piezas de aplicación a la tela.
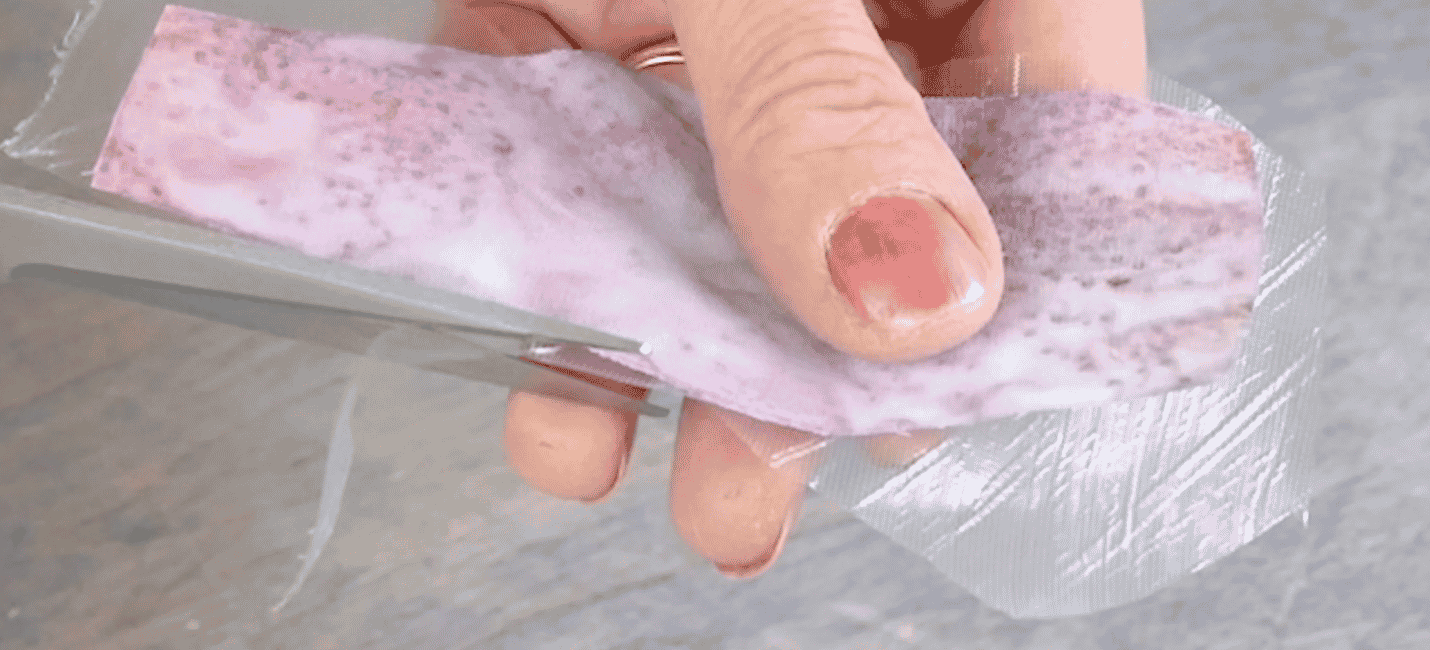
Si tienes piezas de aplicación con formas más pequeñas, puedes añadir una capa opcional de estabilizador soluble en agua debajo para facilitar la costura en la máquina. No necesitas cortarlo para que coincida perfectamente con la forma de tu aplicación, simplemente corta una forma aproximada que tu aplicación pueda cubrir fácilmente.
Aumenta ligeramente la longitud de puntada de tu máquina para facilitar la extracción del hilo superior más tarde. Cose todo el contorno de tu pieza de aplicación.
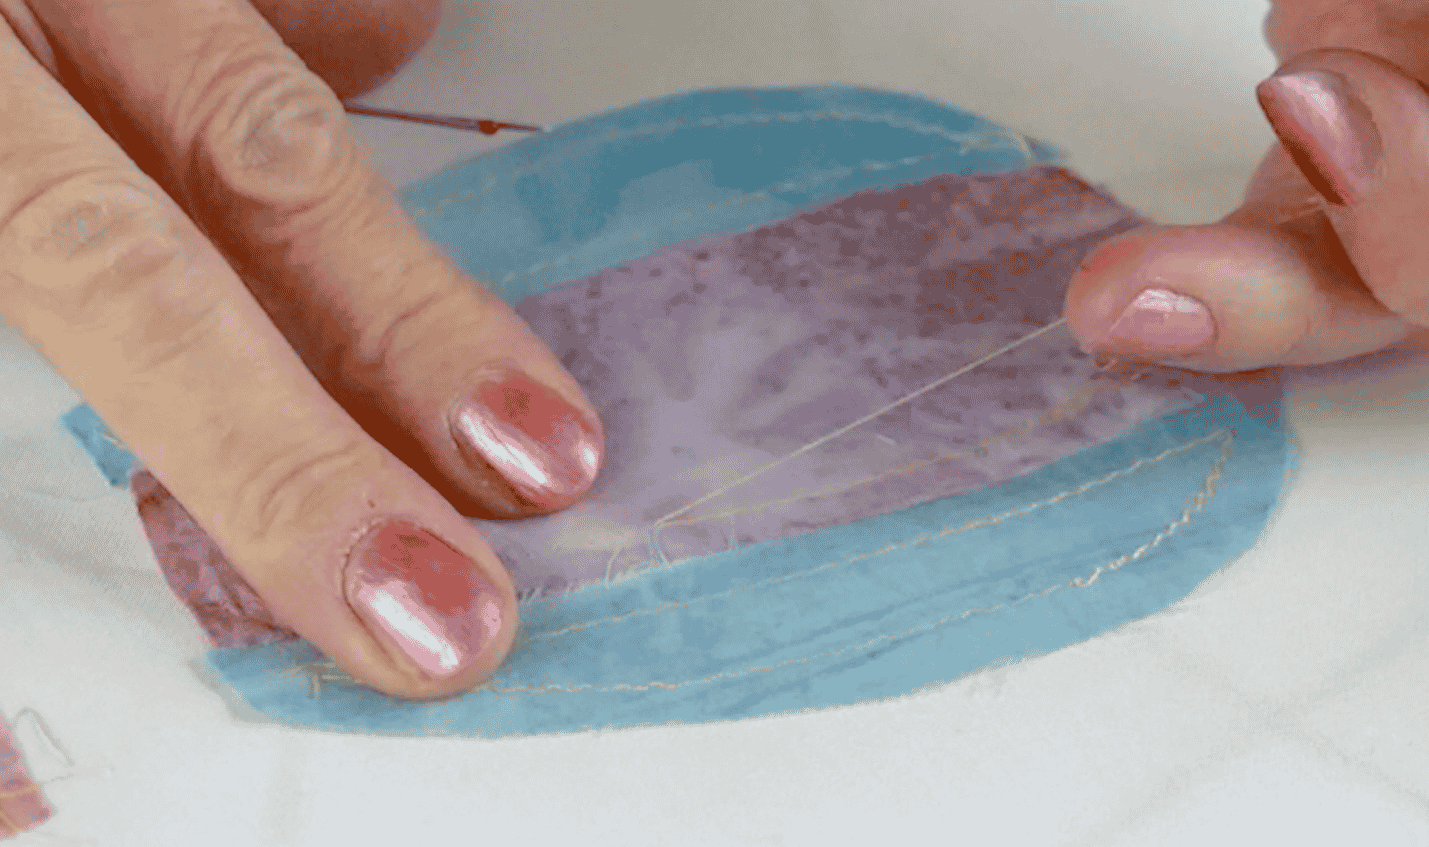
Coloca tu aplicación en tu proyecto y plancha a alta temperatura. Lo mejor de usar el hilo Iron ‘n Fuse es que se puede levantar y reposicionar según sea necesario. No se fusionará permanentemente con tu proyecto. Una vez que tu aplicación esté en su lugar, puedes quitar el hilo superior.
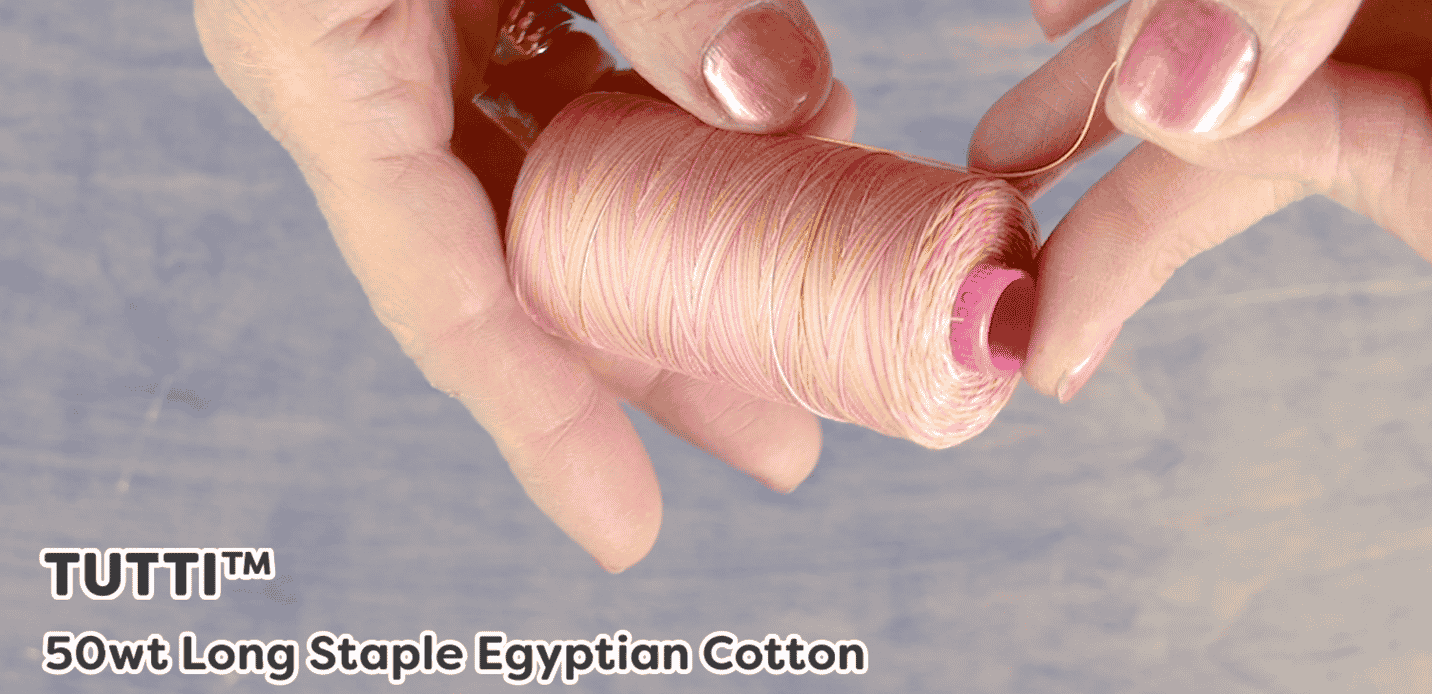
Para coser tu aplicación de forma permanente, puedes usar una variedad de hilos dependiendo del aspecto que desees lograr. La elección es tuya, sin embargo, para mi aplicación usaré este algodón matizado de 50wt llamado Tutti. Me encanta este hilo porque ha sido doblemente gasificado, por lo que tiene un acabado limpio y ultra bajo en pelusa, y los cambios de color en el hilo son más rápidos.
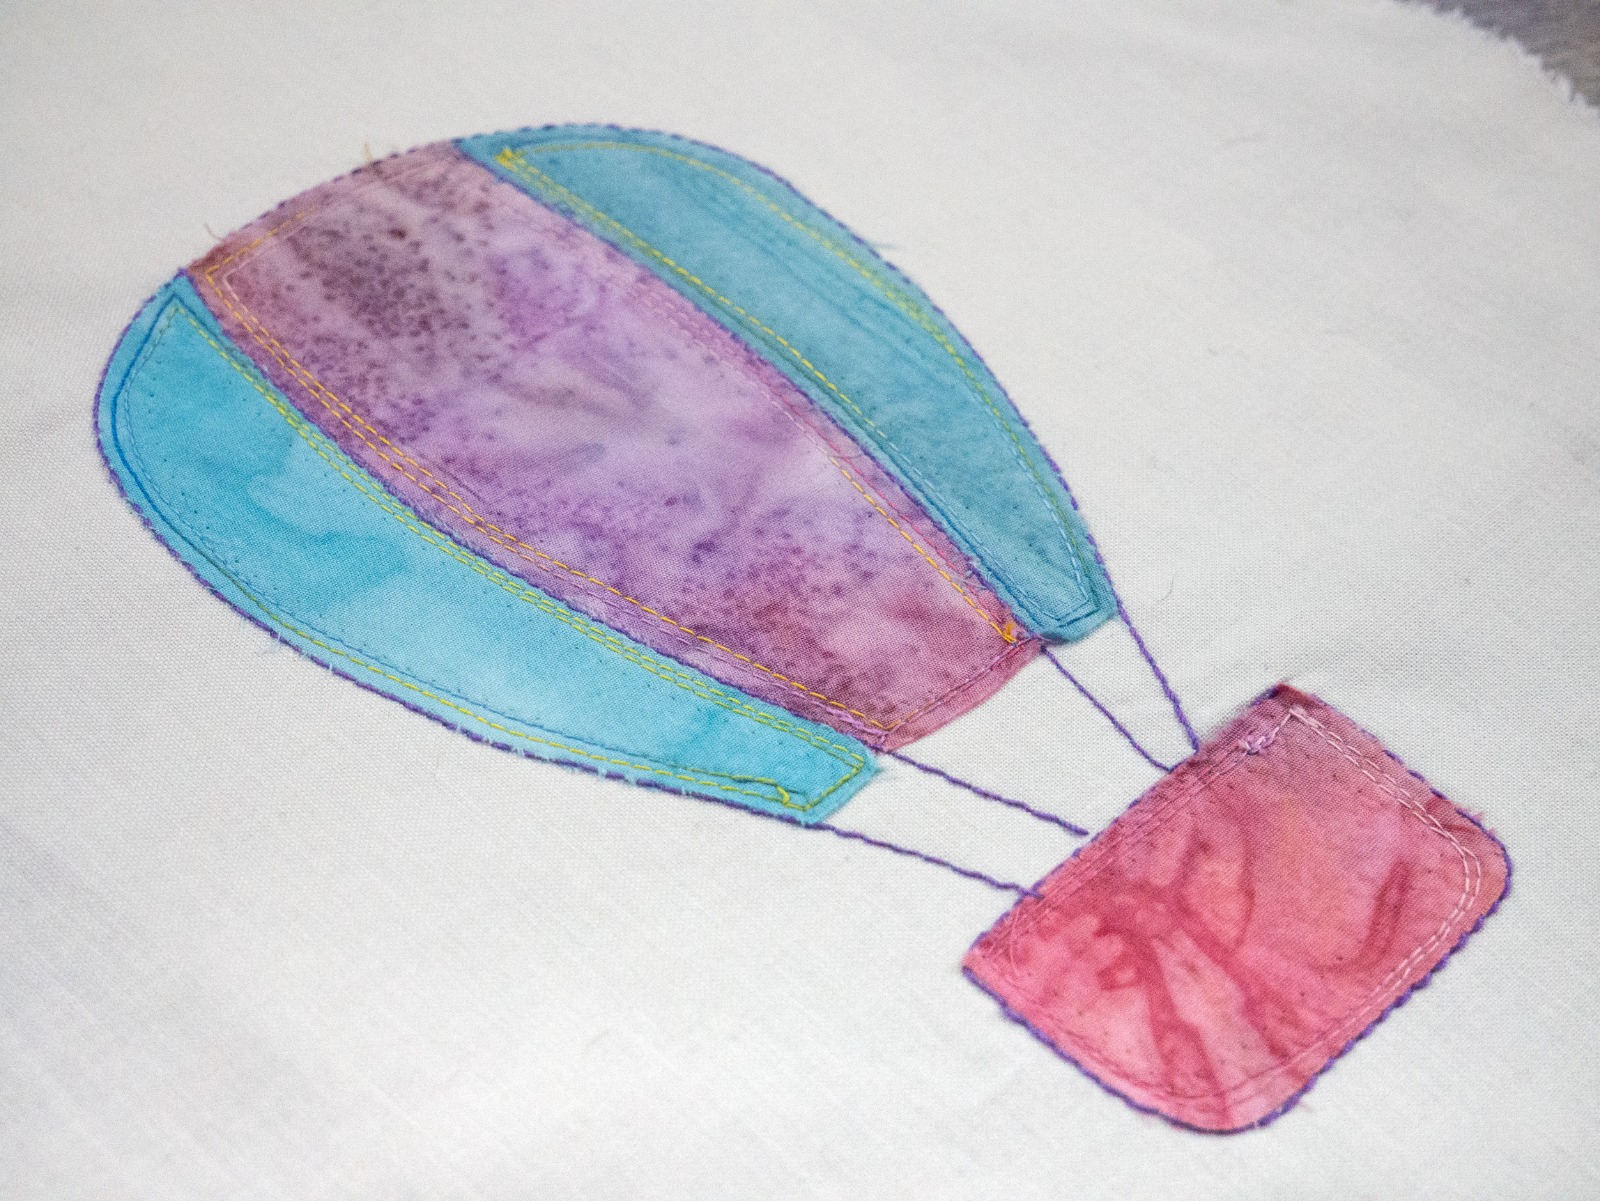
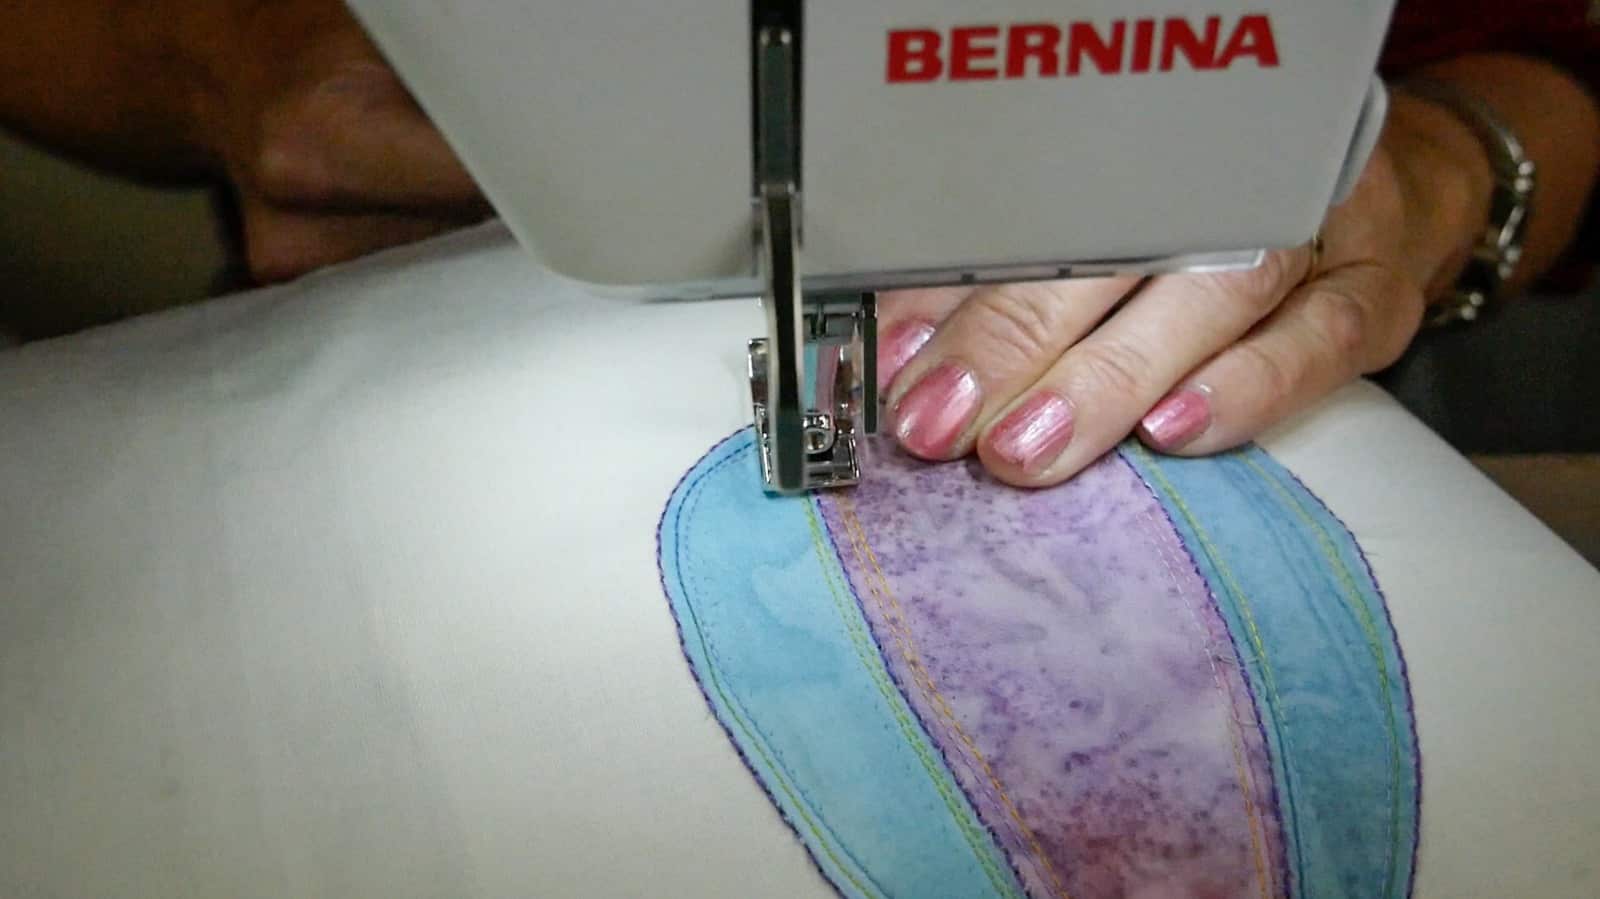
Cose alrededor de tu aplicación a unos 1/8 de pulgada del borde. Si quieres hacer un contorno más audaz en tu aplicación, puedes volver a coser una segunda vez. Las aplicaciones de borde crudo suelen tener un aspecto desaliñado, así que no te preocupes por alinear perfectamente las líneas entre sí.
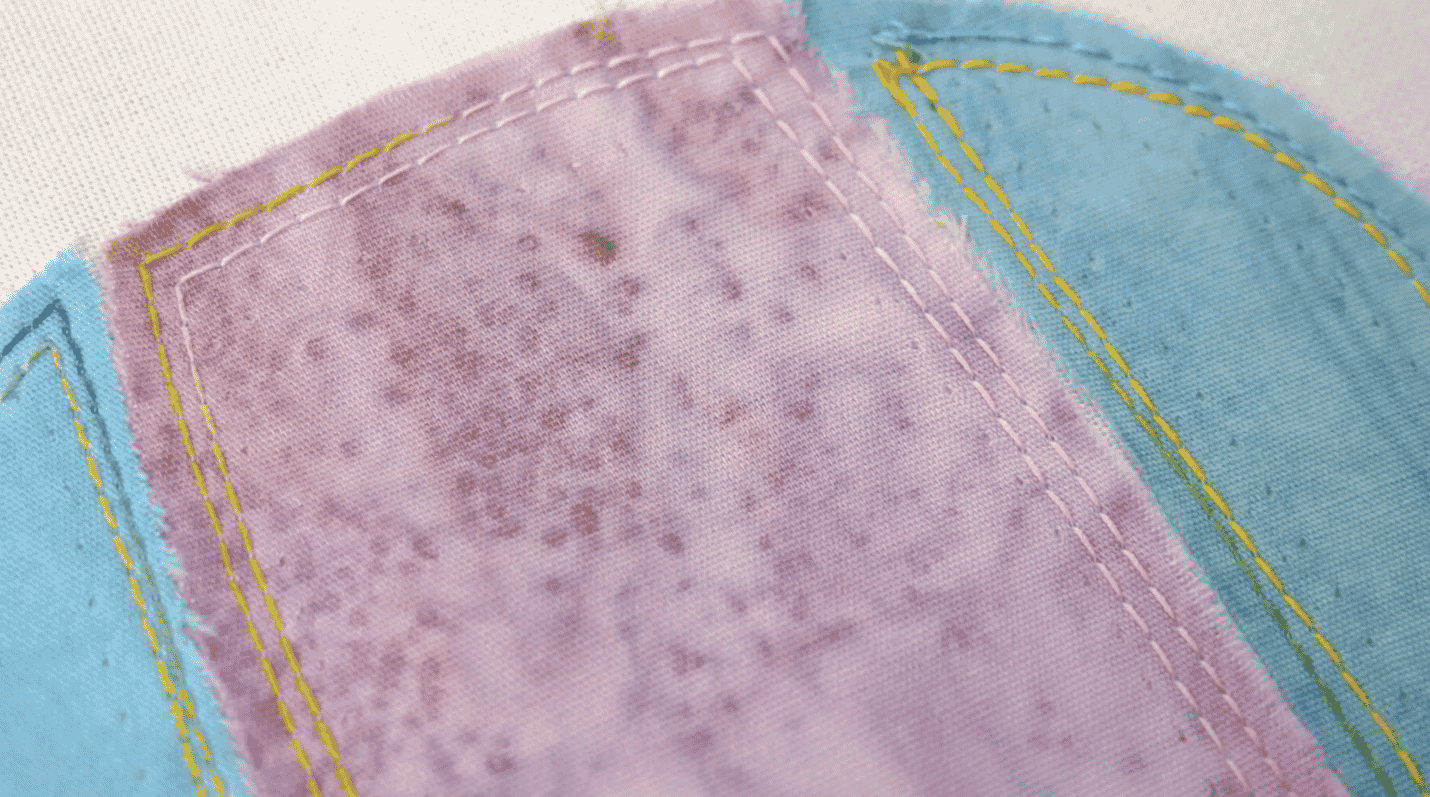
Alternativamente, puedes ocultar el borde sin rematar de la aplicación seleccionando una puntada de satén en tu máquina y cosiendo sobre el borde para cubrirlo. Elegimos coser un contorno atrevido alrededor de las piezas de aplicación usando este hilo más grueso de 12wt llamado Spagetti. Al igual que Tutti, también es un algodón de baja pelusa, pero este hilo más grueso es una excelente manera de añadir énfasis o un contorno a un motivo en tu proyecto.
Una vez que hayas terminado de coser permanentemente tus piezas, no olvides lavar tu proyecto para eliminar el estabilizador soluble en agua, si decidiste usarlo. No importa la forma creativa que elijas para terminar tu proyecto de aplicación de borde crudo, este método es una forma infalible de reducir la rigidez de un estabilizador termoadhesivo que a menudo se usa en esta técnica.