
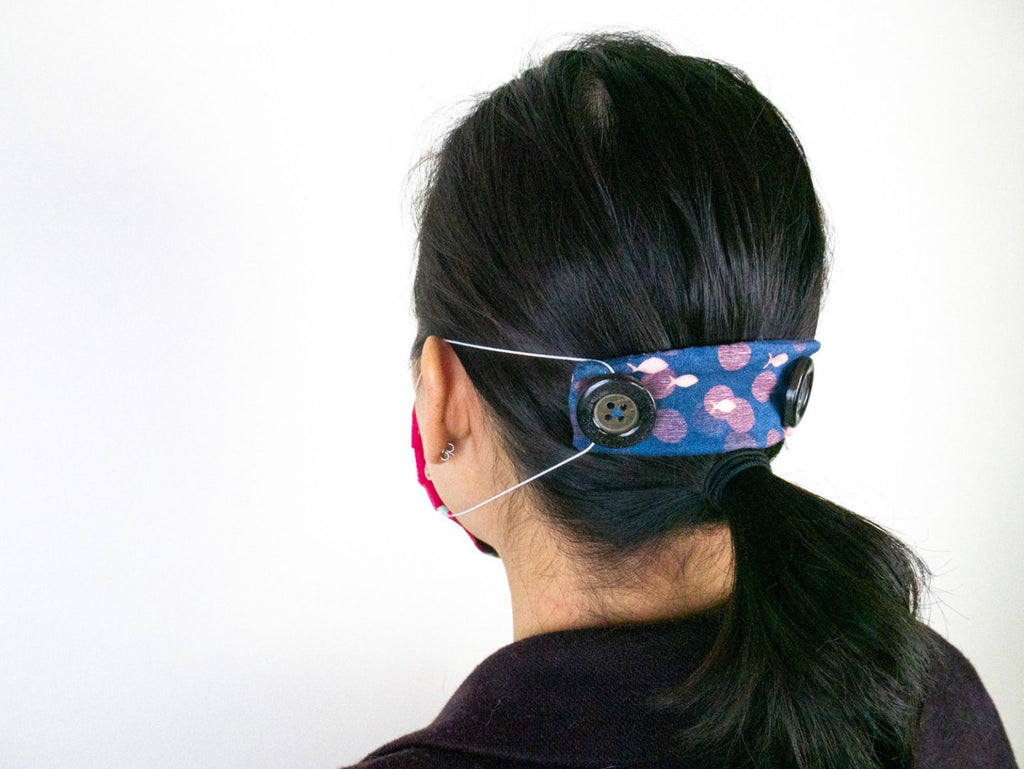
Si usas una mascarilla con aros elásticos, este simple protector de orejas aliviará la presión que ejercen sobre tus orejas al permitirte engancharlas detrás de la cabeza. ¡Solo necesitas dos botones y unos trozos de tela y guata para hacer uno! Lo mejor es que son increíblemente rápidos de coser y pueden ahorrarte mucho dolor, especialmente si usas tu mascarilla durante varias horas. No olvides echar un vistazo a nuestro tutorial de mascarillas para hacer la tuya propia.
Materiales:
Descarga el patrón súper sencillo haciendo clic aquí.
Utilizamos el hilo Designer 40wt de poliéster multiuso para coser nuestros protectores de orejas para mayor seguridad.
Recomendamos DecoBob 80wt poliéster algodonado en canillas precargadas, ya que este hilo fuerte ofrece la tensión más consistente para facilitar la costura.
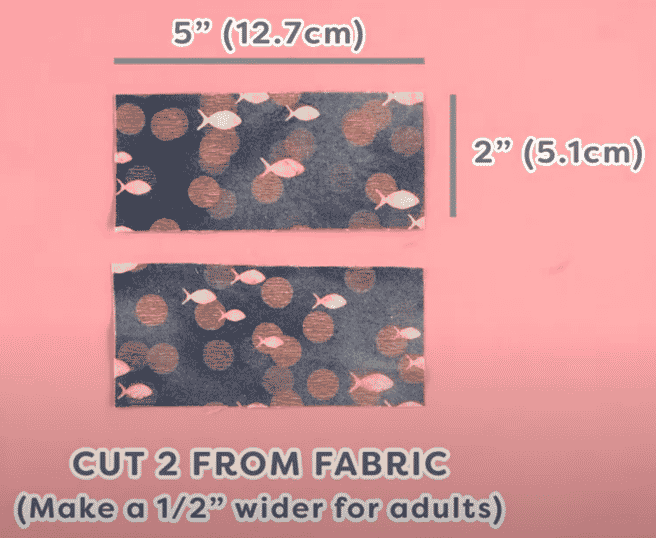
2 piezas de tela cortadas al tamaño indicado en el patrón
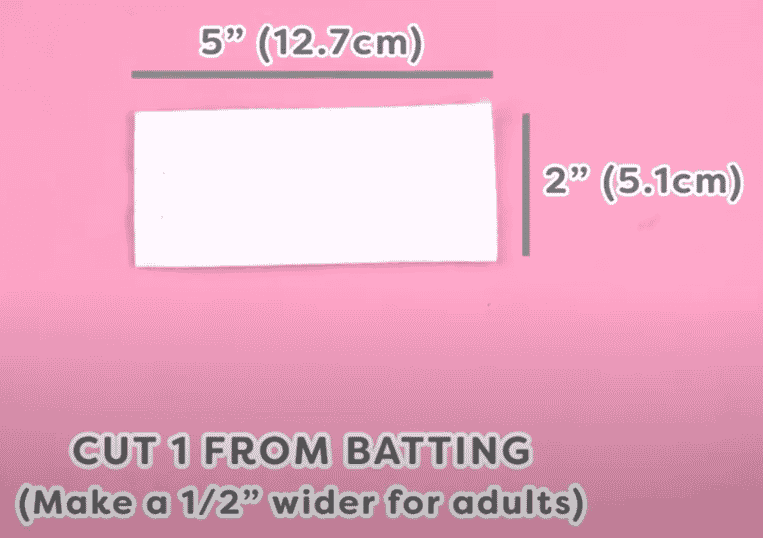
1 pieza de guata cortada al tamaño indicado en el patrón
2 botones de tamaño mediano
Instrucciones:
Antes de empezar, no olvides descargar el patrón enlazado al principio de nuestra lista de materiales y elige el tamaño que deseas coser. Estamos demostrando con el tamaño de niño del patrón. Corta tus 2 piezas de tela y la guata. ¡Estas piezas son lo suficientemente pequeñas como para poder cortarlas de nuestros retales!
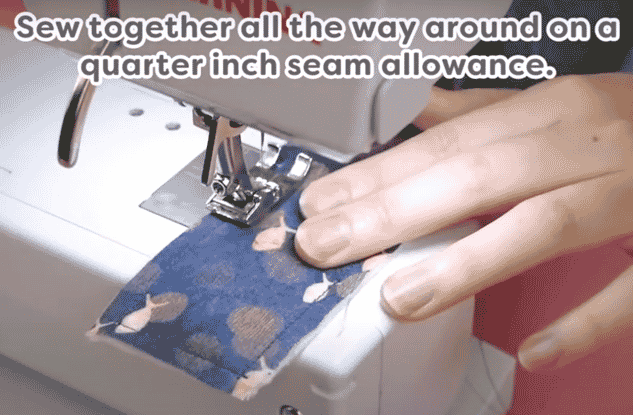
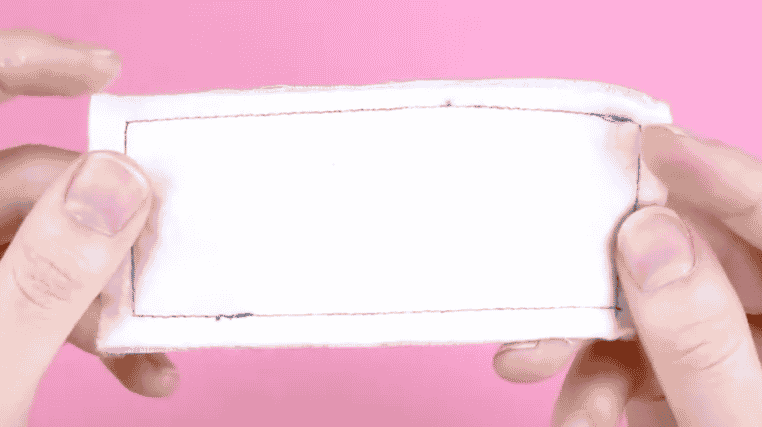
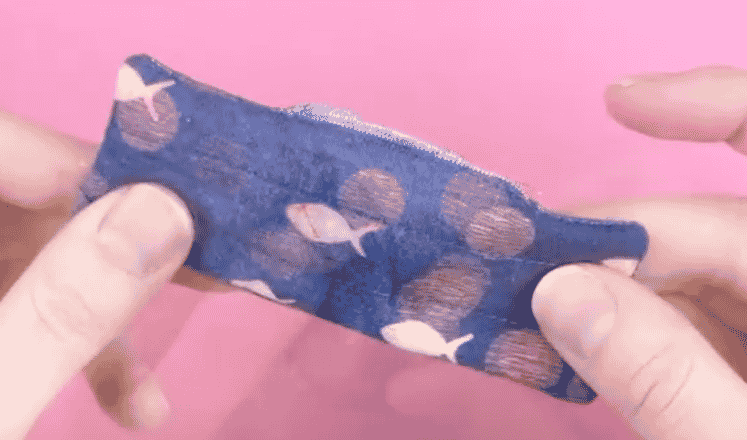
Coloca la pieza de guata junto con una de las piezas de tela con el revés hacia afuera. Sujeta con alfileres y cose todo alrededor con un margen de costura de ¼” (0.63 cm).
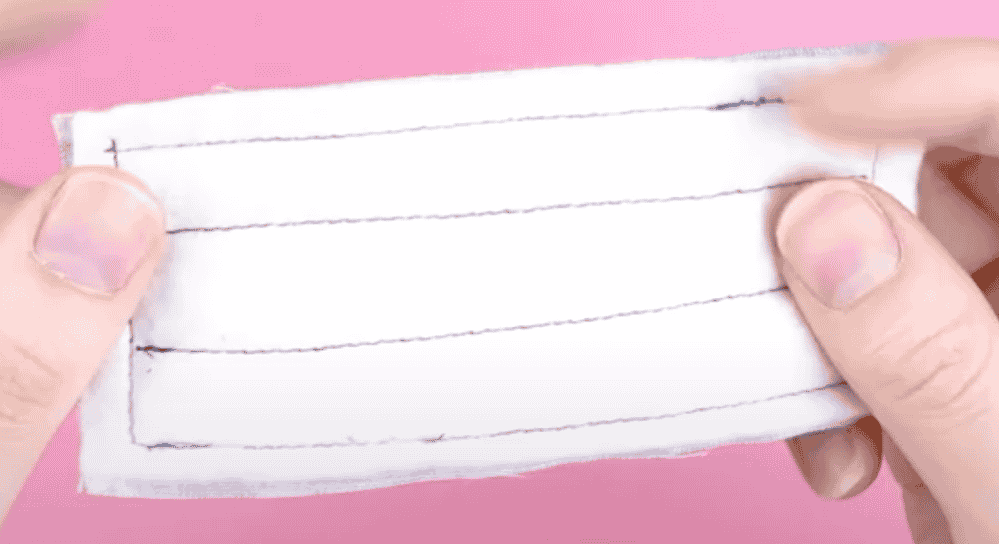
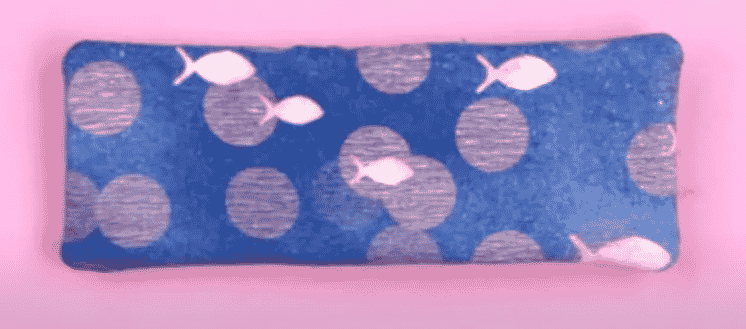
Añadimos dos filas de acolchado por el centro para unir aún más las piezas. Esta guata añade una capa extra de amortiguación contra la cabeza para que quede más cómoda.
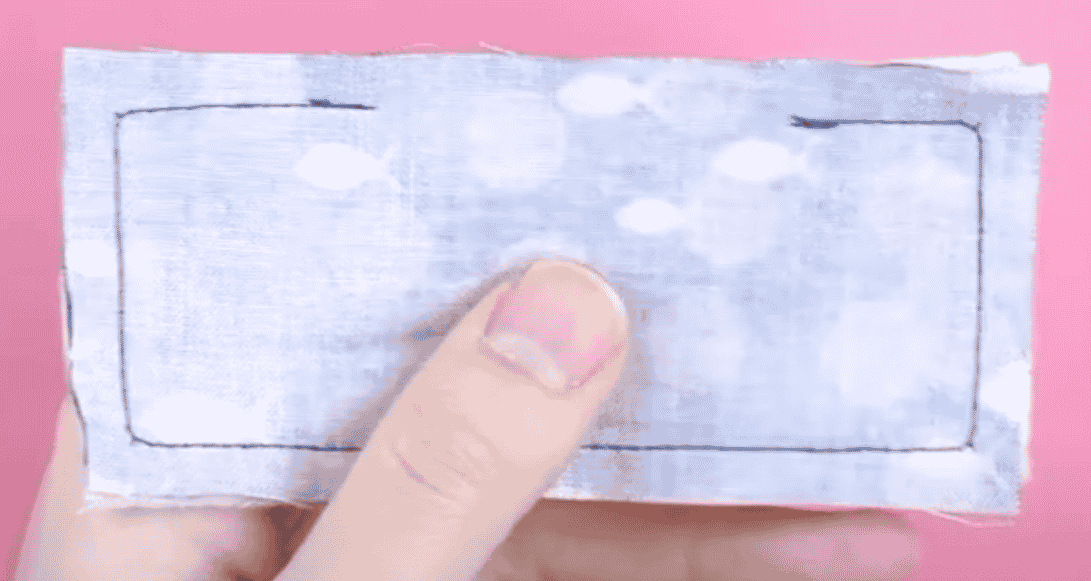
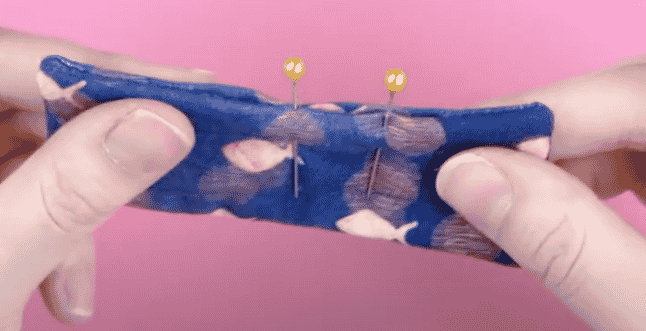
Coloca esta pieza cosida junto con la segunda pieza de tela sin coser, con los lados derechos juntos. Sujeta con alfileres y cose con un margen de costura de ¼” (0.63 cm), dejando una abertura de 2” (5.1 cm) para voltear la pieza. No olvides rematar al principio y al final.
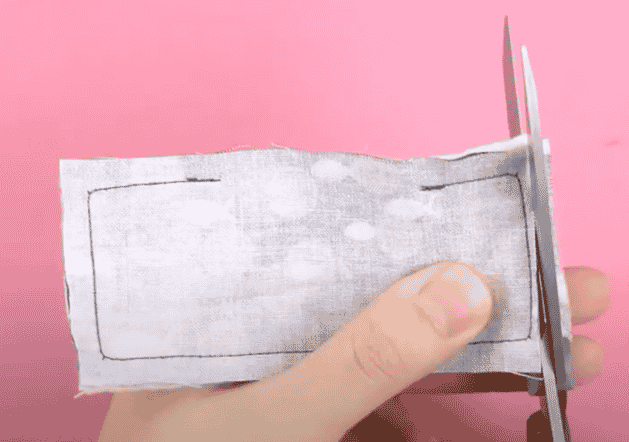
Corta el exceso de tela de los bordes, con mucho cuidado de no cortar las puntadas. Luego, voltea la pieza al derecho.
Cosemos a mano el espacio restante con hilo DecoBob 80wt, el mismo hilo que usamos en la canilla al coser en la máquina. Este hilo pequeño se ocultará mejor en la tela para que no se vea. Usamos una aguja de zurcir corta más pequeña, talla 11, para coserlo.
Para el último paso, coseremos los dos botones a mano. Usando ahora hilo Designer 40wt y una aguja afilada, simplemente cose cada botón al extremo del rectángulo.
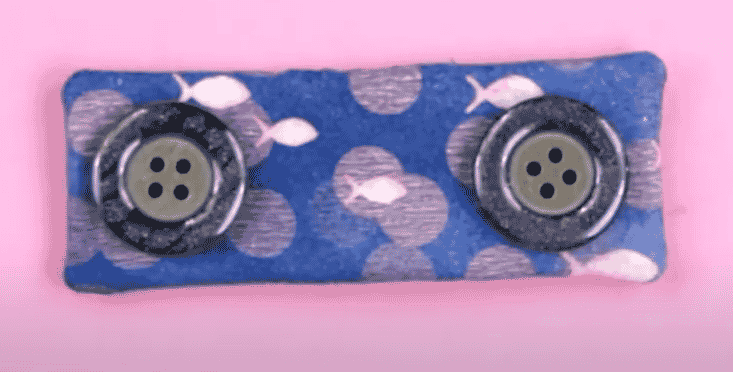
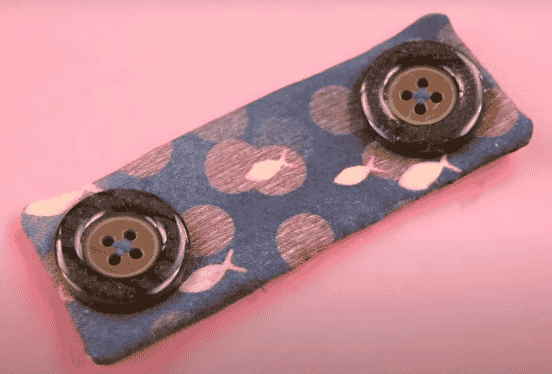
¡Tu protector de orejas ya está listo para usar! Este proyecto sencillo y rápido ayudará a aliviar la presión que ejercen las gomas de la mascarilla en tus orejas para un uso más cómodo.
