
We want to share with you a project that would not only be fun, simple and easy to make, but also useful. For this project we decided to use the WonderFil’s Razzle and Dazzle threads.
The Razzle and Dazzle threads are perfect for hand embroidery, the silky soft 6 ply rayon thread adds a beautiful shine and sparkle to any project. Simple stitching and the usefulness of the pillbox make it the perfect project to try your hand at embroidering. This is a great project that can simply be modified and customize. Have fun with the pattern and design, these pillbox pincushions make the perfect little gift.
With a few simple seams and a little stuffing, you will be moving your pins into their new home before you know it.
TOOLS
- Rotary Cutter
- Ruler with 60 degree angle markings
- Fabric Marking tool
- Soft Sculpting doll needle
BASIC SUPPLIES
- scissors
- sewing machine
- pins
- hand sewing needle,
- iron
- pressing surface
DIRECTIONS
1. Fuse fleece to linen with hot iron. Cut: One - 14 ¼” x 3”, two - 4-3/4″ circles.
2. Using a ruler and the fabric marking tool draw a line along the length side panel at 1 ½”. Add the Chevron design by using 60 degree markings on the ruler. Spacing chevrons ½” apart draw a set of 2 (space them an inch apart), then add a set of 3 chevrons. Repeat pattern with 1 inch between each set.
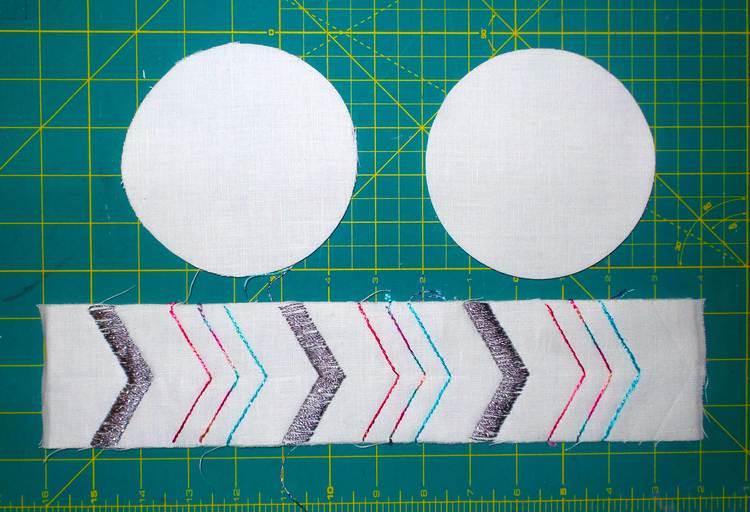
3. With the Razzle and Dazzle threads use a stem stitch trace along the marked chevrons in the sets of 3 alternating thread colors. Using a satin stitch sew between the sets of 2. In the same manner repeat this pattern on the remaining markings.
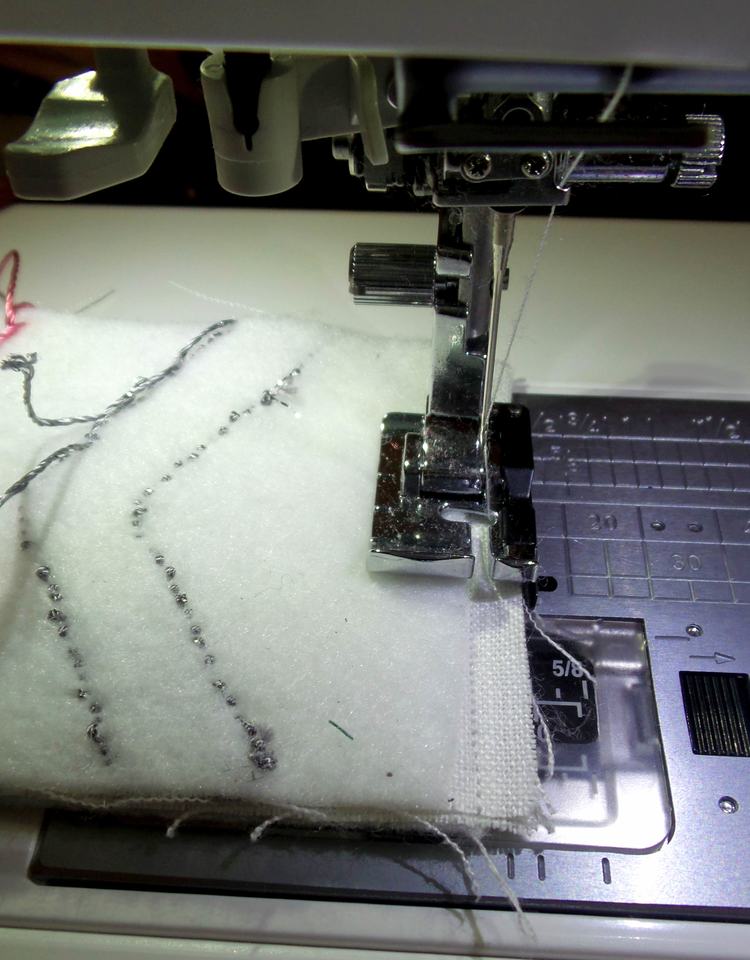
4. With the right sides together, sew the ends of the embroidered strip together to create the ring.
5. Fold the ring in half evenly and place pins on either side. Fold the matching pin mark ends with pins. Find the quarter marks on the circles by folding the circle in half, then proceeded to mark them in the same manner. Repeat to find the other set.
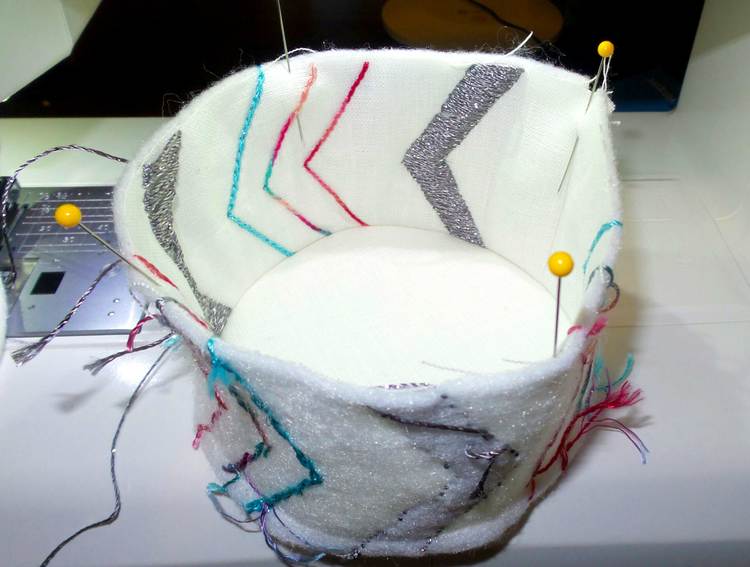
6. Match the quarter marks of the circle and the tumbler ring with right sides together. Proceed to pin it in place and machine-sew using 1/4″ seam allowance. Attach the bottom circle in the same manner, leaving 2″ opening to turn.
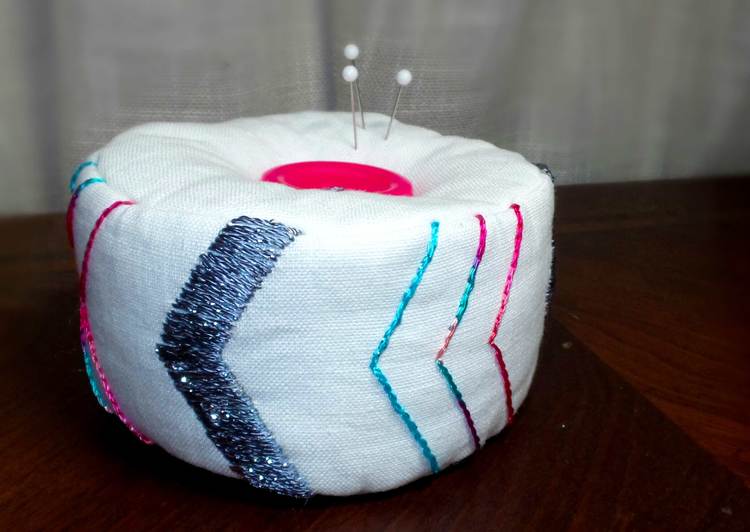
7. Turn the right side out. Fill the cushion with fiberfill until firm.
8. Slipstitch the opening and close using Wonderfil designer thread.
9. Position the button on the center of the circle. Sew through the center of the cushion using doll needle. Add the bottom button on opposite sides. Sew back and forth while pulling to make the buttons push into the cushion; secure.
by: Jennifer Davey from Be Still My Crafting Heart
With love and threads,