Rather than rolling up your jeans or taking them to an expensive tailor, why not hem them yourself? This is one of those life skills that’s easy enough for anyone with a sewing machine to do themselves. Wearing jeans that are too long can wear away the denim around the heel in an ugly way. We’re here to show you our tried and true method of hemming jeans easily and quickly for a perfect fit. We’ll also show you our recommendation for notions that will give you the best look and results.
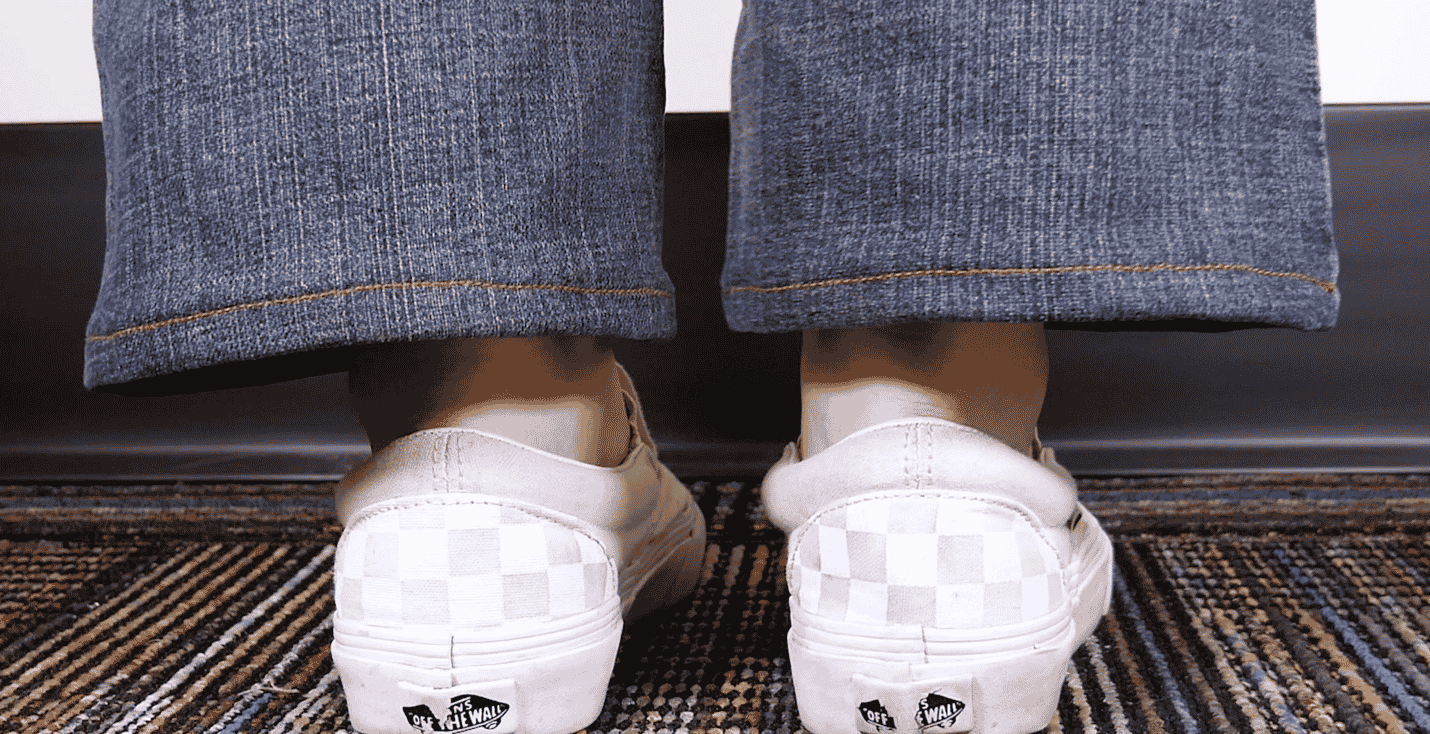
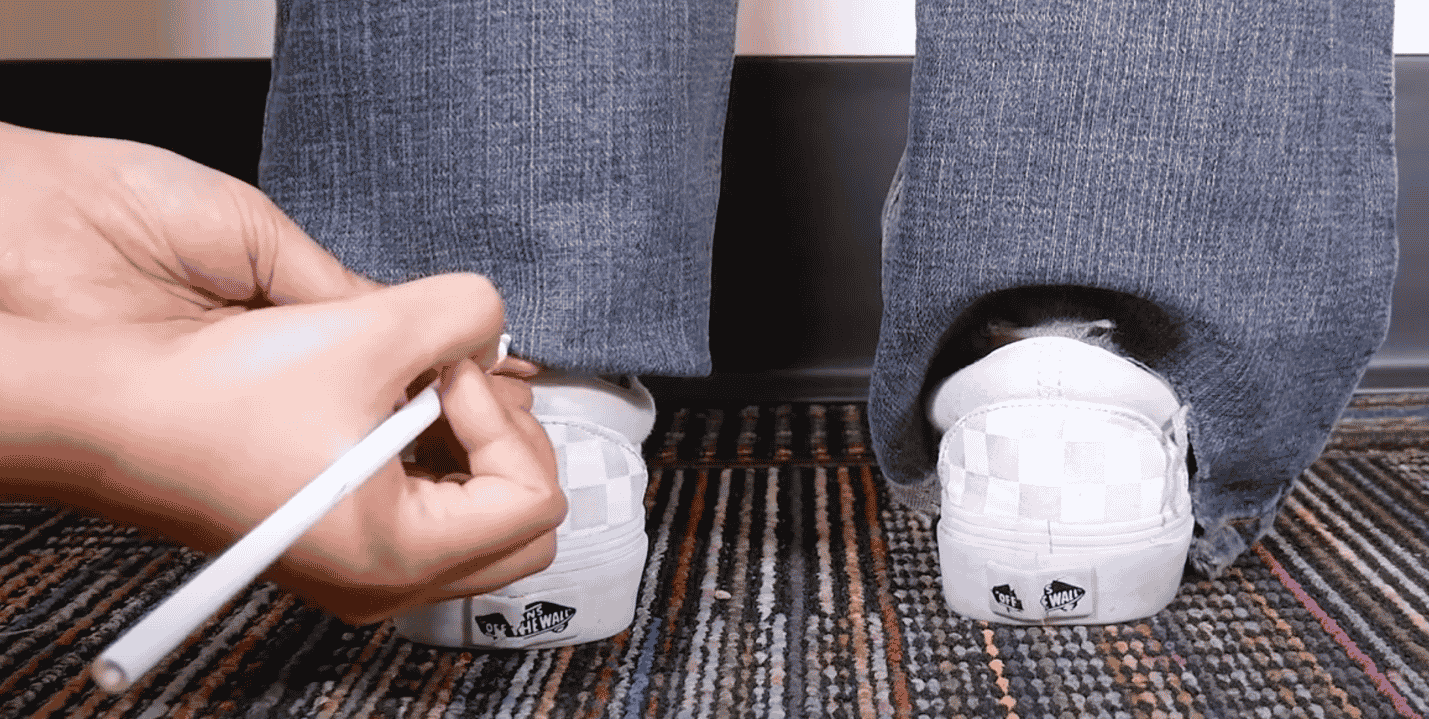
To begin, you’ll want to grab a piece of tailor’s chalk, preferably in white or another contrasting colour from your denim. Put on the pair of jeans that are too long and turn up the fabric under the wrong side of the pants until it’s at the desired length. We recommend doing this step while wearing shoes to ensure you take this extra height into consideration. It may help to have someone do this for you so you’re standing straight. Make a mark at the base of the fabric at the desired length using the tailor’s chalk.
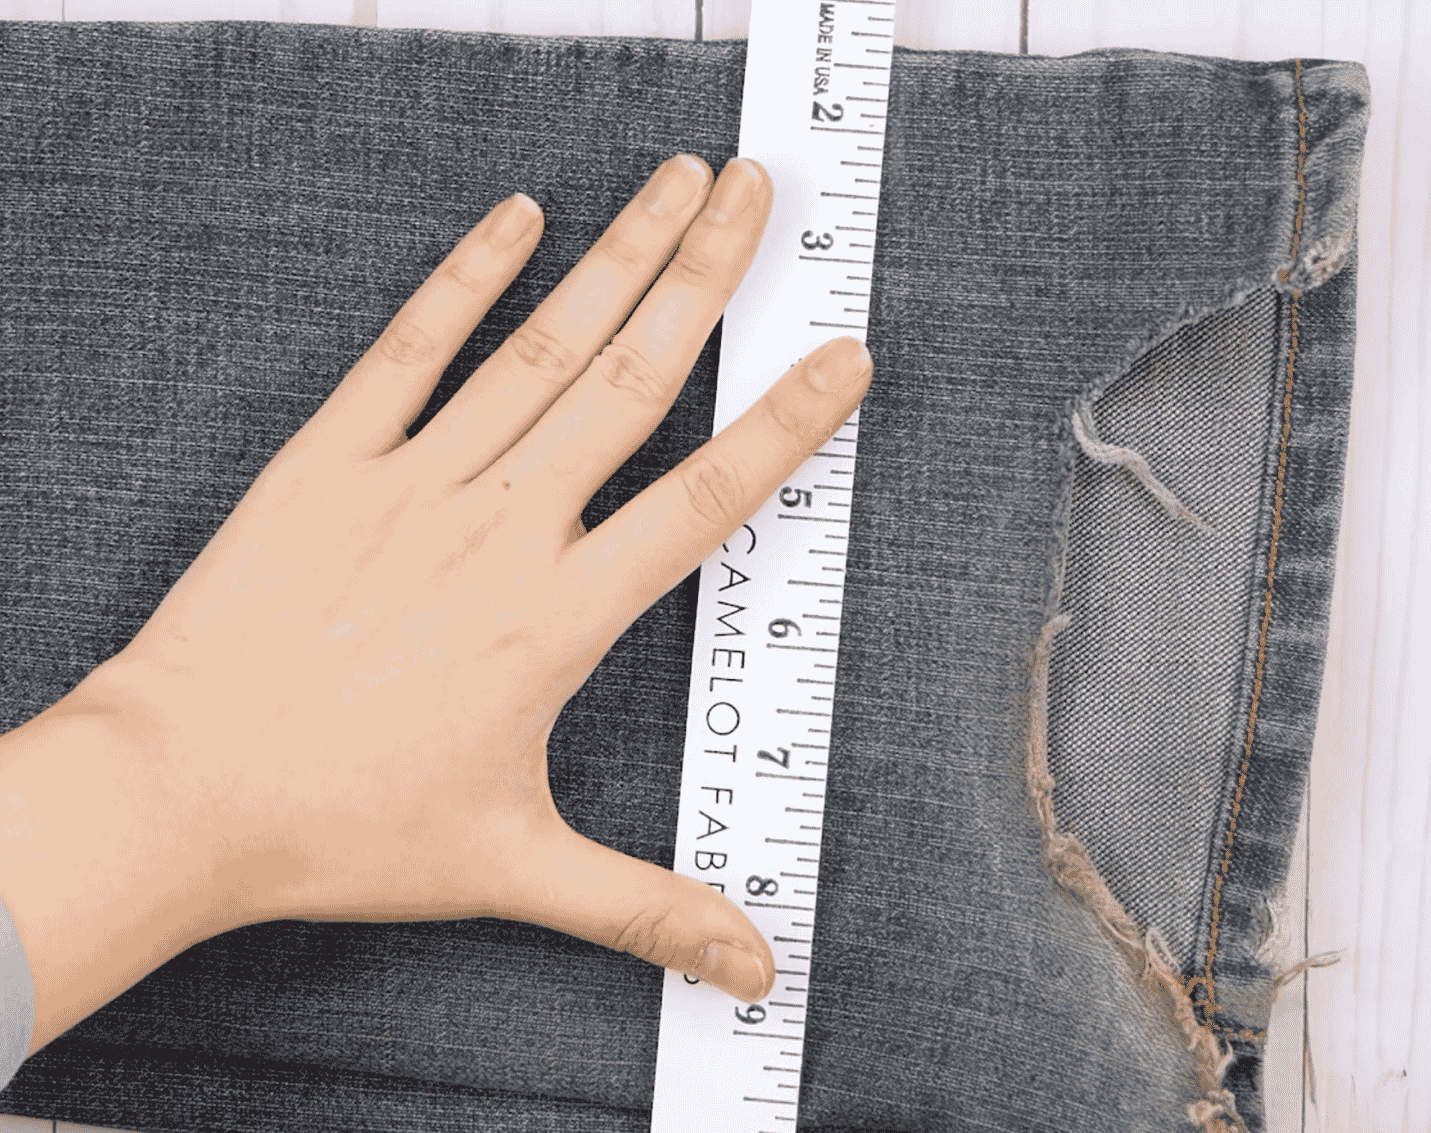
Now measure the distance from the mark to the bottom of the original hem. You’ll want to mark the other leg at the same distance so they are the same length. Lay one of the legs flat and place a ruler straight against the line. Extend the line all the way down the fabric.
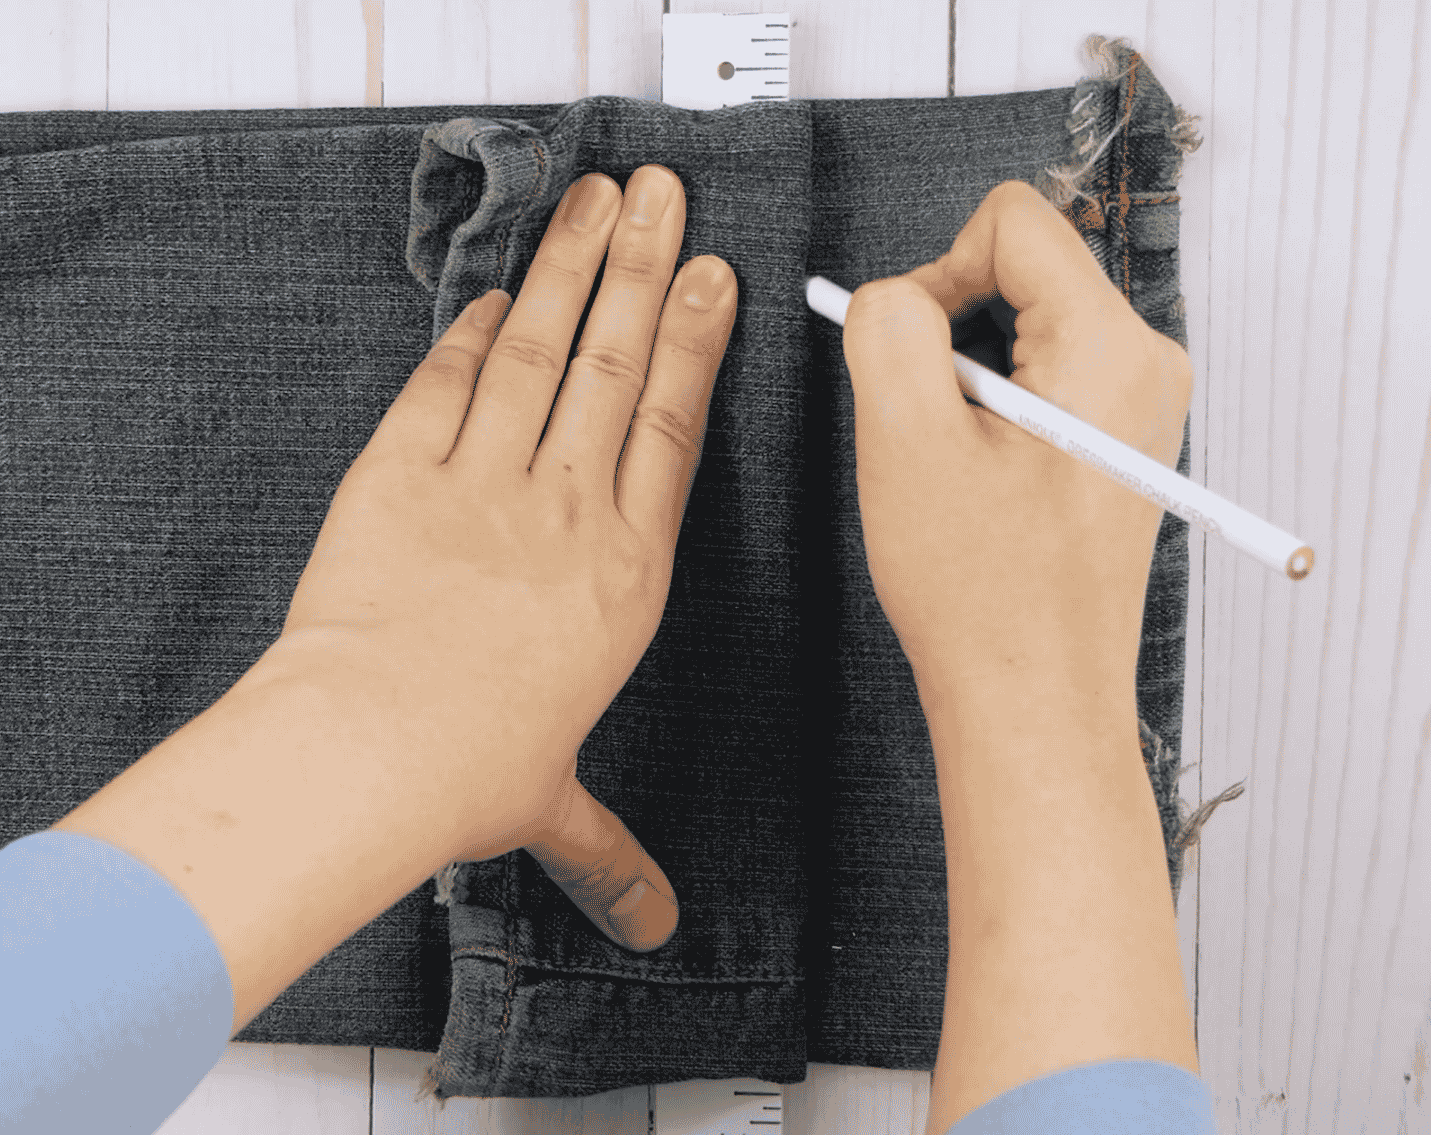
Holding the ruler in place against the line, you can flip over the pant leg over the ruler and continue drawing the line to the other side of the leg, being careful to keep it straight. You should now have a straight line running on both sides of the pant leg.
Do the same with the other pant leg. Now that both legs have been marked, you’ll want to mark your fold lines next. On the side of the line closer to the bottom of the pant leg, measure another half inch and make a new mark.
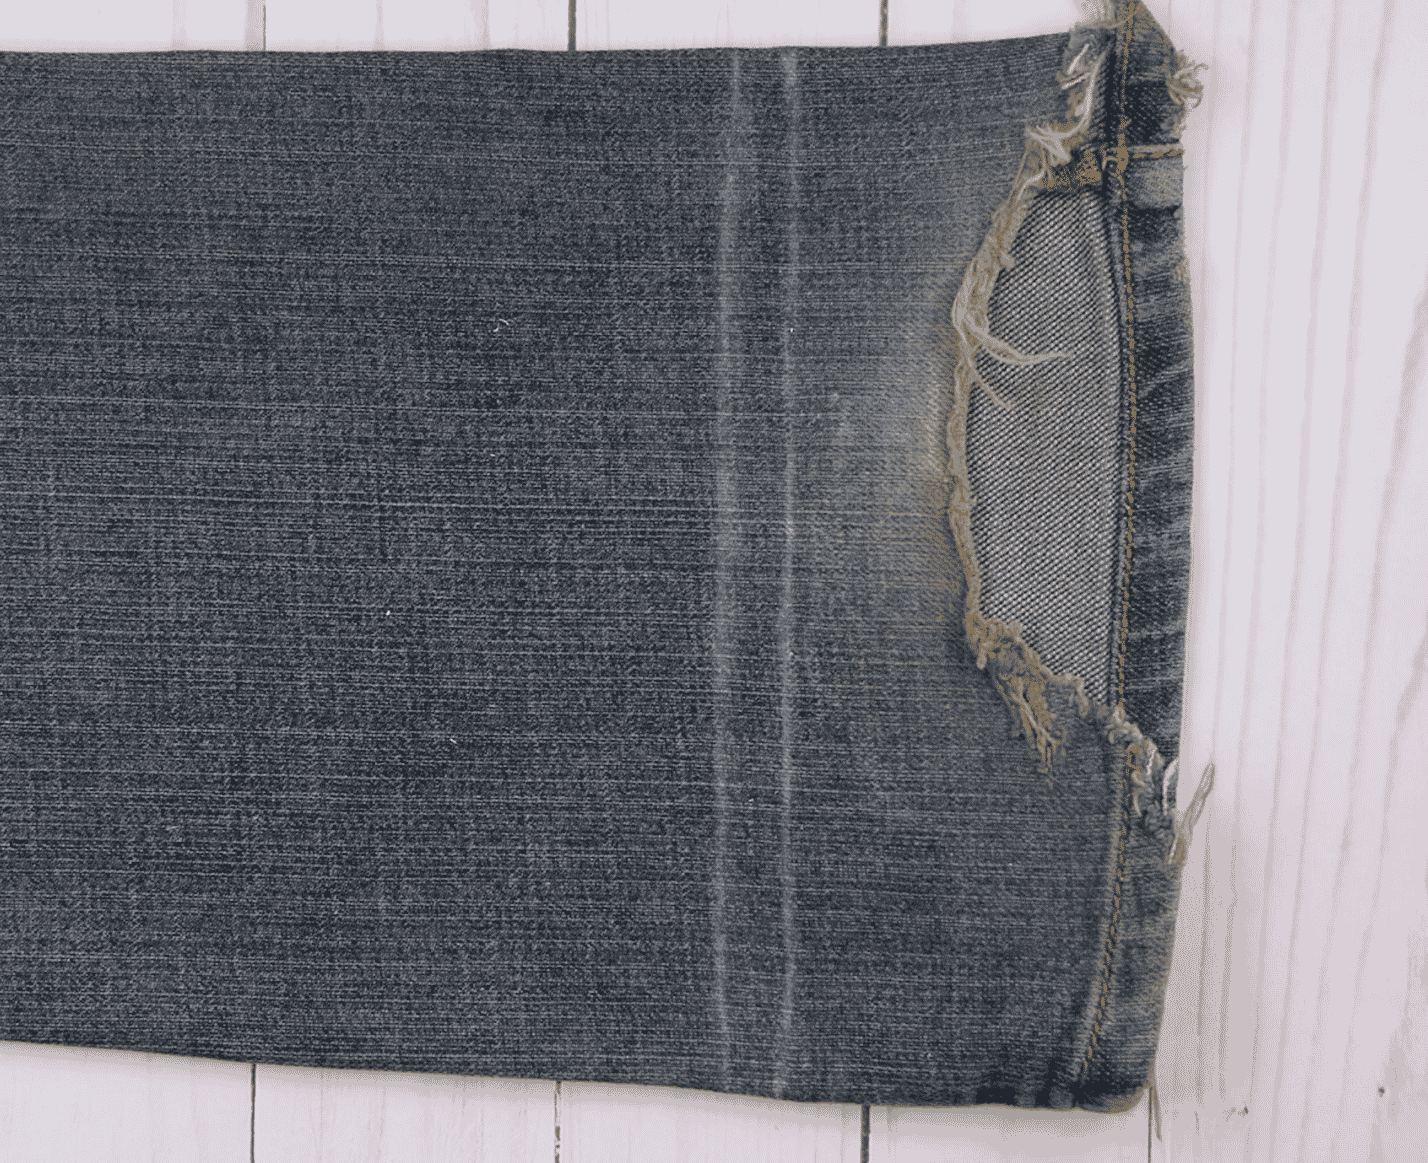
Now measure another half inch from your new mark, and make a third mark. You’ll want to once again extend these lines straight all the way around the pant leg on both legs. You should now have 3 solid straight lines travelling around both your pant legs.
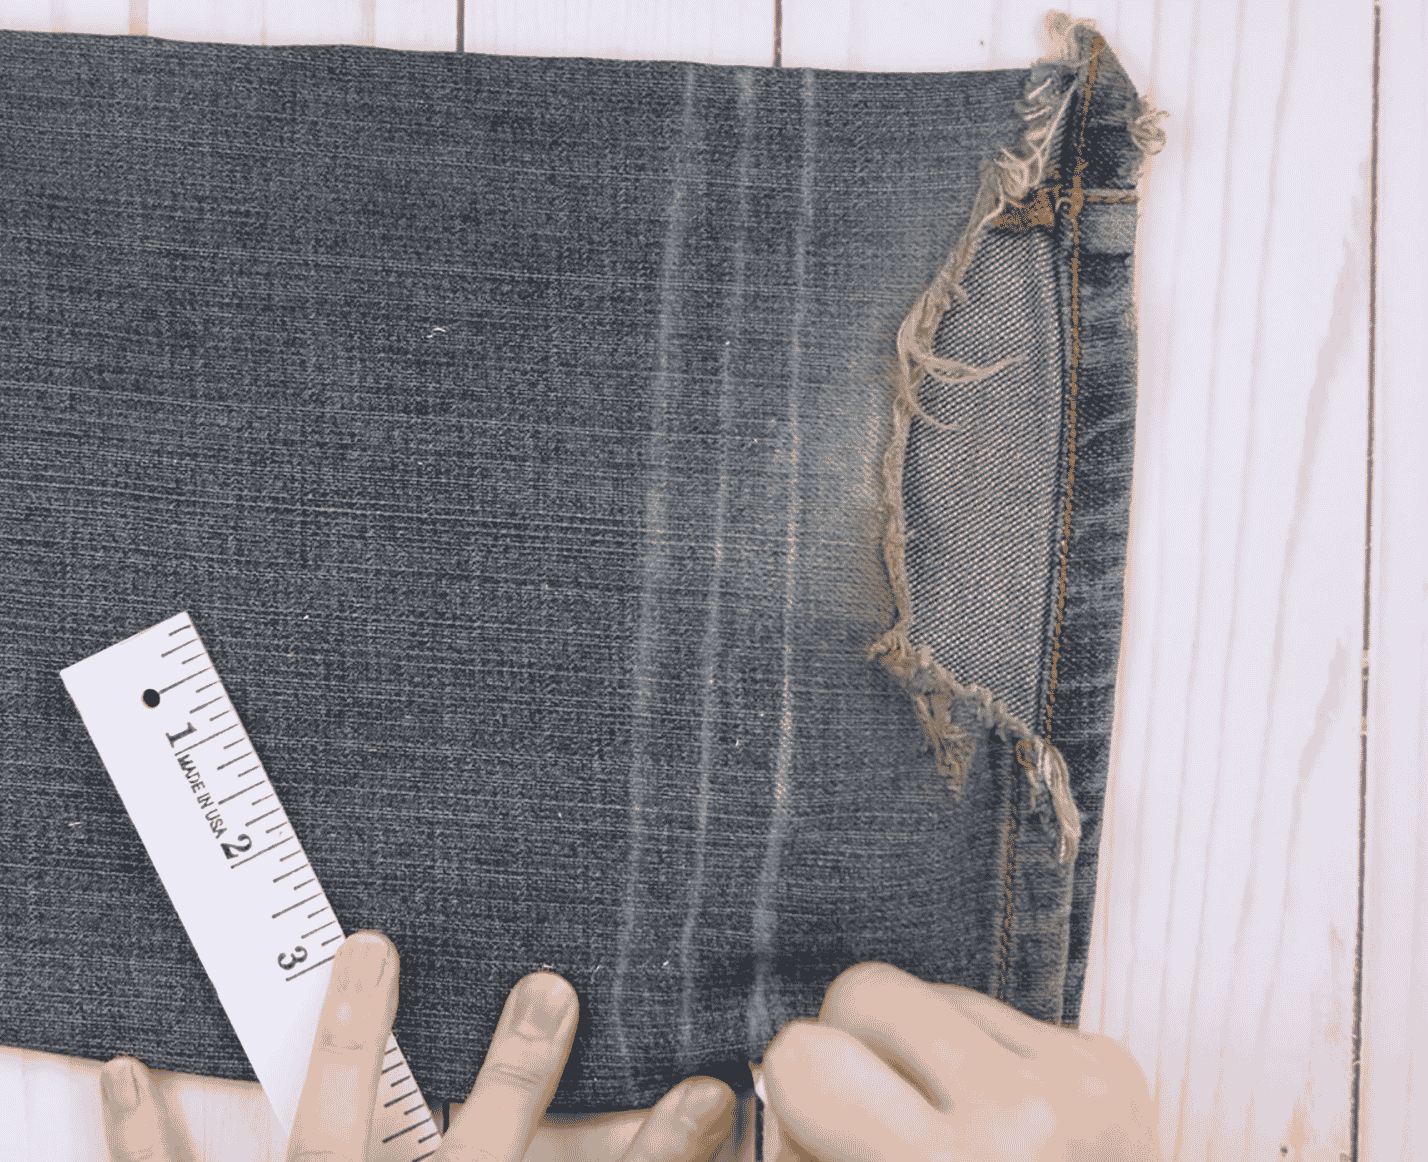
Using a pair of sharp fabric scissors, cut off the pants closely following the bottom line, the one closest to the bottom of the pant leg. Do this for both pant legs. You can now begin sewing your new hem!
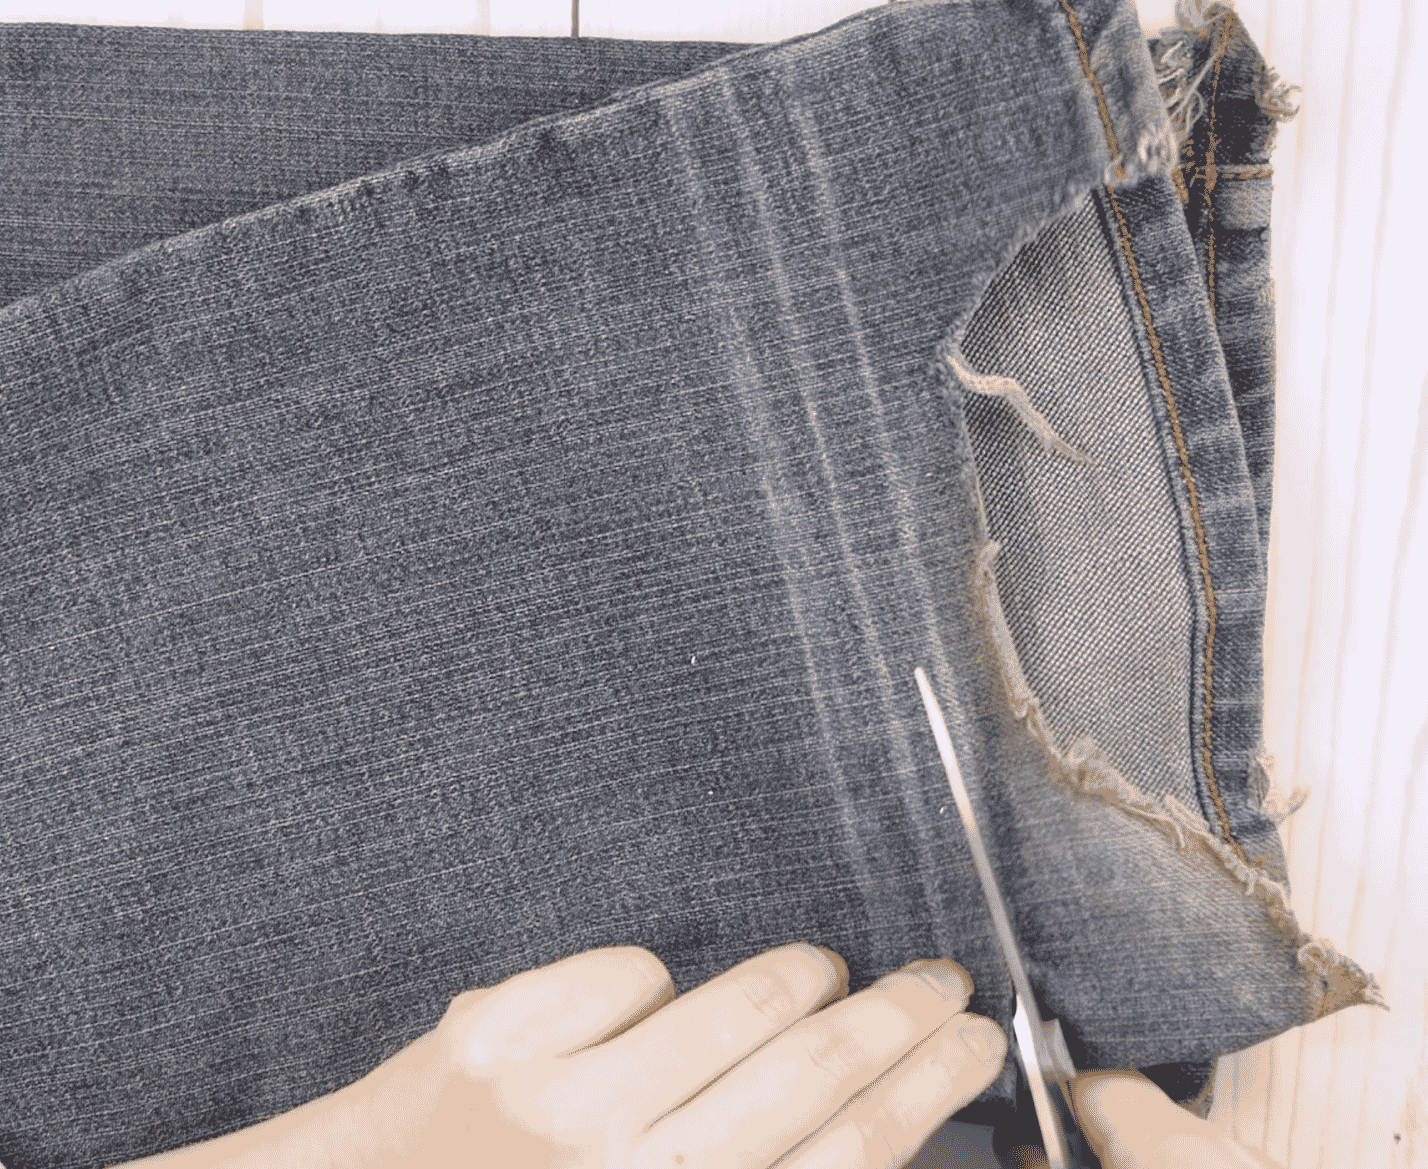
Most denim jeans will have a thick gold coloured thread, so it’s best to choose a thread that matches it to look consistent with the rest of the pants. We’ll be using this 12wt cotton thread called Spagetti in the bobbin. It’s a heavier than your usual 40 or 50wt thread, and closely resembles the decorative contrasting brown or golden thread used on jeans. The two Spagetti colours that tend to match most with this jean thread is SP11 or SP21. For this pair of jeans, I’ll be using colour SP21.
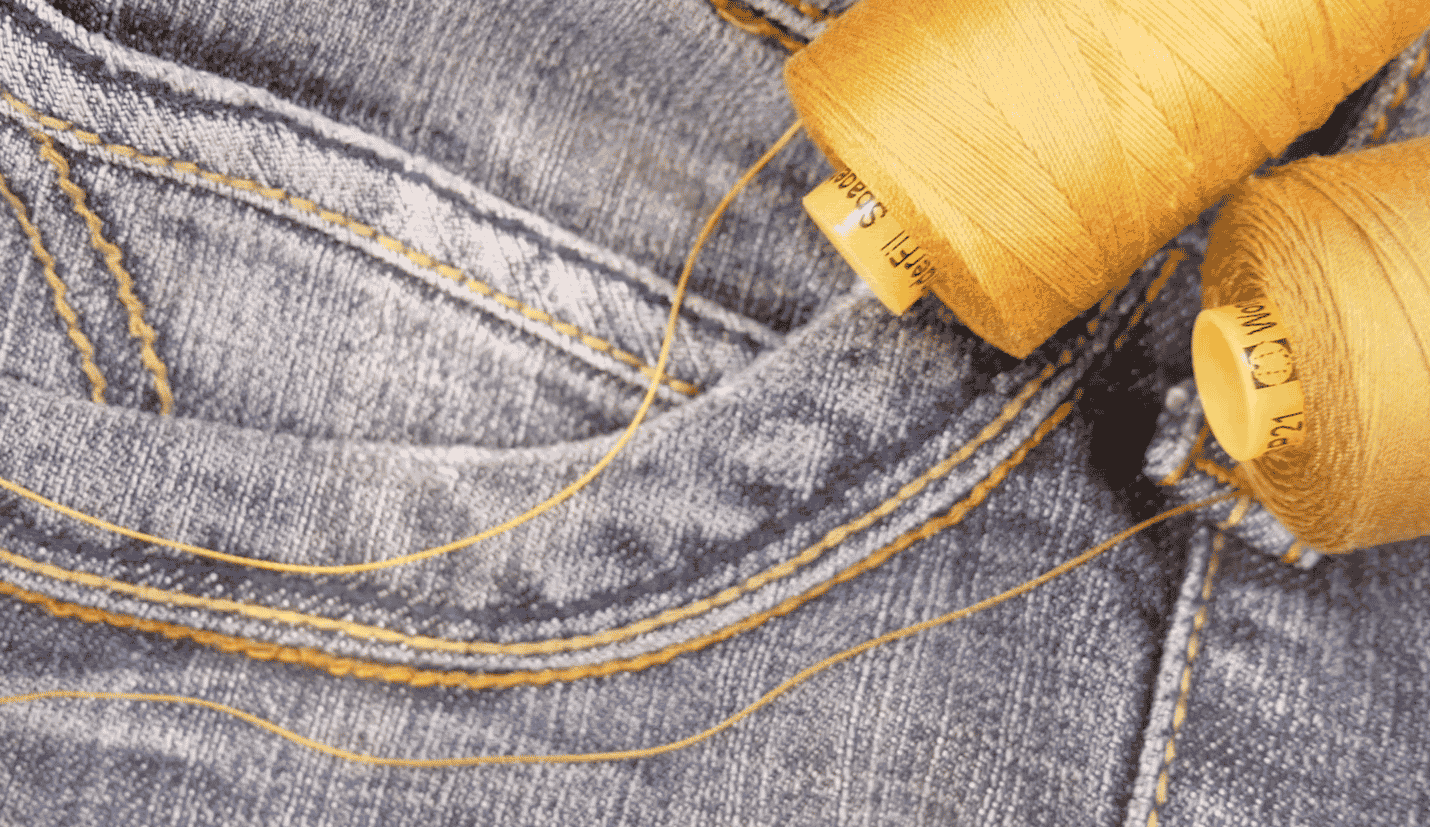
Because we’re using a thicker thread underneath, we want to use a finer thread in the needle. This will ensure the thread doesn’t struggle through the fabric, and it will give you a better stitch consistency and quality. But you don’t want just any finer thread up top, you want to make sure it is strong enough to hold your denim fabric together for a good long time.
We’ll be using DecoBob 80wt thread in the needle. This is a strong but lightweight polyester thread that is ideal to pair with Spagetti in the bobbin. We used a regular 80/12 size needle, however if you find your machine is struggling with the thicker denim fabric, you can also use a denim needle.
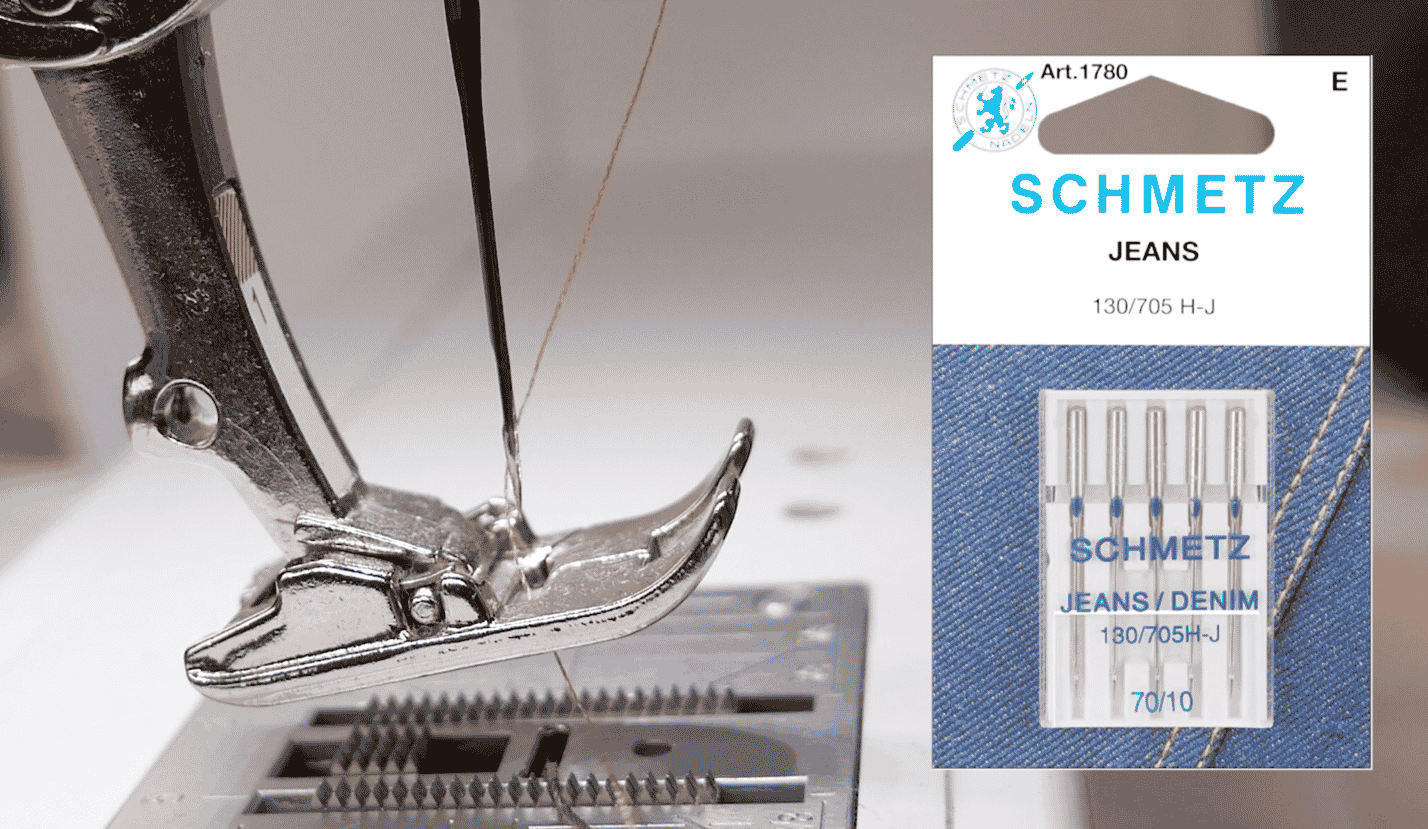
Don’t forget to increase your machine’s stitch length to 3.1. This will help with the machine’s tension when using the thicker 12wt thread, and also match the stitch length showing on the jeans.
Once the machine is set up, you can begin sewing. Roll up the hem following the remaining two lines so that the raw edge is tucked away. If you feel confident with keeping it straight you can begin sewing right away. However, we recommend beginners clip their hems in place to prevent it from moving using sewing clips. We prefer sewing clips instead of using pins because the thick denim can be difficult to penetrate with pins, and it doesn’t cause any puckering.
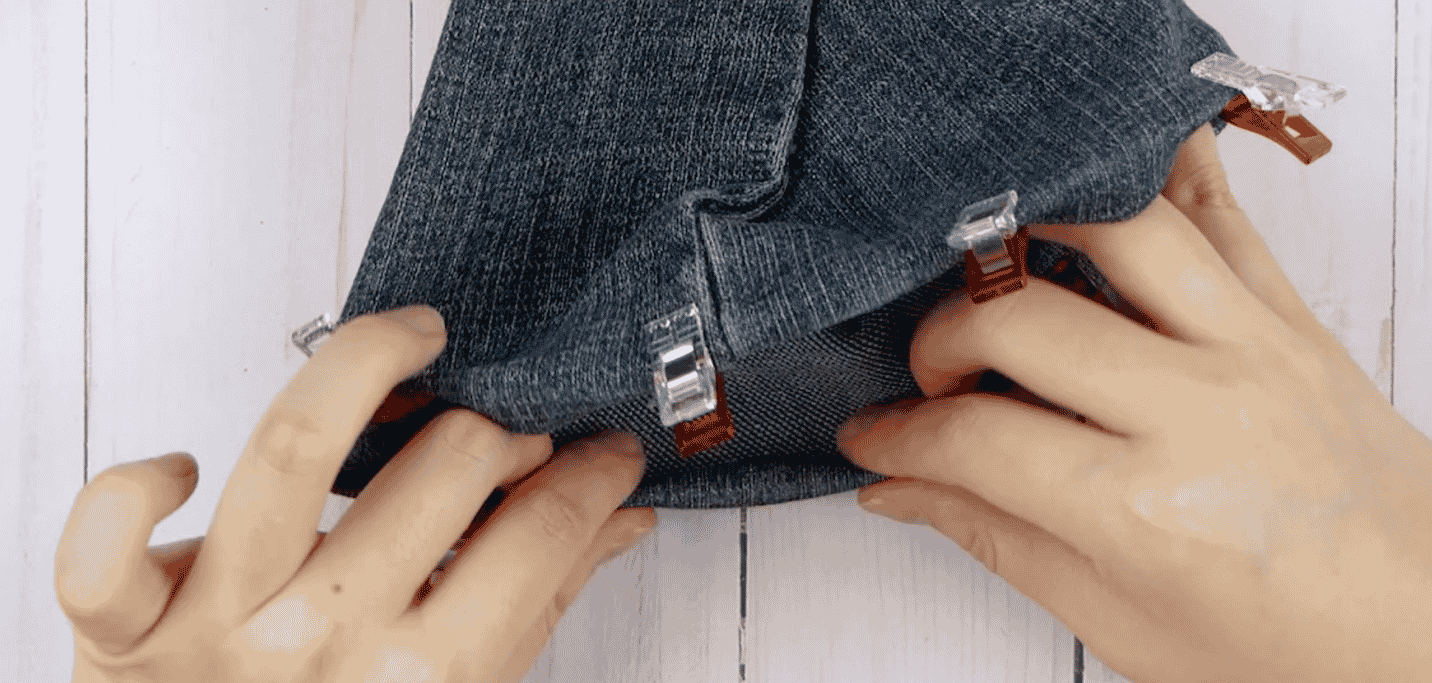
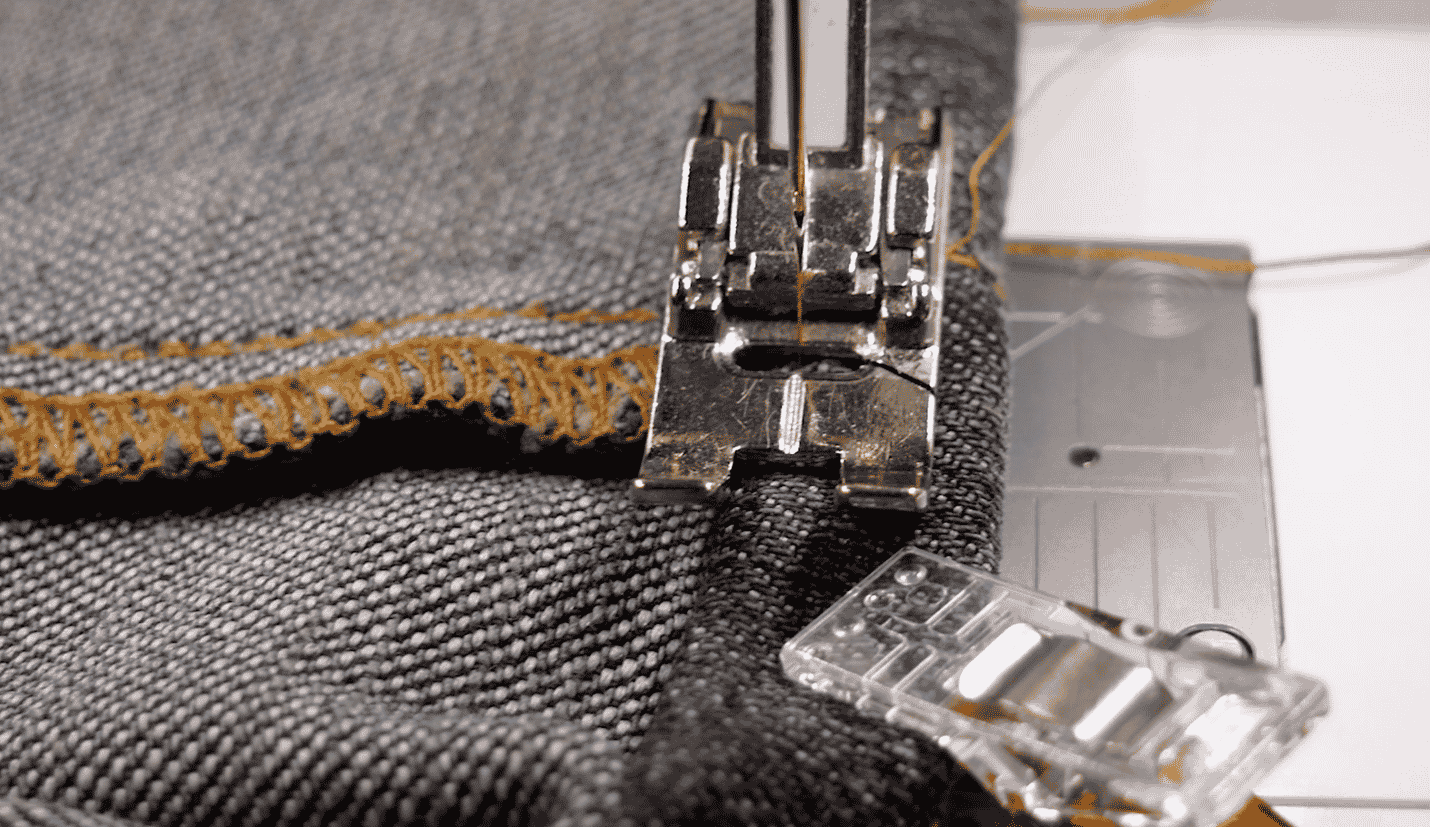
You’ll want to sew on the inside of the pant leg so you can follow the edge of the new hem. This way, your heavy 12wt thread in the bobbin will show on the right side of the pant leg.
We recommend starting on the bump of one of the side seams to hide your backstitching. Because of the thickness of the fabric in this area, you may need to gently turn the handle on the side of your sewing machine to manually sew the first few stitches. Sew close to the edge of the hem, being careful to keep your stitching straight and consistent. When you return to your start point, sew over the original stitching and don’t forget to backstitch again.
Trim your threads and you’re finished! You’ll have a new perfectly fitting pair of jeans that you hemmed yourself.
