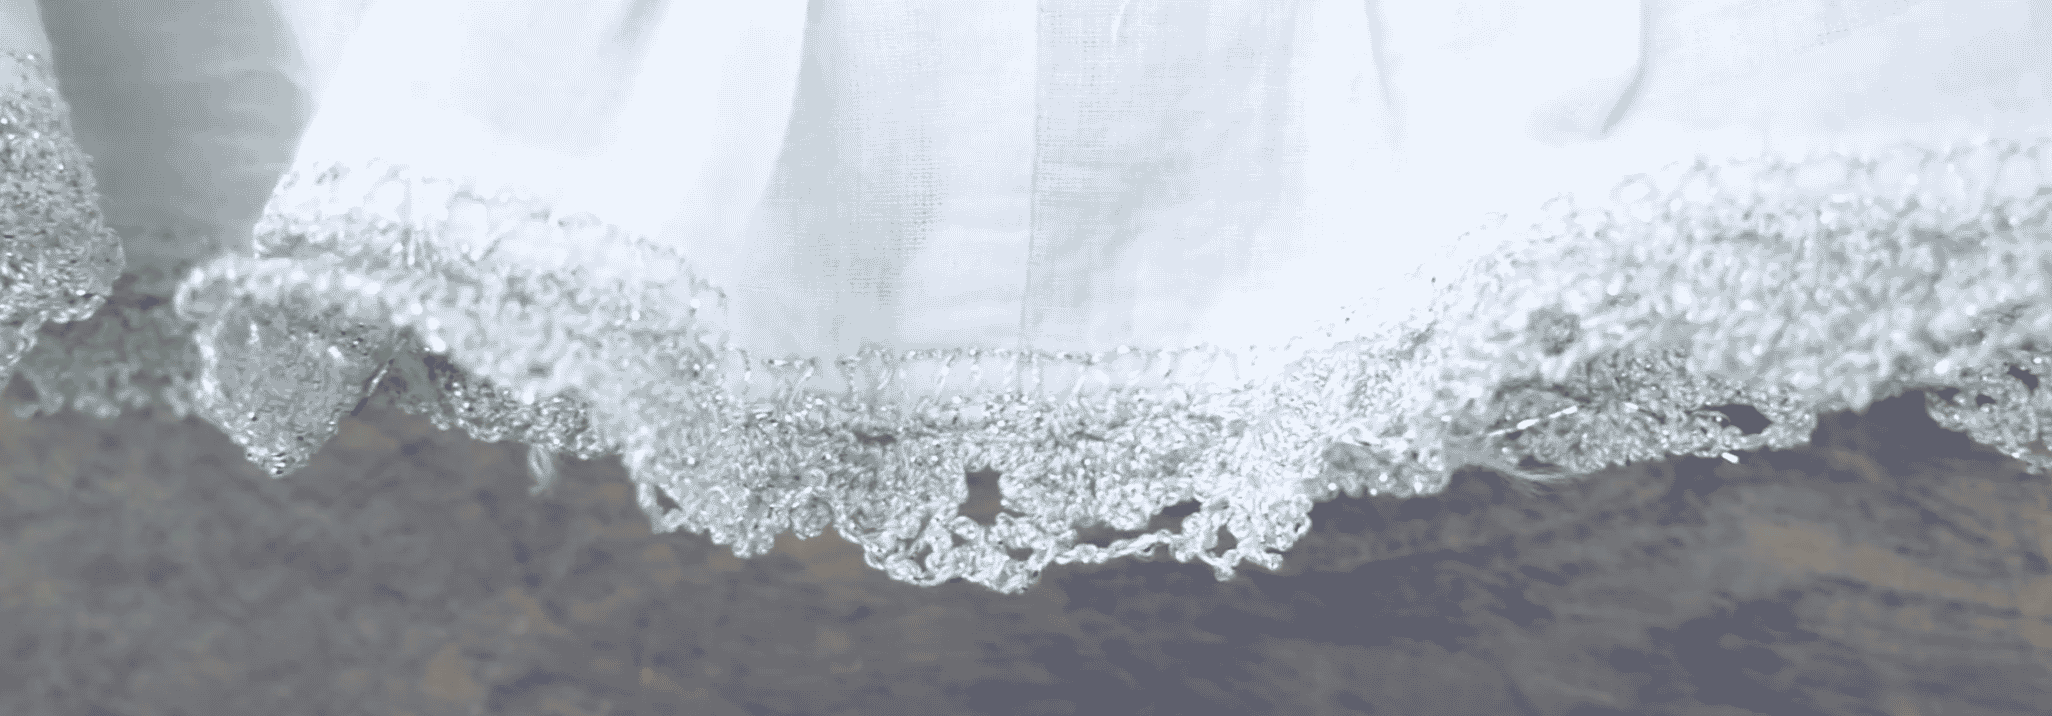
Crochet is a beautiful way to craft or embellish anything from clothing to housewares, however it can also be a time-consuming technique. Here’s an incredible way to replicate the look of crochet by using only your sewing machine and your favourite 12wt thread! It’s easy, fast, and beautiful at half the work involved.
Today we’ve got a pretty cool technique to share with you: using your sewing machine to crochet! While it isn’t real crochet, you can replicate the look of it with any sewing machine that has an overcast stitch, and it’s a lot faster and easier to do than crocheting it yourself by hand.
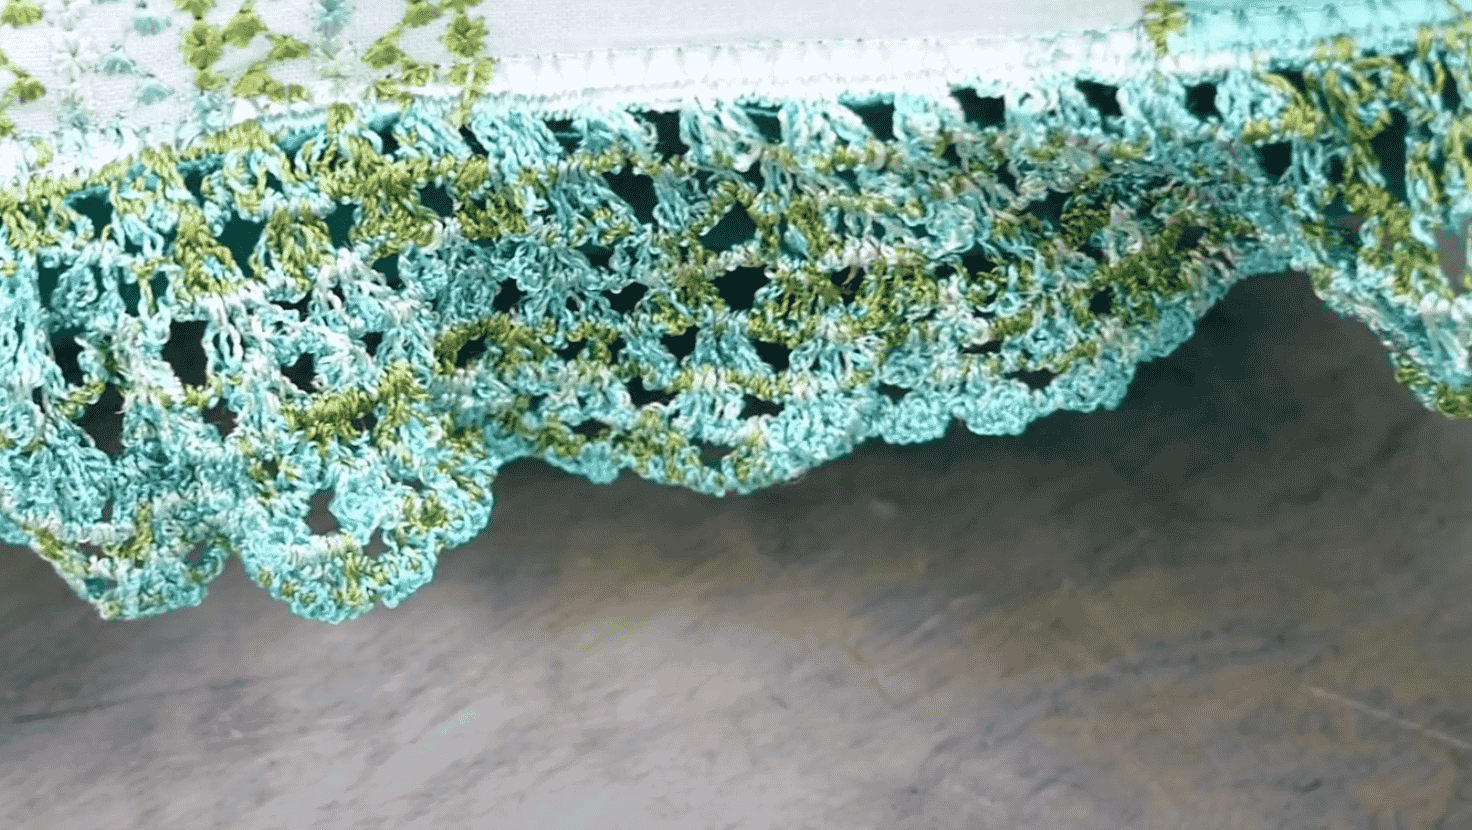
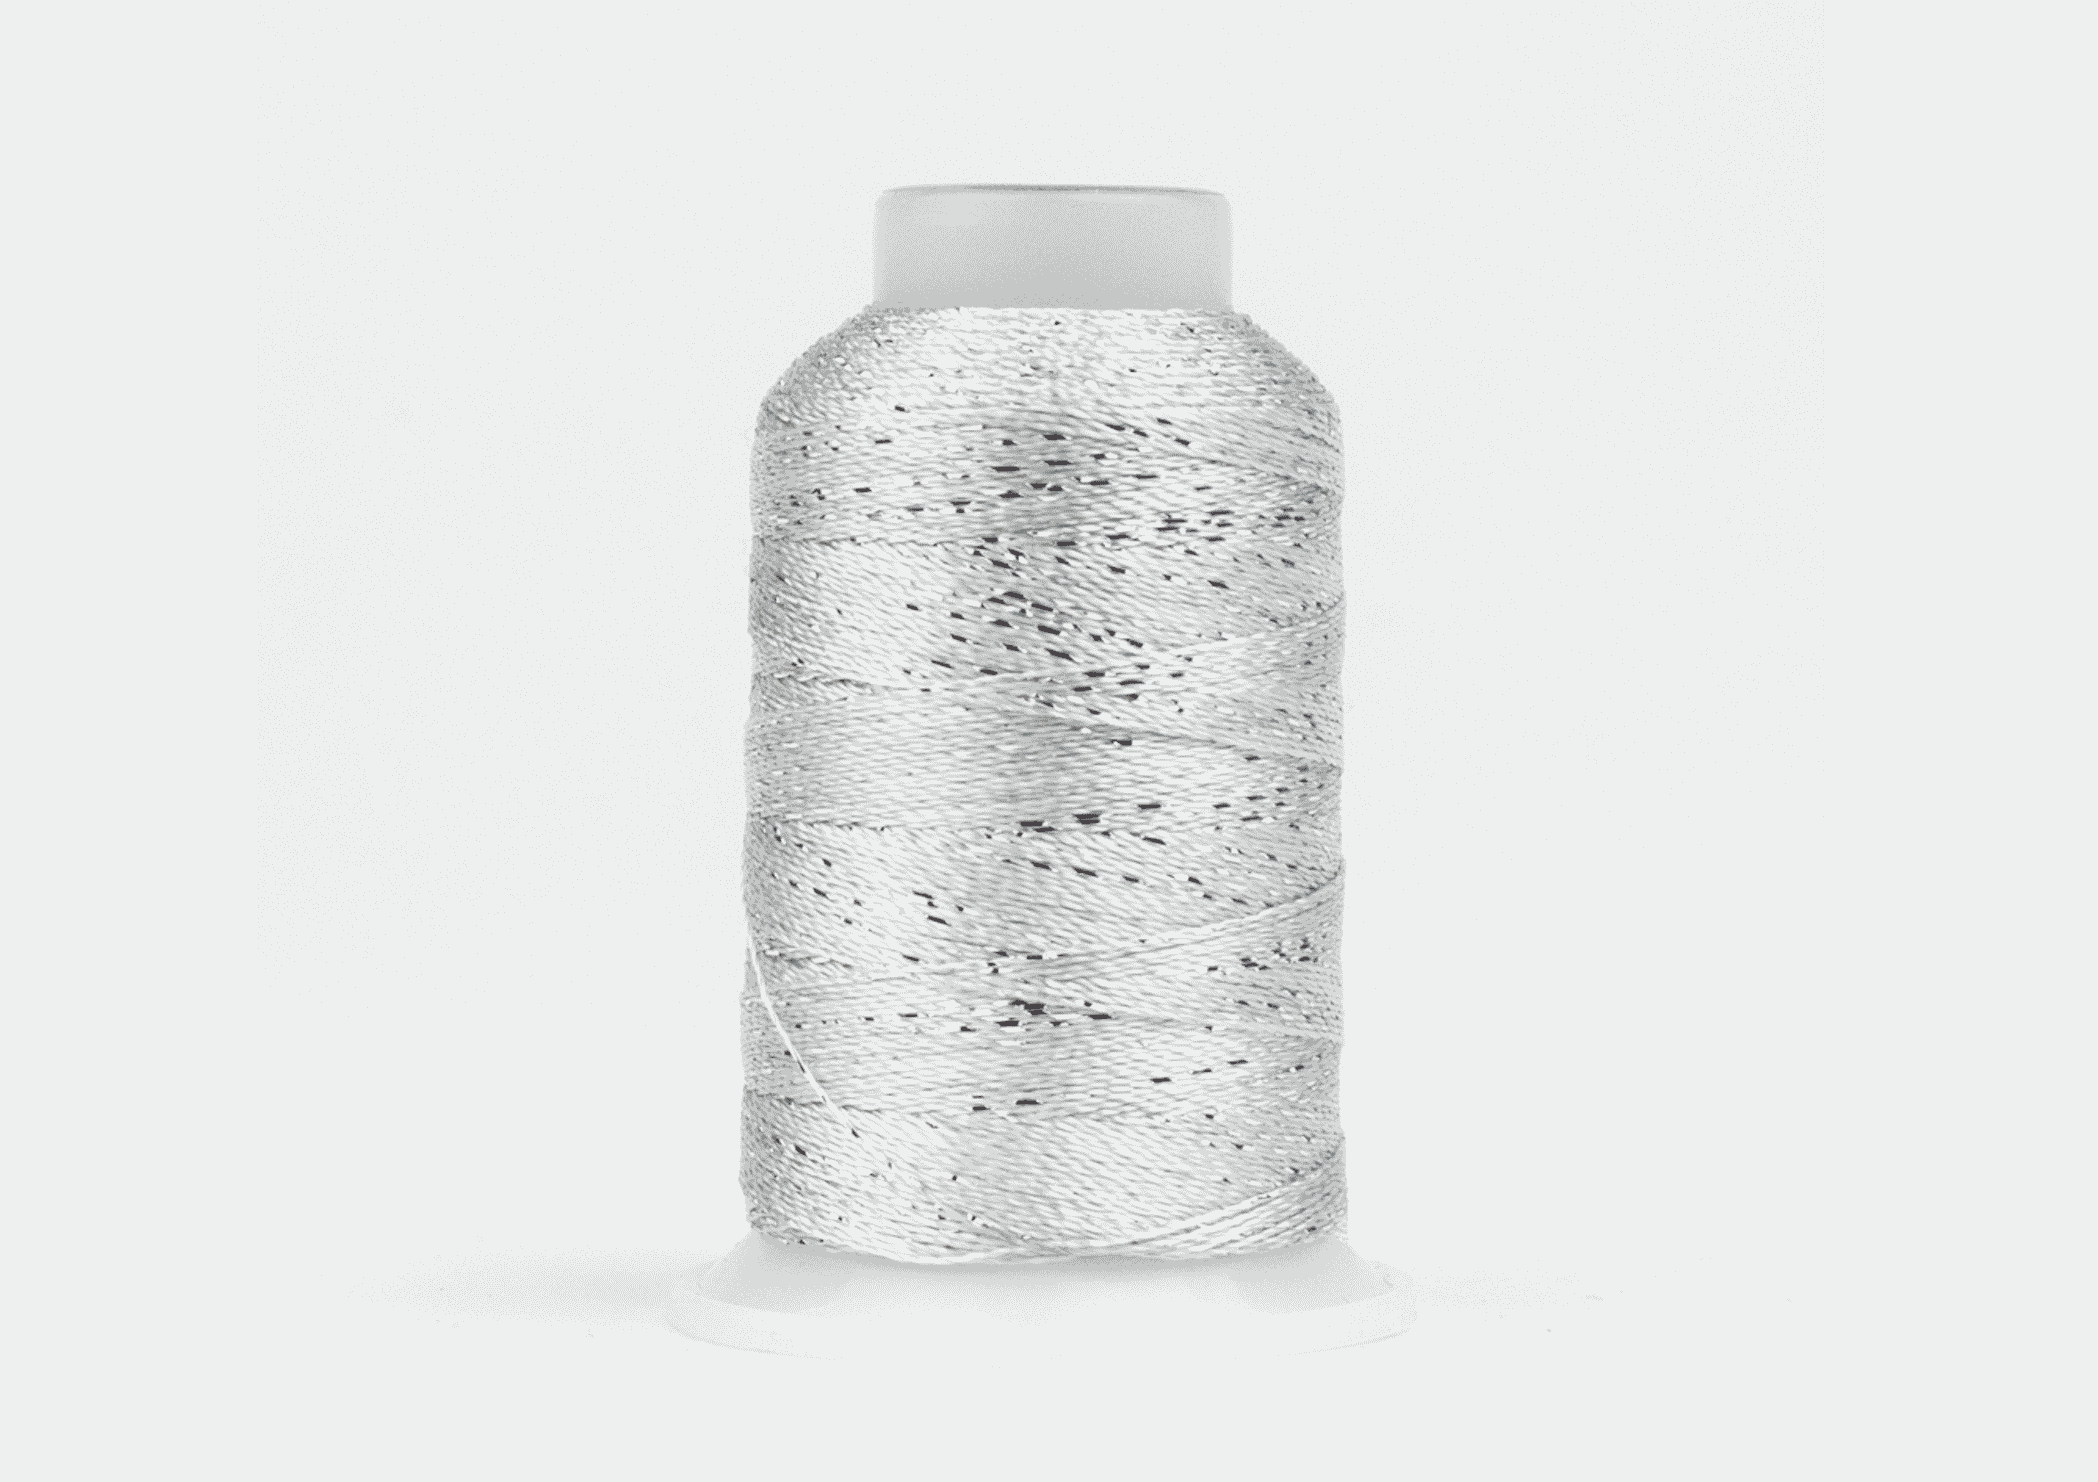
These are the things you’ll need. We’re going to be using a 12wt rayon and metallic thread called GlaMore™ because we like the soft and shiny material with that little pop of sparkle. This is a beautiful thread that is a fantastic choice for this decorative technique. If you prefer a cotton look, you can also use Spagetti™ or Fruitti™ 12wt cotton threads that come in solid and variegated colours.
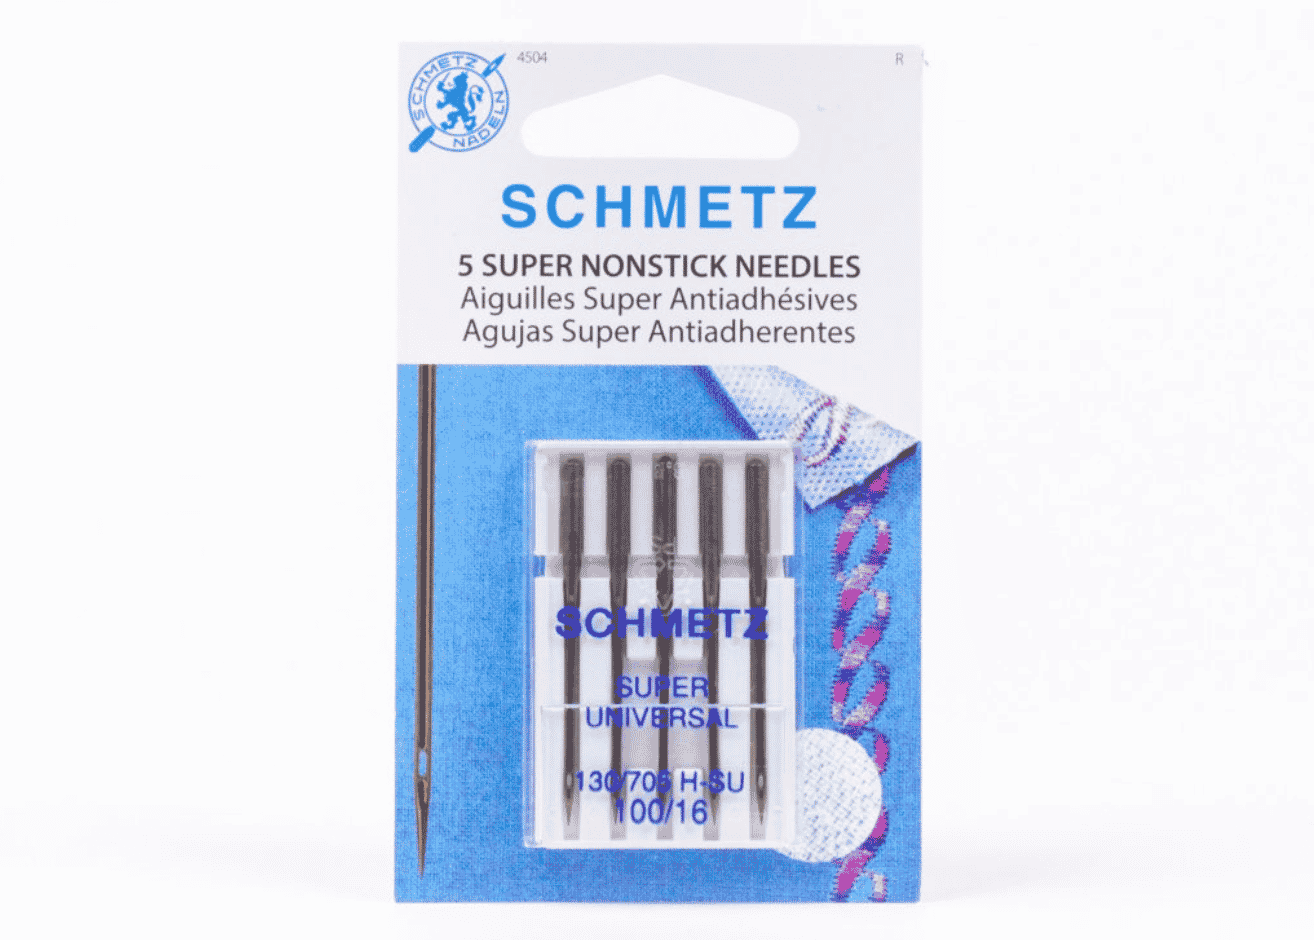
With this thread, we’ll be using a size 100/16 super non-stick universal needle.
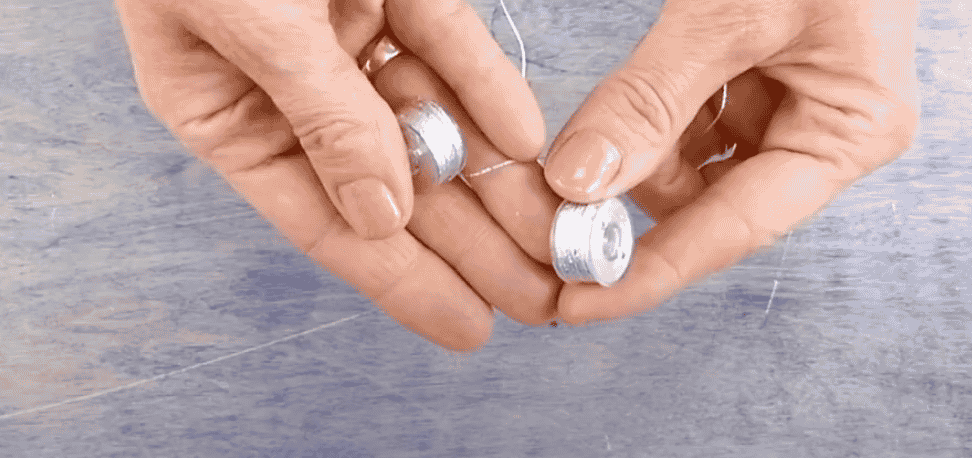
You will also need some empty bobbins wound with your thread of choice. How many you’ll need depends on your project, but for reference, if you were machine crocheting all four edges of a standard decorative pillow, you’ll need about 2-3 bobbins if your machine uses Class 15 size bobbins, or 5-6 if your machine uses L size bobbins. But you can always wind more part way through your project if you run out.
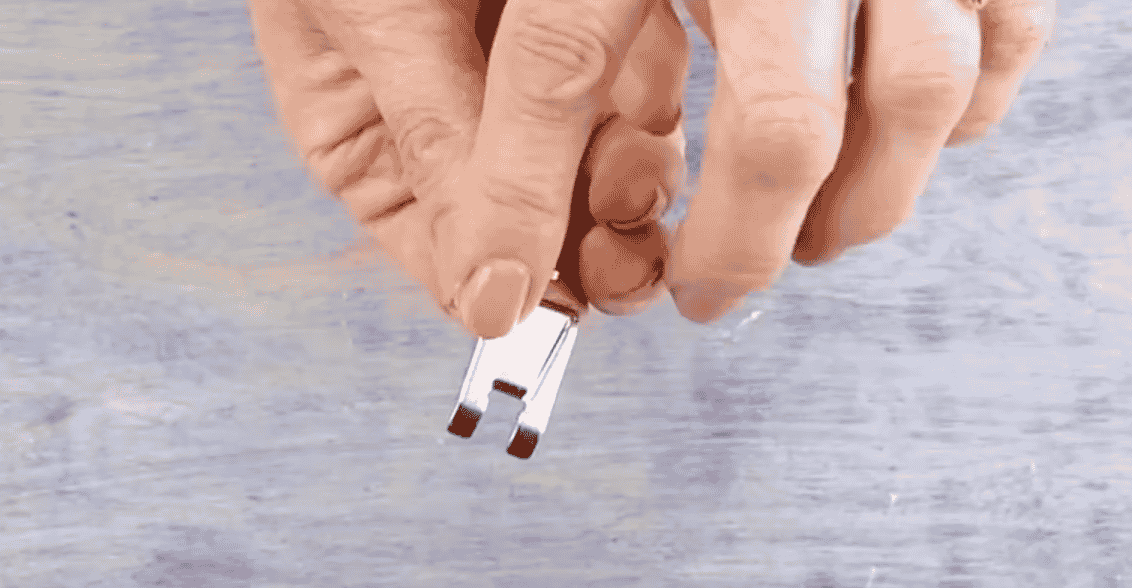
We’ll be using a bi-level presser foot which has a raised bottom, making it easier for you to stitch over the heavy thread. An open toe appliqué foot is a good alternative as it will allow you to see very easily where you are stitching.
You may need to loosen your bobbin tension before stitching as you’ll be putting a heavier thread in the bobbin. We always recommend purchasing a second bobbin case for techniques where you will need to adjust the bobbin case tension so as not to accidentally mess up your original factory set casing. For a tutorial on how to do this, check out our other video on how to adjust your bobbin case:
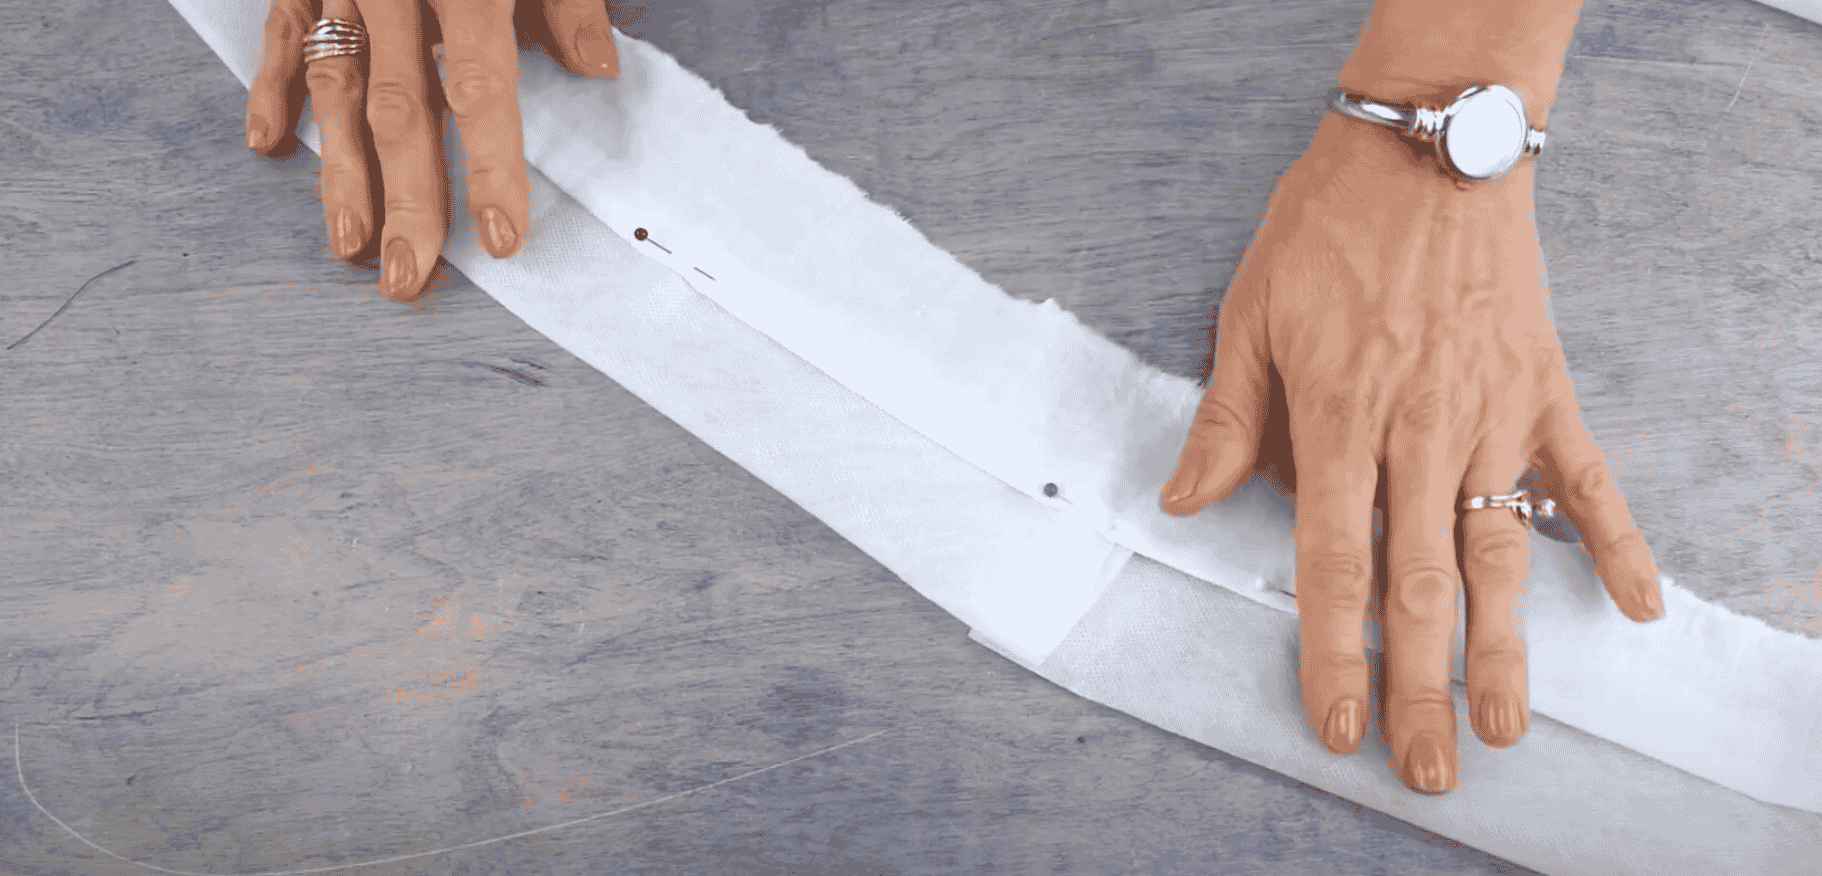
Pin two or three layers of water soluble stabilizer to the edge of the fabric you plan on crocheting. The stabilizer will be the surface you will be stitching over to create your crochet.
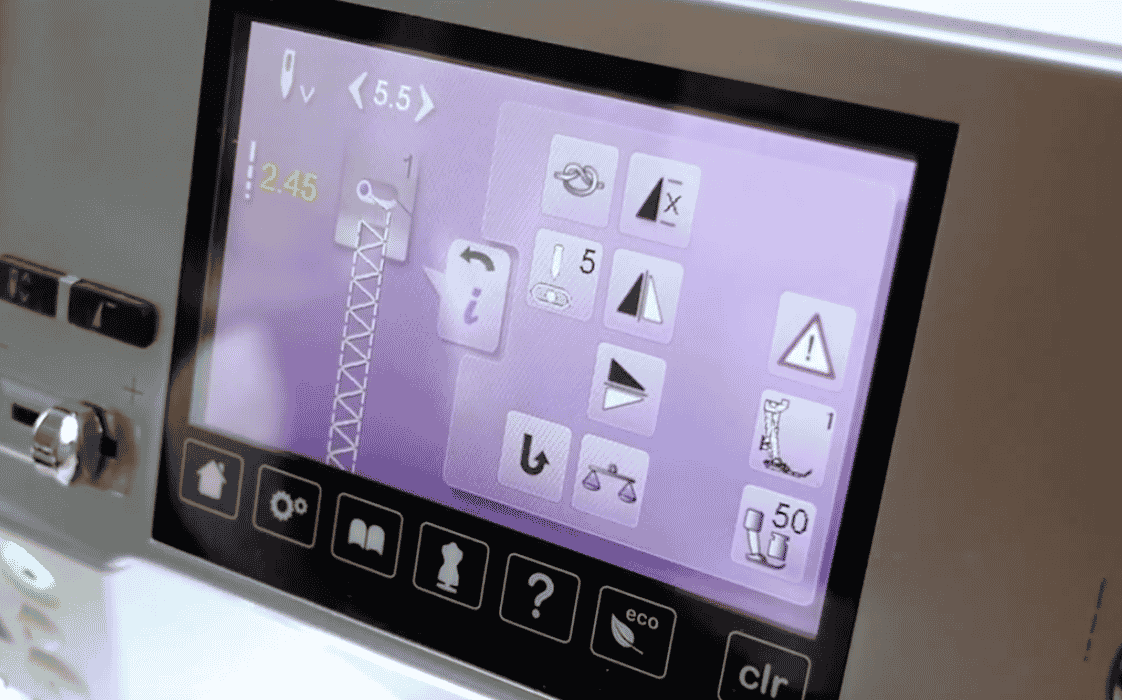
Choose an overcast stitch on your machine, preferably one that isn’t too dense.
Choose any side to begin your crochet. If you are stitching all the way around your project, we recommend starting in the middle rather than the corner of your fabric as this will make it easier to line up your crochet when you come back around. Before starting, line up the fabric so that the right side of the needle catches the raw edge of the fabric. Stitch all the way down to the corner and pivot to the next edge.
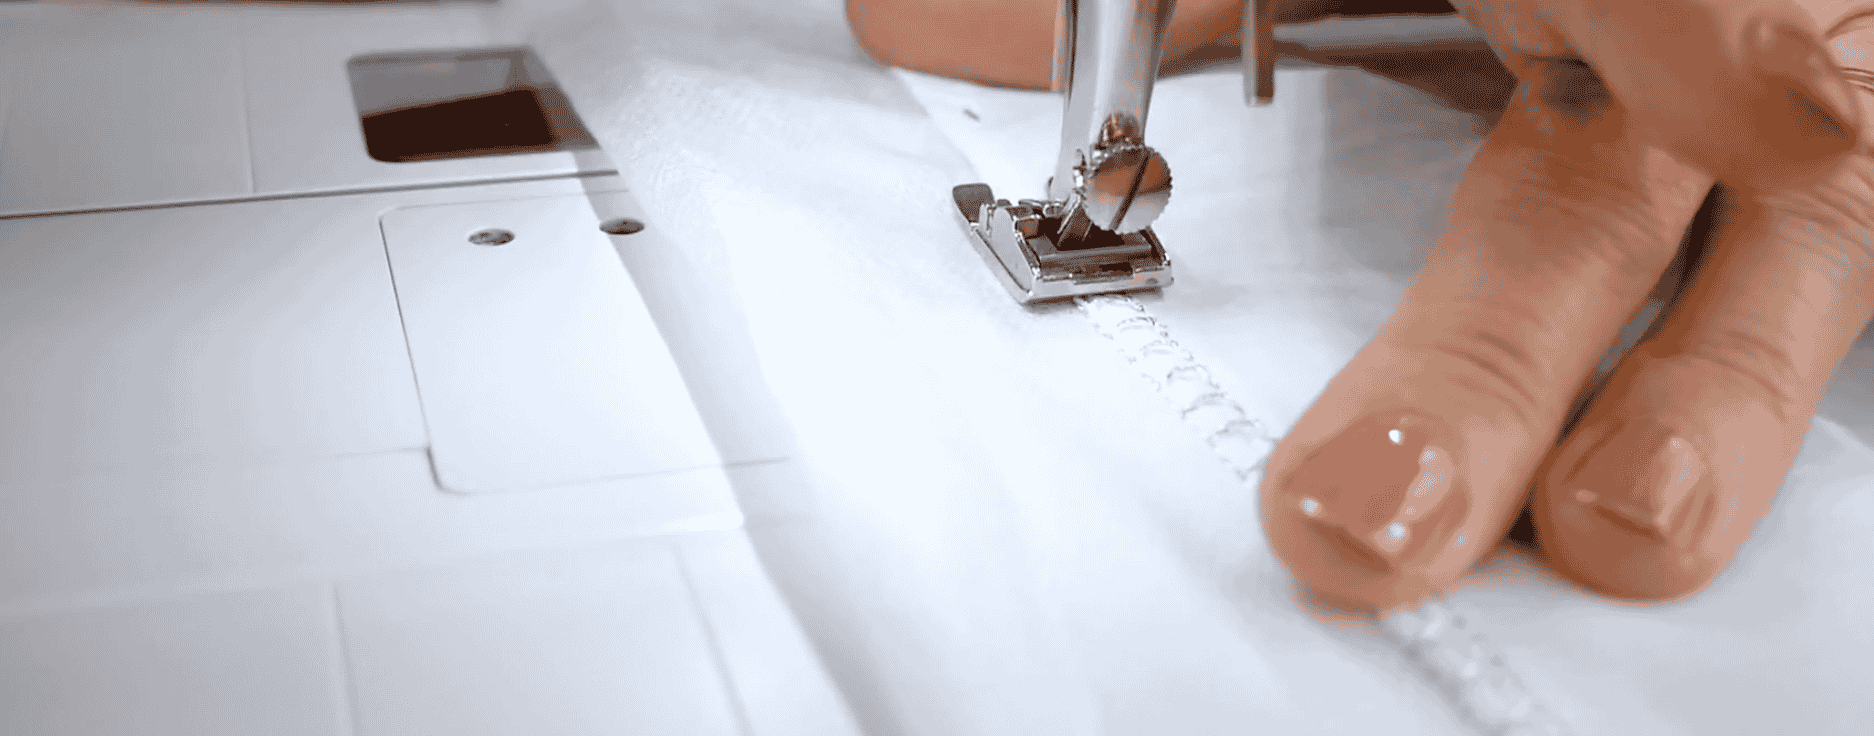
When you finish stitching around your fabric and return to the beginning, select the zigzag stitch on your machine and shorten the stitch length so that the stitches sit close together (satin stitch). Work your way around your fabric again using the new stitch. This will help hold your crochet together. Make sure to line up your stitch to ensure it fully catches your previous line of stitching.
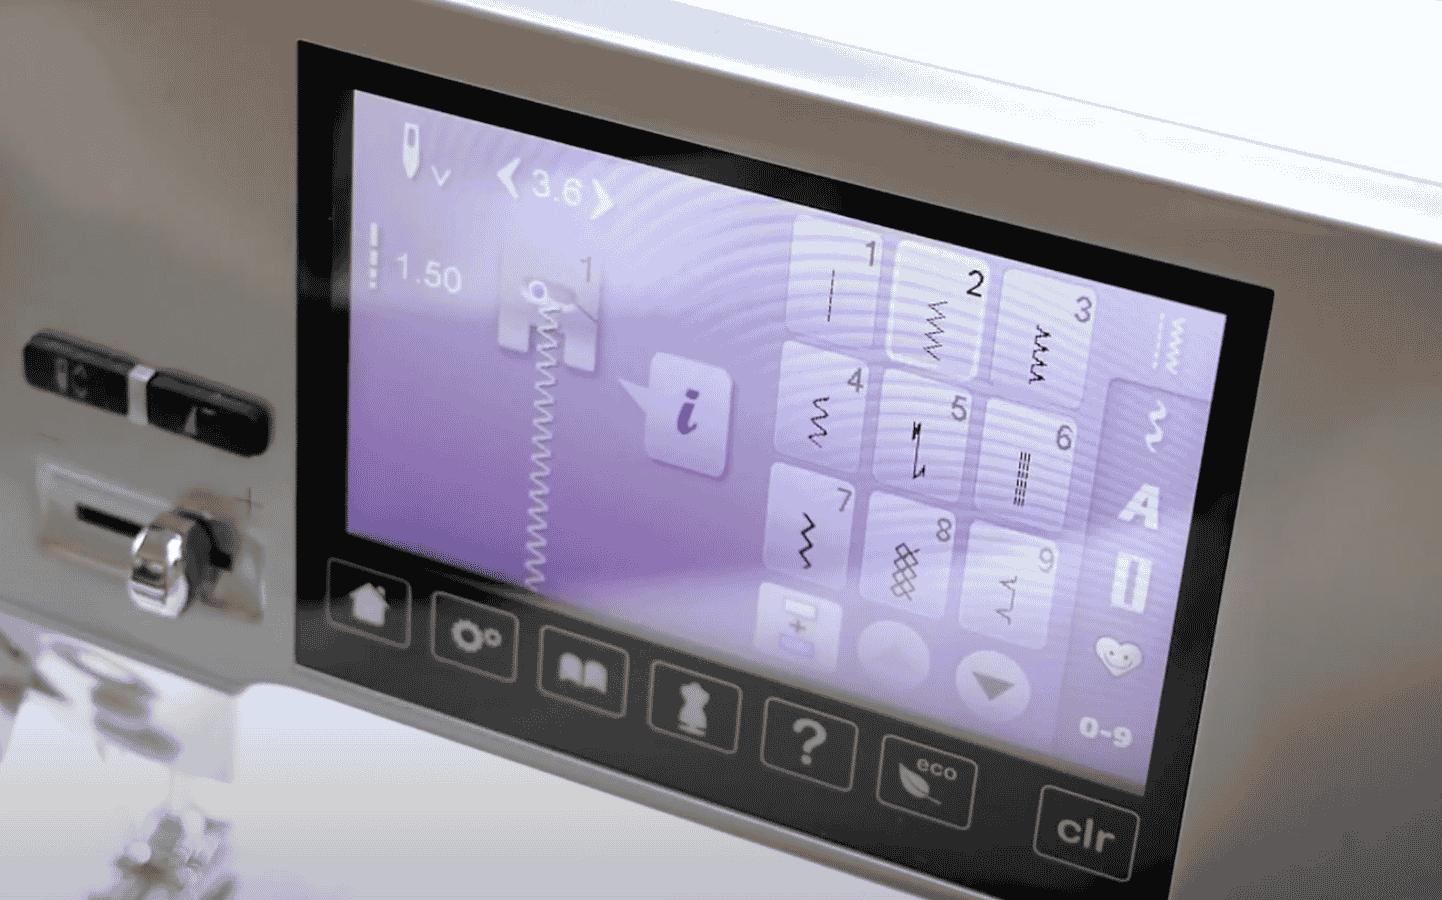
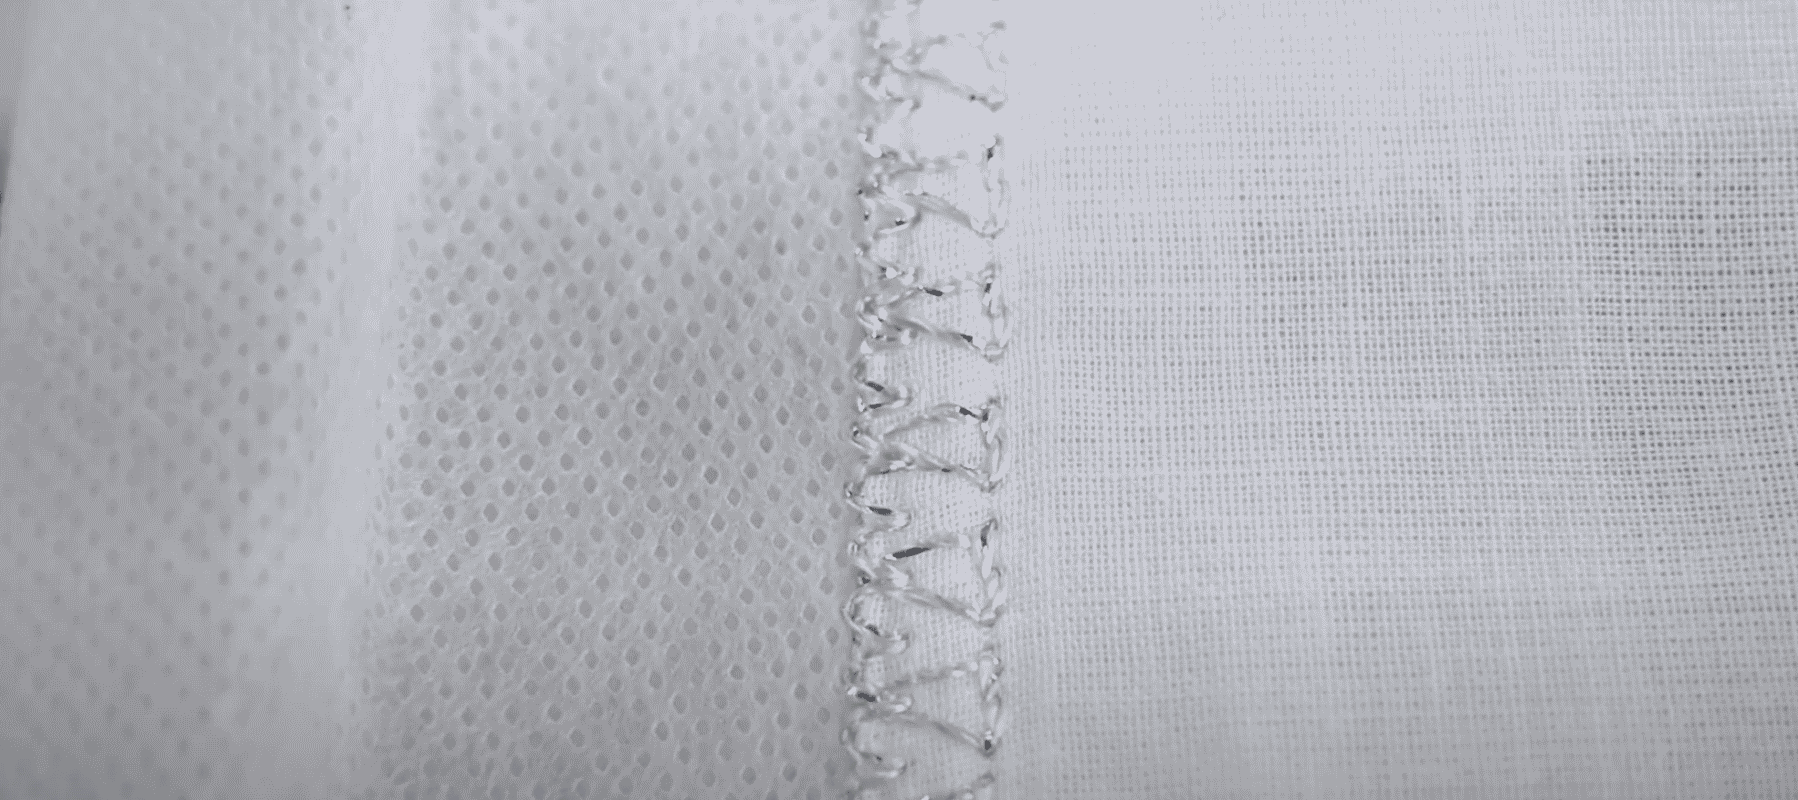
When you have worked your way around the fabric with the satin stitch and return to the beginning, you can now select the stitch you wish to use to create the crochet design. You can choose any decorative stitch on your machine, however it is better to choose one that doesn’t stick out too much on the bottom. Depending on which stitch you choose, the crochet will look different in the end.
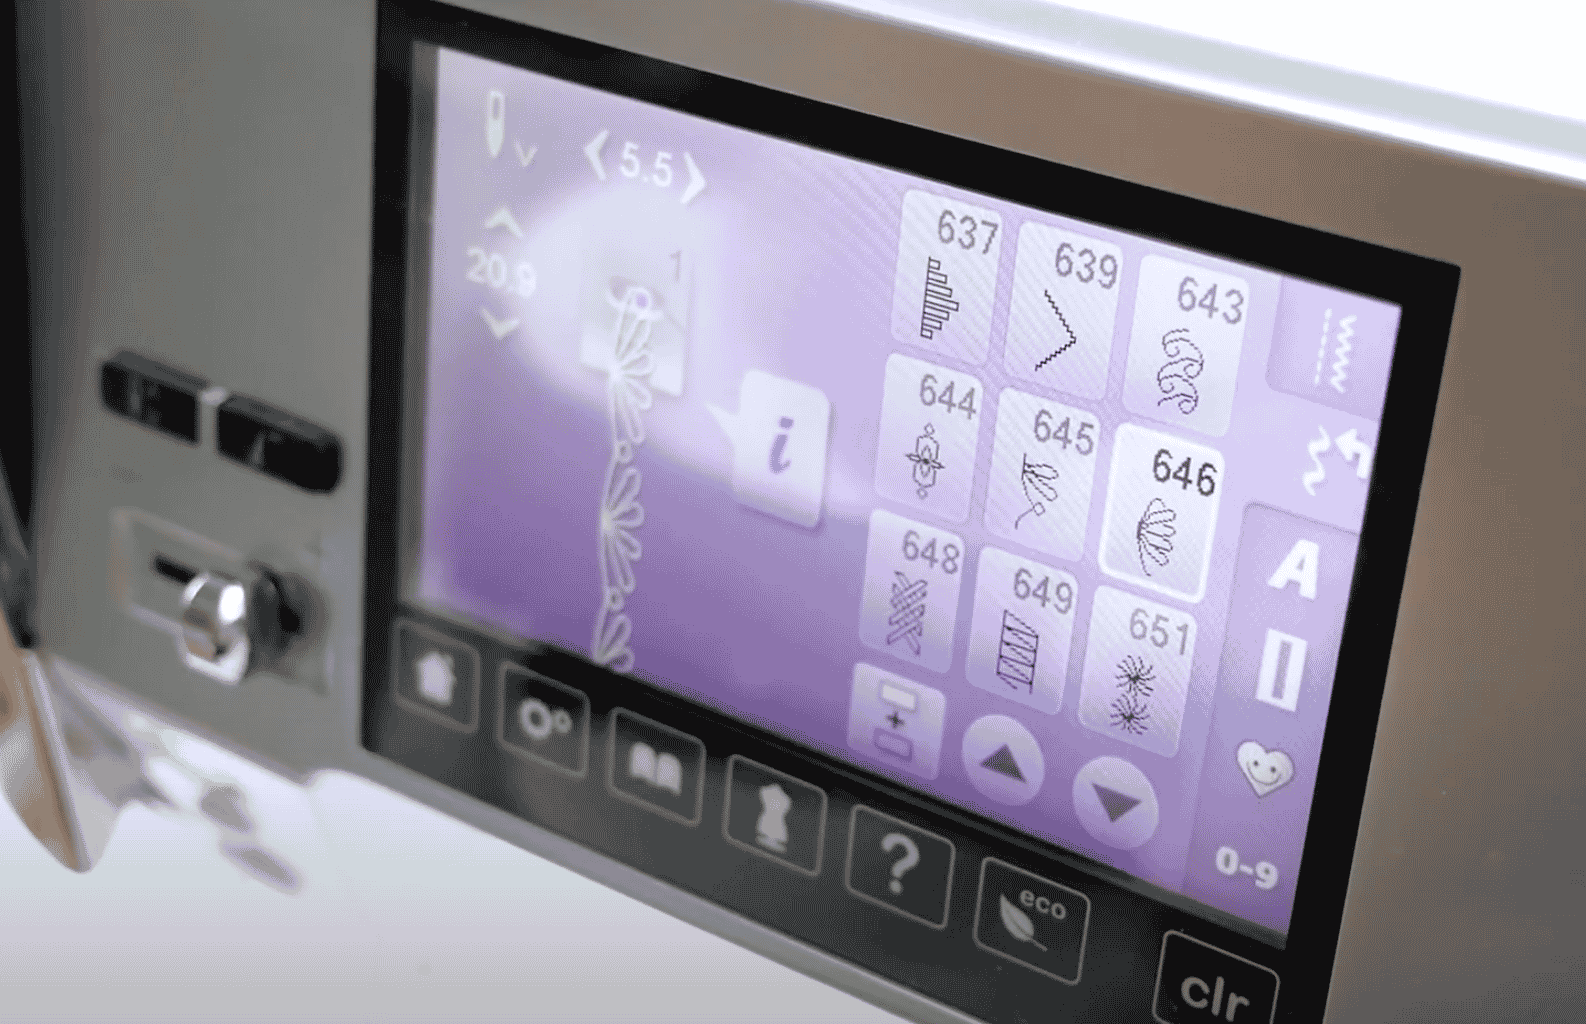
Before beginning, ensure the left swing of your needle is on the left side of your satin stitch or you will end up with holes in your crochet. Using the decorative stitch you have chosen, stitch all the way around your fabric once again.
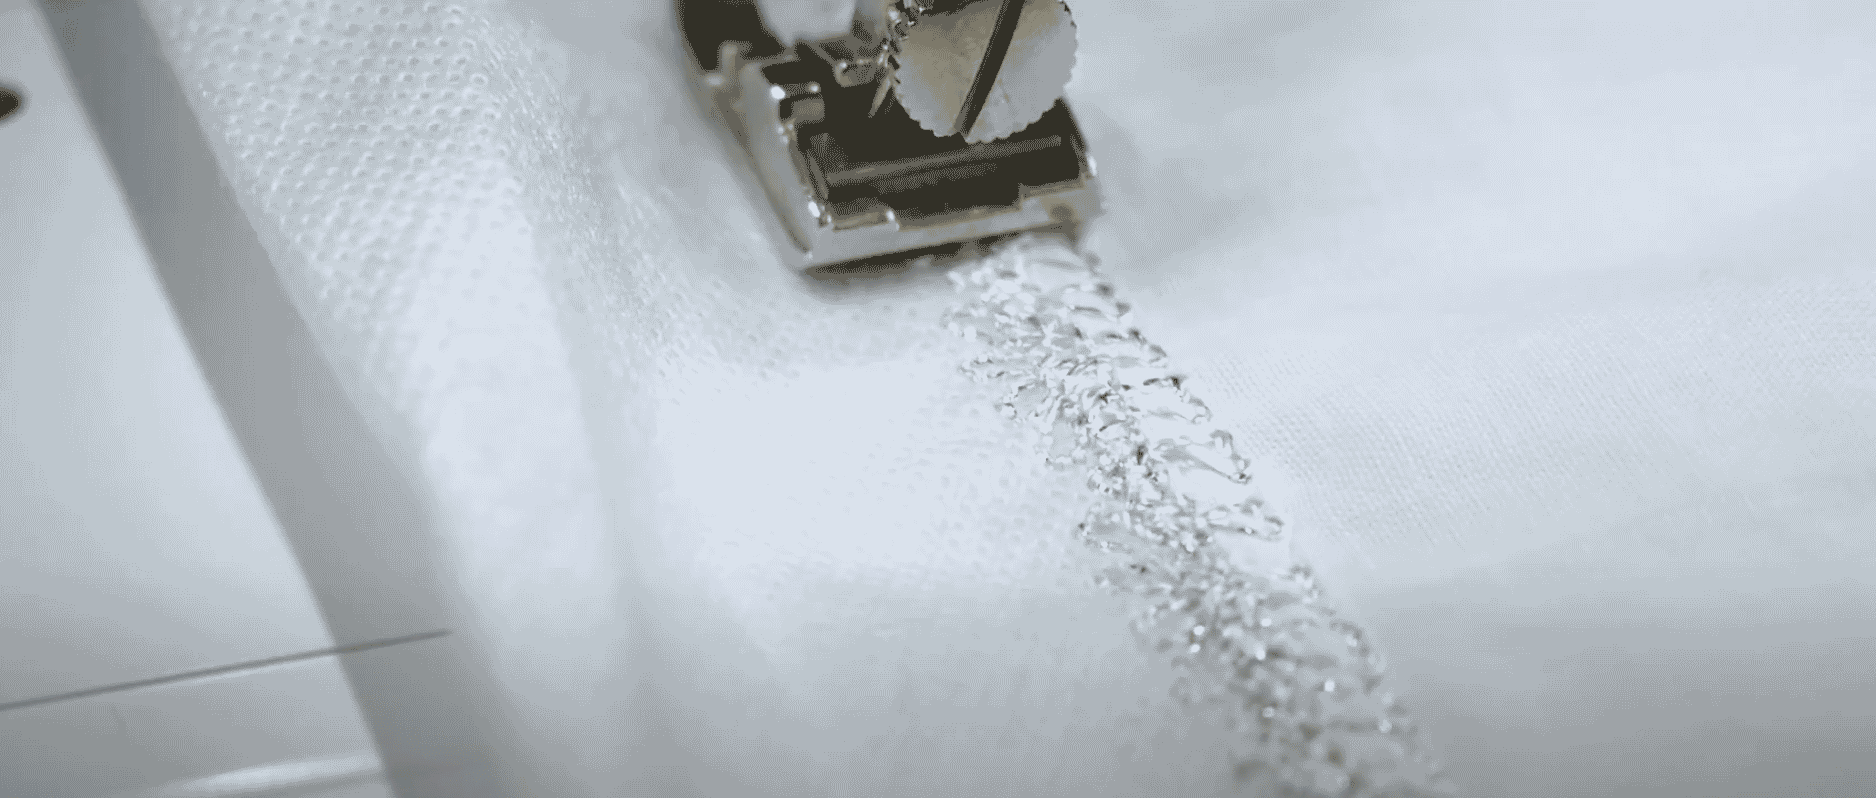
When you have made your way around to the beginning, repeat, using the satin stitch to finish the bottom edge of your stitching, once again working your way around the fabric to the beginning. Repeat these steps of alternating decorative stitch and satin stitch to create several more layers of decorative stitching. The more layers you stitch, the larger the crochet piece you will create. In total, we stitched 4 layers, however you can do more if you want a longer fringe.
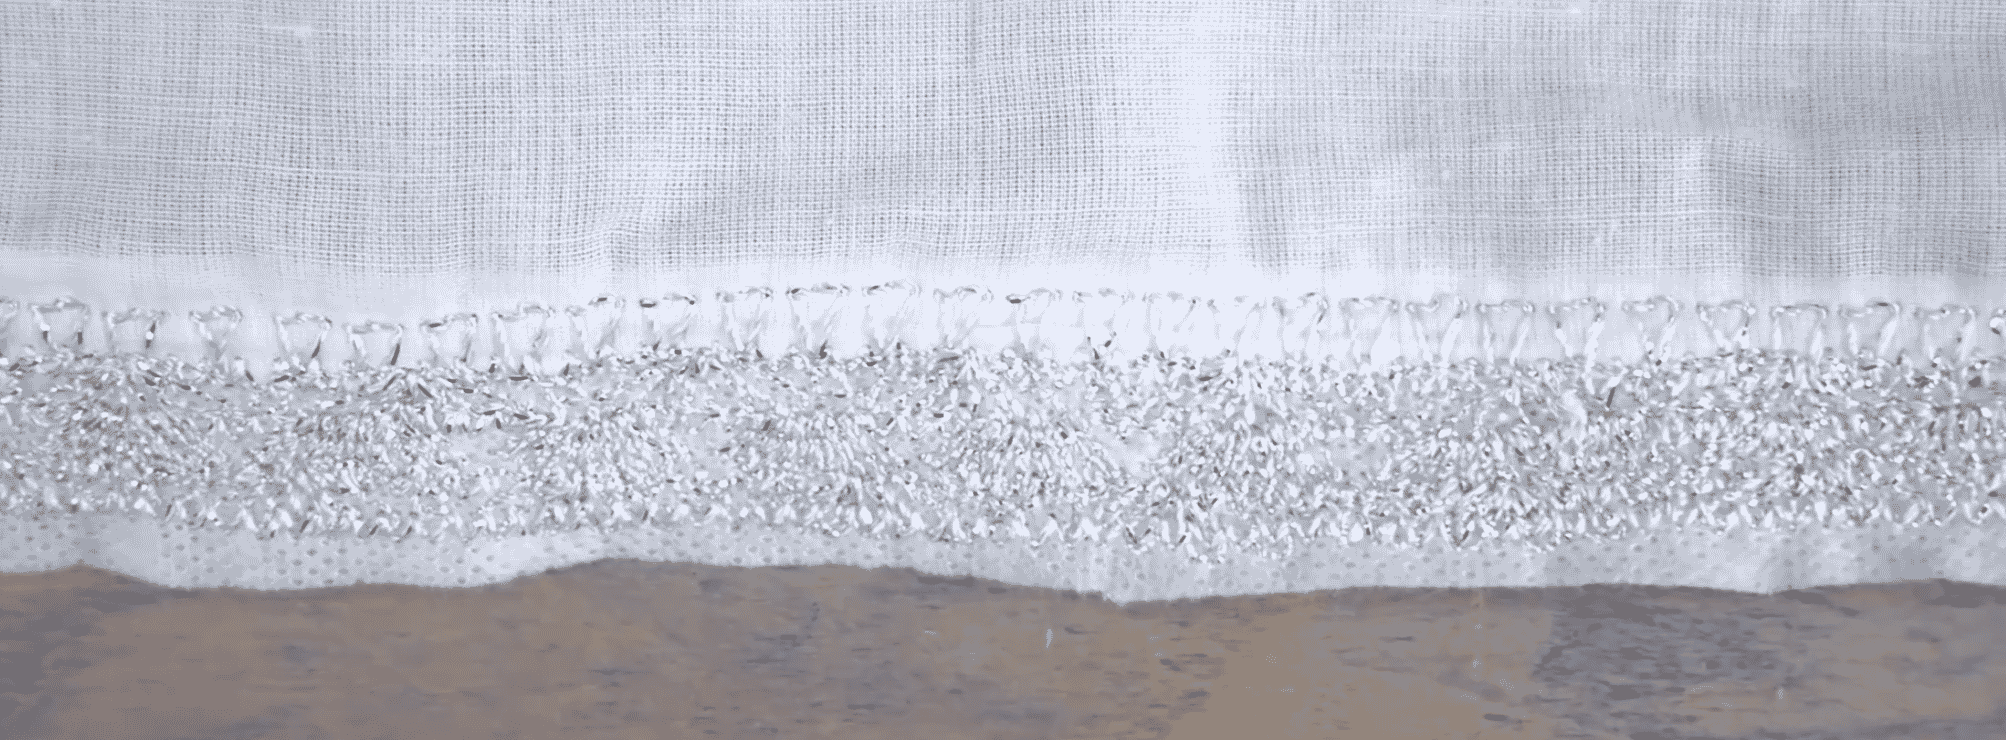
When you have finished stitching your crochet layers, wash your project to remove the stabilizer. Your finished project will have a beautiful crochet edge! This is perfect for adding a beautiful fringe to the bottom of collars, cuffs, or dress. Get creative and show us how you would use this technique in your own projects!
